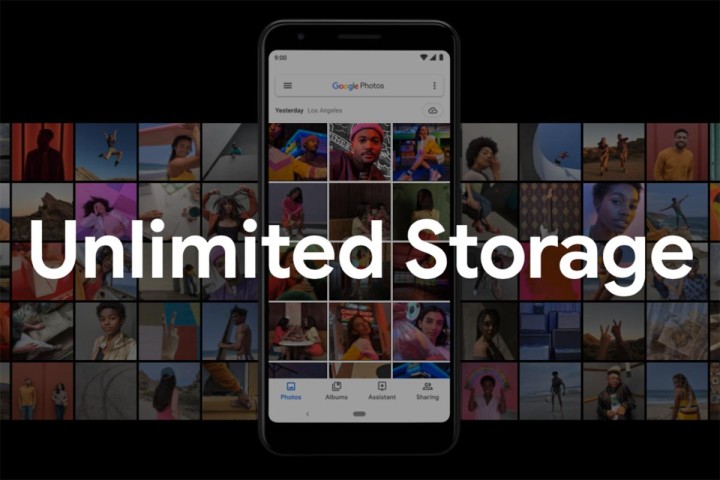
Original Pixel was the first of its kind. In fact, it was the first time when Google decided to build its own hardware along with the software. Earlier, Google used to develop the stock Android with some exclusive features. On the other hand, it used to hand the responsibility of building the hardware to other brands such as LG, Motorola, HTC, etc. So, this thing got changed with the launch of Google Pixel in 2016.
Now, many interesting things happened with the Pixel. Google, being a software-based company, built some exclusive features and apps for its Pixel phones. Indeed, Google assistant, which is now available for every Android phone, was introduced with the original Pixel. Another such thing that was introduced with the Original Pixel was unlimited photo storage.
In case you do not know, Google Photos had a feature to backup unlimited photos and videos in the original quality. But, in recent times, this is capped at up to 15 GB per Google account. Now, above this storage space, you either have to pay them or switch to another similar service. But, here is a way to store unlimited photos with the help of the original Pixel.
How to use Original Pixel to upload unlimited photos:
As mentioned above, you can only use this trick if you have the original Pixel. This is because unlimited original photos backup was limited to the only Pixel. After this, Google has discontinued it and replaced this with high-quality storage. With that being covered, let us begin.
- First, navigate to the settings and click on factory reset in the Pixel.
- Now, restart the device, and sign in with the primary Google account in the startup menu.
- Once you land up at the home screen, go to the play store and download Solid File Explorer.
- On a side note, Solid Explorer is known for excellent encryption, cloud storage support, fingerprint authentication, and more.
- Next up, in your primary Android device, disable the backup options in Google Photos.
Also, make sure to install Folder Sync from the Google Play Store. As the name says, Folder Sync enables you to sync folders from device storage to cloud storage. This holds also for the vice versa case. Folder Sync support many cloud storage such as Google Drive, OneDrive, MEGA, Dropbox.
Now, just create a new DCIM folder in your primary device and connect it to the original Pixel device. So, in this way, it will create an FTP server. Here, you can set a certain period to sync all the contents between the devices. Ideally, the lesser is the better. On the contrary, lesser time will also lead to more battery drain. Thus, you can select the period to around 12 hours and manually sync whenever you wish to backup them.
Conclusion:
In short, this method is a little tedious, to begin with, and a one-time process. But the fact that you can now backup unlimited photos in original quality is impressive. So, follow these methods and enjoy this feature. Lastly, share it with your friends and family who may still have the original Pixel with them.
Karthik, a tech enthusiast and avid gamer, is a seasoned expert at AndroidNature.com. With a passion for cricket, bowling, and Counter Strike (PC Game), Karthik seamlessly combines his hobbies with his extensive knowledge to assist users in conquering social media apps, software, and devices.


