

A teacher desk has to do a lot of jobs. It is where lesson plans are written, assignments are graded, emails are answered, supplies are stored, and sometimes lunch is eaten in the few quiet minutes between classes.
Because the space works so hard, the best teacher desk organization ideas combine practical storage with a setup that feels cheerful and personal. A few labeled zones, vertical storage, attractive organizers, and simple decor can make the desk easier to use without filling every surface.
These 14 creative teacher desk setup and decor ideas include drawer organization, rolling storage, wall systems, bulletin-board details, color-coordinated accessories, personal touches, and simple routines that can help keep a busy classroom workspace under control.
As an Amazon Associate, I earn from qualifying purchases. This article contains affiliate links, which may earn us a commission at no extra cost to you.
Quick Picks for an Organized Teacher Desk
- For daily clutter: give every frequently used item a permanent home.
- For messy drawers: divide them into small supply categories.
- For papers: create labeled planning and grading zones.
- For limited desk space: move storage onto walls or a nearby bookshelf.
- For a polished look: coordinate your desk mat, organizers, and labels.
- For classroom personality: decorate the desk front with borders and your name.
- For flexibility: keep a rolling cart beside the desk.
- For a calmer workspace: leave one small personal zone instead of decorating every corner.
Start by Dividing the Teacher Desk Into Zones
A teacher desk becomes much easier to maintain when each type of work has a specific area.
Instead of letting lesson plans, student papers, stationery, personal belongings, and technology mix together, assign each category its own storage location.
| Desk Zone | What Goes There | Best Storage |
|---|---|---|
| Planning Zone | Lesson plans, curriculum, planner | Binders or vertical files |
| Paper Zone | To grade, return, copy, file | Labeled trays or drawer cart |
| Supply Zone | Pens, scissors, clips, tape | Toolbox or rotating caddy |
| Personal Zone | Photo, plant, drink, small decor | One corner of the desk |
| Daily Action Zone | Today’s schedule and urgent tasks | Clipboard or framed task board |
14 Teacher Desk Organization: Creative Setup & Decor Ideas
1. Keep the Main Desk Surface Uncluttered
The easiest way to make a teacher desk feel calmer is to decide that the center of the desk is primarily a work surface rather than a storage area.
Keep only the supplies you use several times during the day within immediate reach. Less frequently used items can move into drawers, shelves, bins, or carts.
Give every item a designated home so papers and supplies do not slowly collect around the computer.
A quick cleanup at the end of the school day can also make it much easier to begin the next morning with a clear space.
Simple rule: if an item does not need to be available every day, it probably does not need to live permanently on top of the desk.
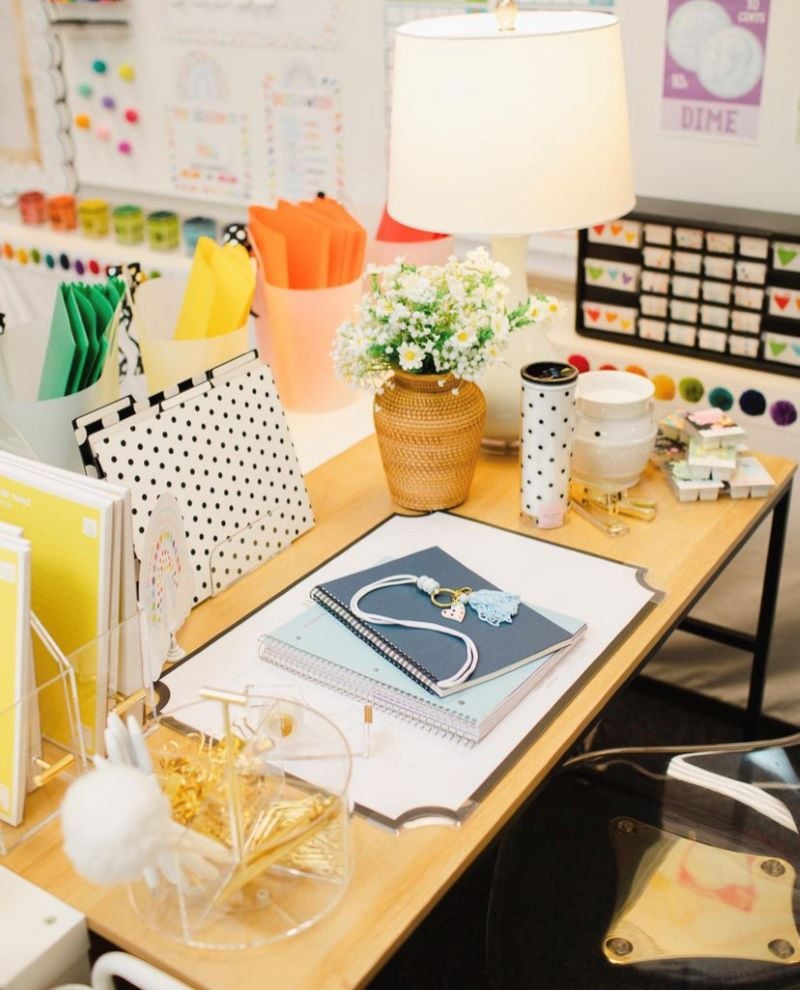
2. Divide Desk Drawers With Small Organizers
Teacher desk drawers can become messy very quickly when pens, clips, tape, stamps, markers, and personal supplies are all placed together.
Use small drawer trays to separate supplies by category.
For example, keep writing tools in one section, adhesive supplies in another, technology accessories in a third, and personal items separately.
Transparent or open-top organizers make it easy to see what needs restocking.
Organization tip: do not use every inch of the drawer. A little open space makes it easier to put things back neatly.
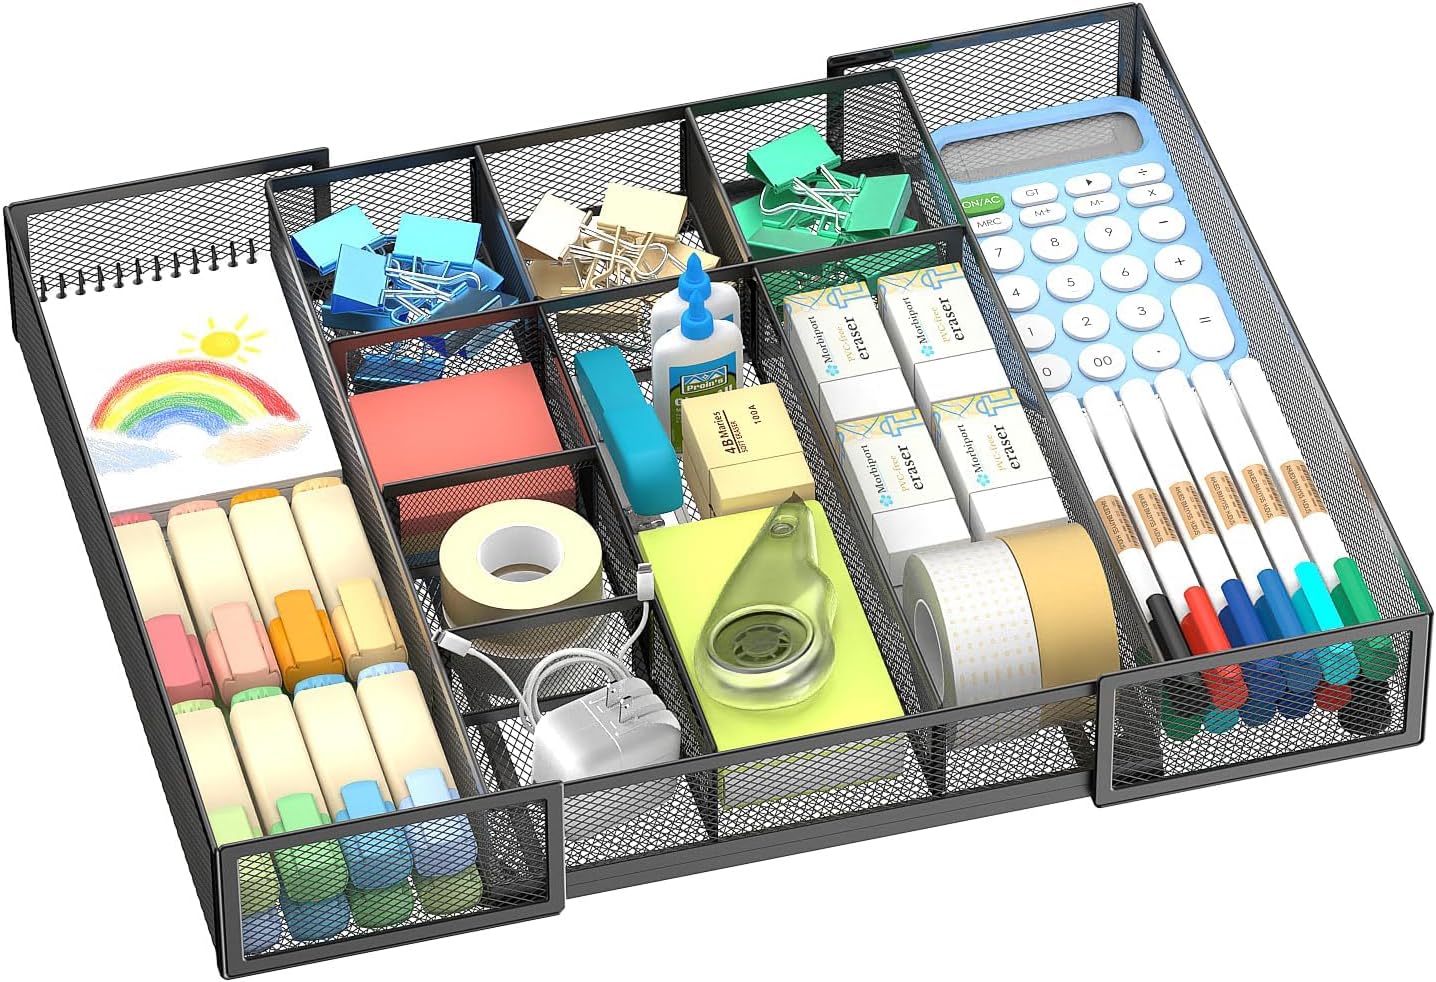
Amazon Find: Adjustable Drawer Organizers
Small modular trays make it easier to create separate compartments for pens, clips, sticky notes, stamps, and other teacher supplies.
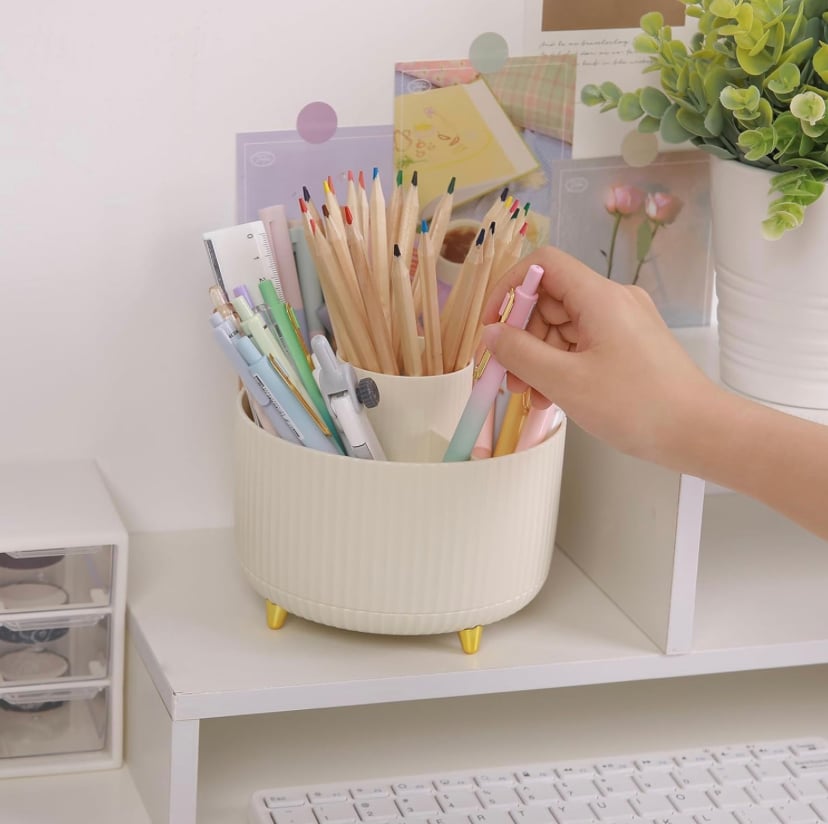
3. Use Vertical Desktop Organizers
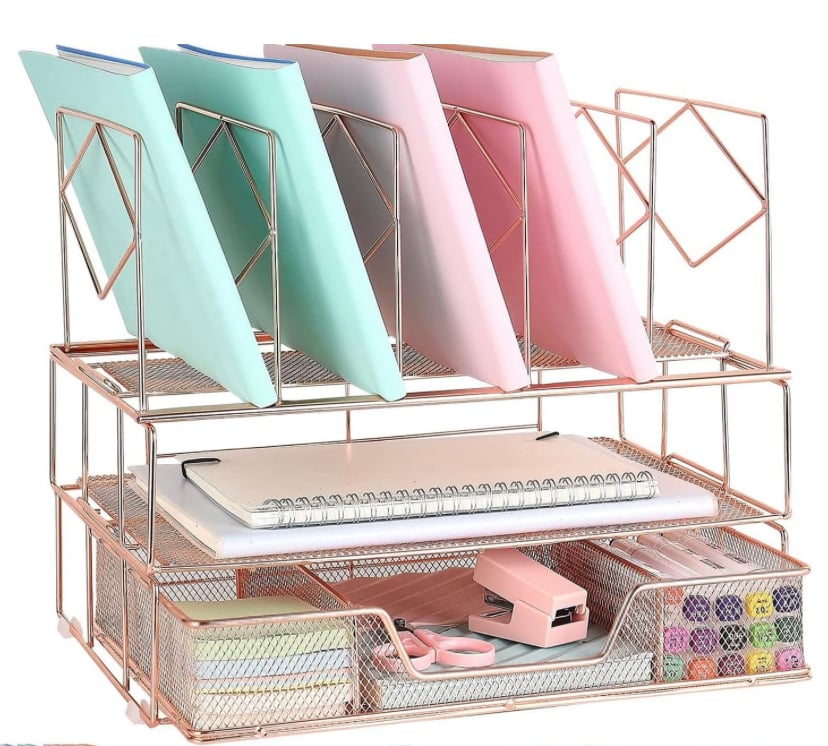
Vertical storage helps keep paper and notebooks accessible without using as much desk width.
Use a vertical file organizer for lesson-plan folders, journals, curriculum guides, substitute information, or papers that need attention during the week.
A rotating pen holder can keep frequently used stationery together while using less space than several separate cups.
Make it practical: only keep current materials in desktop files. Archive older units somewhere else so the organizer does not become permanent paper storage.
4. Add a Rolling Cart Beside the Desk
A narrow rolling cart can act as an extension of the teacher desk without permanently taking over the workspace.
Use the top shelf for items you reach for throughout the day, the middle for notebooks or classroom supplies, and the bottom for larger items.
Because the cart moves, you can take supplies to a small-group table, whiteboard, or another part of the classroom when needed.
Best setup: give each level one clear purpose rather than filling the cart with miscellaneous items.
5. Put a Bookshelf Behind the Teacher Desk
A low or medium-height bookshelf behind the desk can hold the supplies that are important but do not belong on the main work surface.
Use shelves for binders, extra paper, art supplies, books, caddies, and labeled boxes.
For a more decorative look, line the back of the bookshelf with removable bulletin-board paper or another classroom-approved material that matches your room theme.
Visual tip: use matching magazine holders or bins on at least one shelf so the storage looks intentional instead of random.
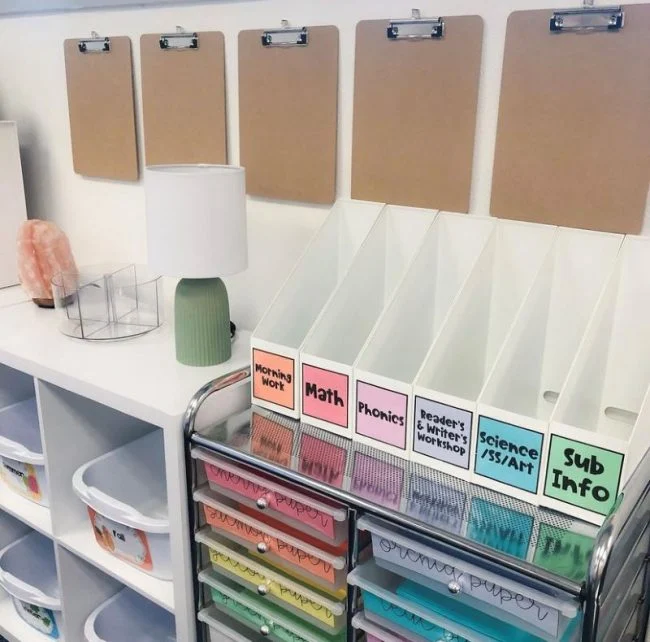
6. Move Daily Papers Onto Wall Clipboards
Clipboards can move frequently used papers off the desk and turn an empty wall into useful organization.
Create one clipboard for a to-do list, one for missing work, one for the daily schedule, one for reminders, and another for substitute information.
Label each clipboard clearly so you do not need to search through paper stacks during a busy class period.
Space-saving tip: install the clipboards within easy reach of the desk but outside the area where students normally walk.
7. Make a Framed To-Do Board
Instead of keeping a long task list on the desk, dedicate a small wall frame or dry-erase board to priorities.
Divide the board into simple sections such as Today, Tomorrow, This Week, and Later.
Sticky notes make it easy to move tasks between categories as priorities change.
The system keeps important jobs visible without adding another paper pile.
Teacher tip: keep the “Today” section short enough to be realistic rather than filling it with everything you hope to complete eventually.
8. Frame the Front of the Desk With Bulletin Board Borders
The front panel of a teacher desk can become part of the classroom decor instead of remaining plain furniture.
Use bulletin-board border around the outside edge of the desk front or along a shelf attached to the workspace.
Choose the same border used elsewhere in the classroom so the desk feels visually connected to your bulletin boards and learning areas.
Easy update: change only the border seasonally instead of redesigning the entire teacher desk.
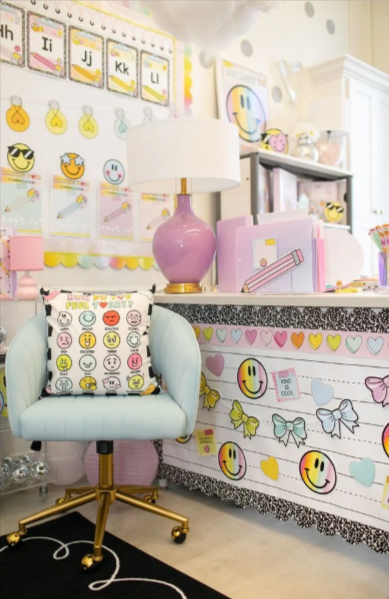
9. Add Your Name to the Desk Front
Adding the teacher’s name is a simple way to make the desk feel intentional and welcoming.
Use bold classroom letters, removable vinyl-style lettering, or printed letters that coordinate with your theme.
You can also use a short classroom phrase if you prefer not to display your name.
Design tip: use large enough letters to be visible but leave some plain background around them so the front panel does not look crowded.
10. Create Labeled Planning, Paper, and Supply Zones
A labeled system makes it much easier to maintain organization when the classroom gets busy.
Create a planning area for lesson binders, a paper area for work that needs grading or returning, and a supply area for pens, sticky notes, scissors, and other frequently used tools.
Labels reduce decision-making because everything has an obvious place to return to.
Consistency tip: use the same font, label shape, and color system across the desk rather than mixing several label styles.
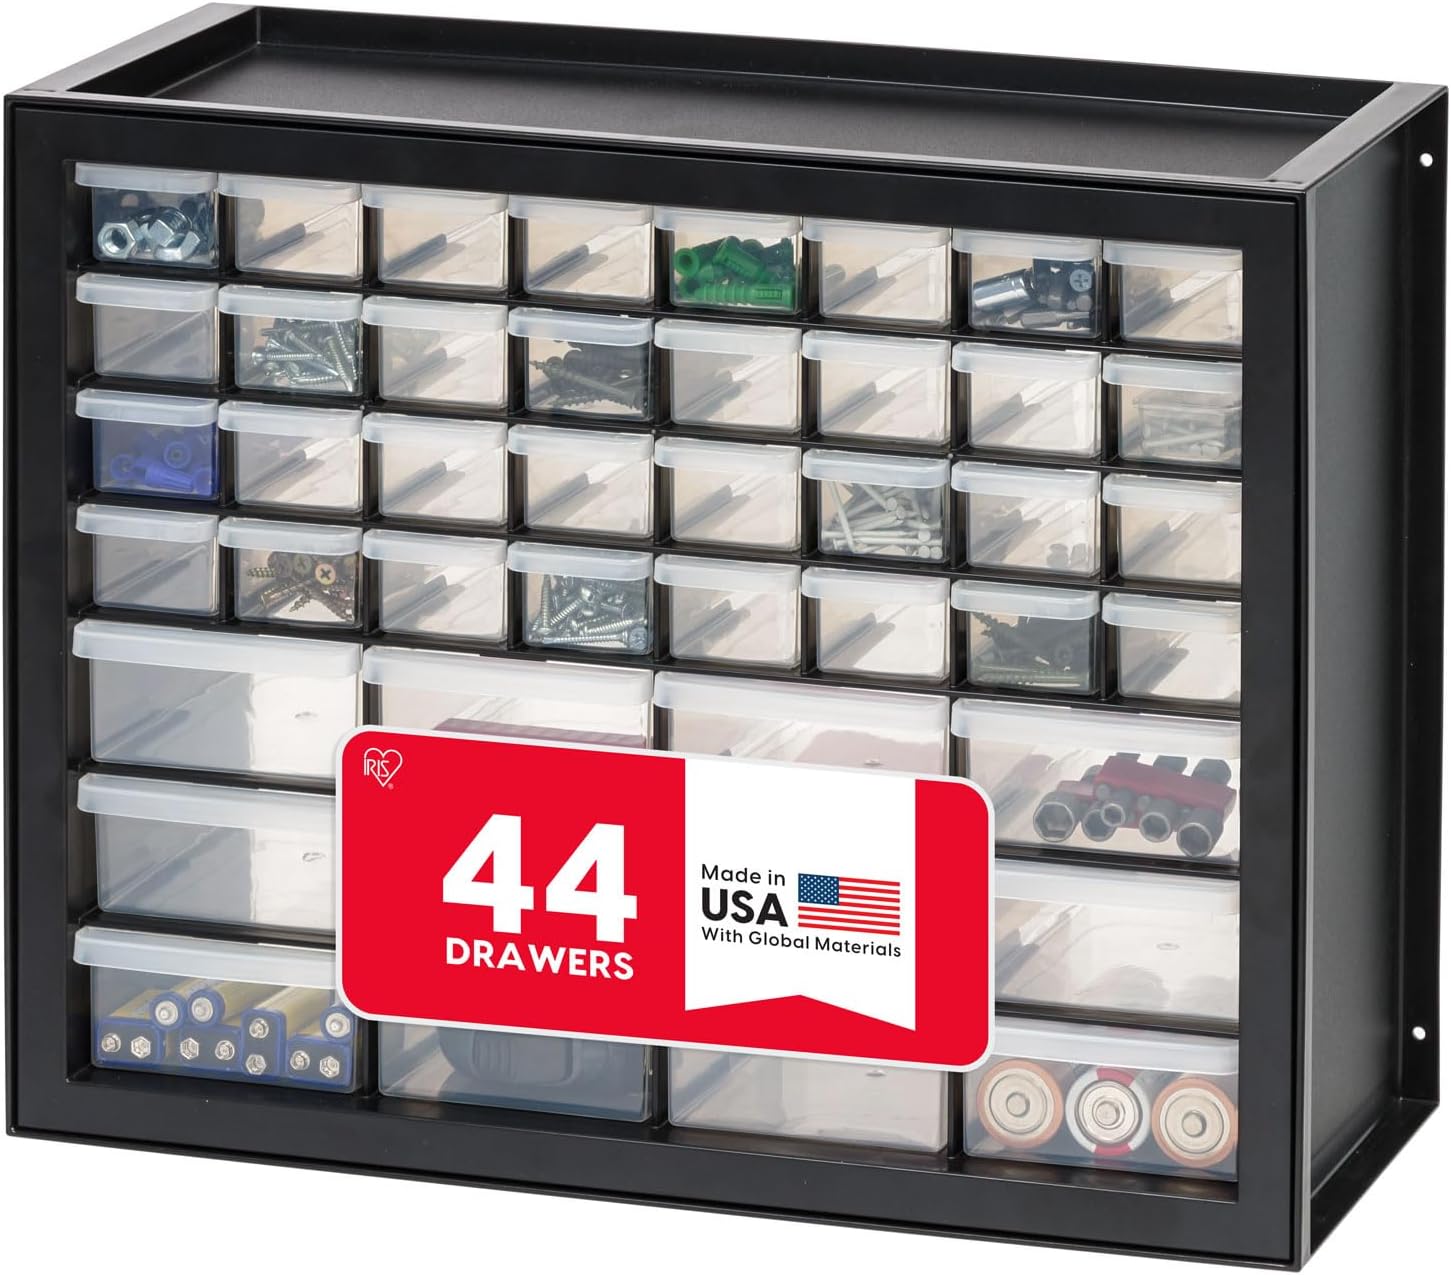
Amazon Find: Teacher Toolbox Organizer
A multi-drawer organizer can separate small teacher supplies such as clips, sticky notes, push pins, markers, stamps, and labels.
11. Coordinate the Desk Mat and Accessories
Matching a few visible accessories can make the teacher desk look much calmer even when the items themselves are inexpensive.
Choose a desk mat, pen holder, file tray, and small organizer in coordinating colors.
The pieces do not need to be a perfect matching set. Repeating one or two colors is usually enough.
Easy palette: choose one main classroom color, one neutral, and one small accent shade.
12. Match the Teacher Desk to the Classroom Theme
A teacher desk looks more intentional when it feels like part of the classroom rather than a separate decorating project.
Repeat one or two elements from your classroom theme through desk labels, planner covers, borders, storage bins, or artwork.
For example, a pastel classroom might use soft-colored organizers, while a black-and-white room could use monochrome labels with one accent color.
Keep it simple: you do not need to repeat every classroom pattern at the desk. A few matching details are enough.
13. Use a Labeled Drawer Cart for Paper Management
Paper is one of the fastest things to overwhelm a teacher desk.
A multi-drawer cart can create separate homes for copies, graded papers, each subject, student forms, weekly materials, or work that needs filing.
Place the cart beside the desk rather than on the main work surface.
Clear labels make it easy to file papers quickly instead of creating temporary stacks.
Paper-management rule: every paper entering the teacher area should have a destination—act on it, file it, return it, or recycle it.
14. Leave One Small Personal Zone
An organized teacher desk does not need to feel impersonal.
Reserve one small area for a family photo, plant, favorite mug, flowers, or another item that makes the workspace feel like your own.
Keeping personal decor contained in one zone prevents it from spreading across the whole desk.
Best balance: choose two or three meaningful pieces rather than filling the teacher desk with decorative objects.
A Simple Teacher Desk Setup Formula
If you are setting up a teacher desk from scratch, this simple layout covers most daily needs:
- Center: computer or open planning area.
- One side: vertical files for current lesson plans and papers.
- Other side: compact supply organizer.
- Wall: clipboards or framed task board.
- Under or beside desk: rolling paper cart or drawer storage.
- Behind desk: bookshelf for binders and less frequently used materials.
- One corner: plant, photo, or favorite personal item.
How to Organize a Small Teacher Desk
- Use vertical files: store papers upright rather than in wide stacks.
- Use the wall: move schedules, reminders, and clipboards off the desktop.
- Add rolling storage: keep extra supplies beside the desk rather than on it.
- Use drawer dividers: make the most of every existing drawer.
- Limit decor: choose one personal corner instead of decorating every surface.
- Do a daily reset: return papers and supplies to their zones before leaving.
Teacher Desk Organization Checklist
- Clear the desk completely: start by removing everything.
- Sort by category: planning, papers, supplies, technology, and personal items.
- Create zones: give each category a fixed location.
- Organize drawers: divide small supplies into compartments.
- Move papers vertically: use files, carts, shelves, or clipboards.
- Label storage: make every paper and supply category obvious.
- Add wall organization: use clipboards or a task board.
- Choose your desk palette: coordinate visible accessories.
- Add personal decor: keep it to one small zone.
- Reset daily: spend a few minutes putting everything back.
Common Teacher Desk Organization Mistakes
- Keeping every supply on the desk: store backups and rarely used materials somewhere else.
- Creating paper piles instead of paper zones: every stack should represent a specific action or category.
- Using unlabeled drawers: labels make shared or frequently changing systems easier to maintain.
- Buying too many organizers: decide what needs organizing before purchasing containers.
- Overdecorating the desktop: keep enough empty space to grade, plan, and work comfortably.
- Ignoring vertical space: cubicle-style walls, nearby classroom walls, and bookshelves can reduce desktop clutter.
- Mixing too many classroom themes: repeat the same colors and labels for a calmer look.
- Skipping the daily reset: even a good organization system can fall apart if nothing is returned to its place.
Frequently Asked Questions
How do teachers organize their desks?
The easiest method is to divide the desk into zones for planning, papers, supplies, technology, and personal items. Use drawers and nearby storage for items that do not need to remain visible.
How do I keep student papers from taking over my desk?
Create clearly labeled locations for papers that need grading, returning, copying, filing, or another action. A drawer cart, vertical files, wall clipboards, or paper trays can all work.
What should be on a teacher desk?
Keep only daily essentials visible, such as your computer, planner, frequently used supplies, current papers, and perhaps one or two personal items.
How can I make my teacher desk look cute but organized?
Choose a coordinated color palette, use matching labels and organizers, decorate the front of the desk, and keep personal decor limited to a small area.
How can I organize a teacher desk with very little storage?
Use wall clipboards, vertical file holders, a rolling cart, a nearby bookshelf, or a labeled drawer unit. Moving storage vertically or beside the desk preserves the main work surface.
How often should I clean my teacher desk?
A brief reset at the end of each day can prevent clutter from building up. A more thorough drawer and paper cleanup can be done periodically when supplies or lesson units change.
Recommended Finds for Teacher Desk Organization
Choose storage based on a specific problem at your desk. The goal is to make materials easier to reach and easier to put away, not simply to add more containers.
- Drawer organizer trays — for separating stationery and small teacher supplies.
- Vertical file organizer — for current lesson plans, notebooks, and paperwork.
- Rolling teacher cart — for keeping frequently used classroom materials close by.
- Teacher toolbox organizer — for clips, sticky notes, stamps, markers, and other small supplies.
- Multi-drawer paper cart — for grading, copies, subjects, and weekly materials.
- Teacher desk mat — for defining the main work zone and adding color.
- Wall clipboards — for schedules, missing work, reminders, and substitute information.
Final Thoughts
The best teacher desk organization ideas make it easier to manage a busy school day while still giving you a workspace that feels personal.
Start by clearing the desk and assigning clear zones for planning, papers, supplies, and personal items. Use drawers and vertical storage for small materials, a rolling cart or bookshelf for overflow, and wall clipboards for documents that need to stay visible.
Once the practical system is working, add the fun details: bulletin-board borders, your name, a coordinated desk mat, matching labels, and a small plant or photograph.
A teacher desk does not need to be perfectly styled. It simply needs to make your daily routine easier while giving you one organized, cheerful corner of the classroom that feels like your own.

Ankit is an engineer by profession and blogger by passion. He is passionate to do all the stuff such as designing the website, doing the SEO, researching for the content, writing tech blog posts and more.