

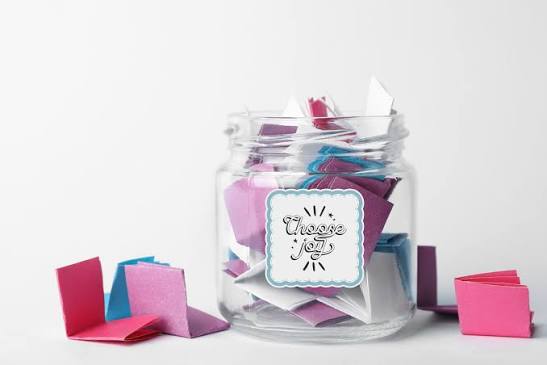
Some of life’s happiest moments are surprisingly small. A thoughtful message from a friend, a relaxing morning coffee, an unexpected compliment, or a beautiful sunset can brighten an ordinary day. But as life gets busy, it’s easy to forget these little moments. That’s where a happiness jar comes in.
A DIY happiness jar is a simple, meaningful craft that helps you collect your favorite memories and positive experiences throughout the year. Whenever something makes you smile, write it on a small piece of paper, fold it, and place it inside your decorated jar. Over time, the jar becomes a collection of personal memories you can revisit whenever you want to reflect on the good things in your life.
In this step-by-step guide, you’ll learn how to make your own happiness jar using an ordinary glass container, colorful paper, and simple craft supplies. You’ll also discover how to personalize the jar with adhesive vinyl using a Cricut or Silhouette, create adorable heart-shaped notes, find inspiration for what to write, and turn the finished project into a thoughtful handmade gift.
Best of all, you don’t need expensive tools or advanced crafting skills. You can make a beautiful happiness jar with supplies you already have at home.
Affiliate disclosure: This article contains Amazon shopping links. We may earn a commission from qualifying purchases made through eligible affiliate links at no additional cost to you.
More Easy DIY Crafts and Handmade Gift Ideas
If you love making personalized decorations and meaningful handmade gifts, explore these related DIY projects from Android Nature.
- 16 Easy Dollar Store Valentine’s Gifts to Make With Cricut or Silhouette for personalized jars, containers, and inexpensive gift ideas.
- 15 Re-usable DIY Party Decor Ideas to Try for mason jar crafts and decorations you can enjoy again.
- How to Make a Conversation Heart Banner for Valentine’s for another adorable paper and vinyl craft.
- 16 Affordable DIY Valentine’s Decorations for handmade accents using everyday craft supplies.
What Is a Happiness Jar?
A happiness jar, sometimes called a gratitude jar, memory jar, blessings jar, or happy moments jar, is a container filled with handwritten notes about good experiences. Each note represents something you appreciated, enjoyed, accomplished, or want to remember.
The idea is simple: write down a happy moment, add the date if you like, fold the paper, and drop it inside. You can write a note every day, once a week, or whenever something meaningful happens. At the end of the year, or whenever you feel like looking back, open the jar and read the memories you’ve collected.
A happiness jar can be a personal reflection project, a family tradition, a friendship keepsake, or a thoughtful homemade present. You can also make one for birthdays, anniversaries, New Year’s celebrations, or special milestones.
Easy happiness jar formula: One clean jar + small pieces of paper + a pen + meaningful moments + a simple routine for collecting memories.
There’s no pressure to fill the jar every day. The project should feel enjoyable rather than like another task on your to-do list. Some notes might describe major accomplishments, while others might celebrate something as simple as laughing with a friend or enjoying a peaceful evening.
DIY Happiness Jar: Project Overview
| Project Detail | Description |
|---|---|
| Project Type | DIY Memory and Gratitude Jar |
| Difficulty | Beginner-Friendly |
| Estimated Crafting Time | 20–45 Minutes for a Simple Jar |
| Estimated Budget | Approximately $5–$15 With Basic Supplies |
| Main Material | Glass Jar or Reusable Container |
| Optional Decoration | Adhesive Vinyl, Labels, Ribbon, Paper Hearts |
| Cutting Machine Required? | No, Optional for Personalized Decals |
| Best For | Personal Keepsakes, Gifts, Families, Couples |
| Suggested Memory Collection | Daily, Weekly, or Whenever You Like |
Budget note: Costs are approximate and assume you have basic household tools. A cutting machine, specialty vinyl, or large quantities of decorative supplies will increase the total cost.
Materials Needed to Make a Happiness Jar
Start by gathering your supplies. You only need a container, paper, and a pen to create a functional happiness jar. The other materials are optional ways to make the finished project more decorative and personal.
Basic Supplies
- One clean, dry glass mason jar or another suitable reusable container.
- Colored cardstock, scrapbook paper, or ordinary writing paper.
- A pen, pencil, or fine-tip marker.
- Scissors or a paper trimmer.
- A small label or cardstock tag.
- Ribbon, twine, or decorative string, if desired.
- A container or envelope for storing blank happiness notes.
Optional Cricut or Silhouette Supplies
- Cricut, Silhouette, or another compatible cutting machine.
- Self-adhesive vinyl suitable for smooth glass surfaces.
- Transfer tape compatible with the chosen vinyl.
- A weeding tool and scraper or burnishing tool.
- A cutting mat and blade appropriate for the material.
- Rubbing alcohol and lint-free cloth for preparing the outside of the jar.
- Optional cardstock heart designs or a heart-shaped cutting template.
Beginner tip: If you don’t own a cutting machine, use a handwritten label, permanent marker suitable for the container, or a small paper tag tied around the neck of the jar. Your happiness jar will work just as well without vinyl decorations.
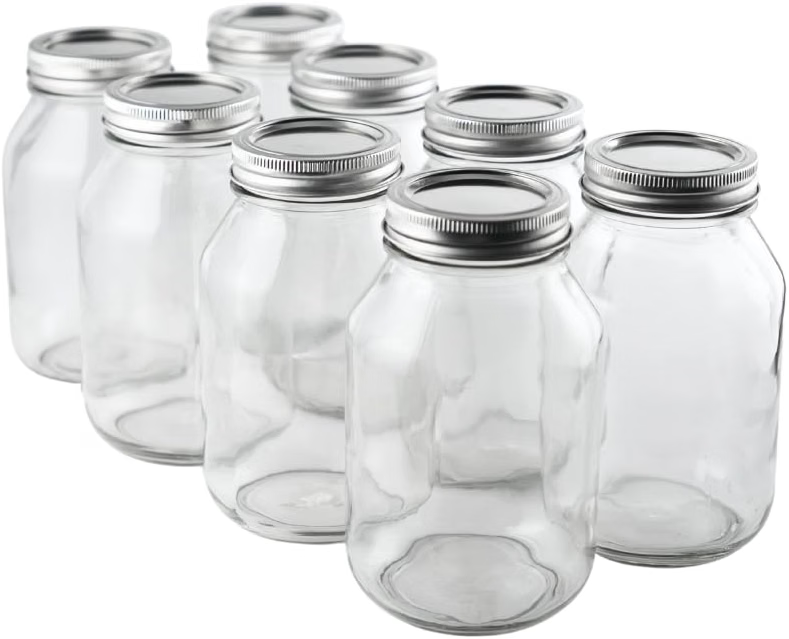
Amazon Find: Clear Glass Mason Jars With Lids
A smooth-sided mason jar provides plenty of space for happy memories and is easy to decorate with ribbon, labels, or vinyl lettering.
How to Make Your Own Happiness Jar: 10 Easy Steps
1. Choose the Perfect Jar for Your Happy Memories
Begin by selecting a container that fits your space and the number of memories you want to collect. A clear mason jar is a lovely choice because you can see the colorful paper notes building up over time. A recycled glass jar, decorative container, or sturdy box can also work beautifully. There’s no requirement to use a particular size or shape.
If you plan to collect a note every day, choose a larger jar with a wide opening so folded papers are easy to insert and remove. For a weekly gratitude project, a smaller jar may be enough. Look for a container with a stable base, smooth sides, and a lid that can be opened easily. Avoid chipped or cracked glass, and place the finished jar where it won’t be knocked off a shelf or table.
Budget tip: Reuse an empty glass food jar after washing it thoroughly and removing the label. A simple recycled jar can look just as beautiful as an expensive decorative container.
2. Clean and Prepare the Glass Surface
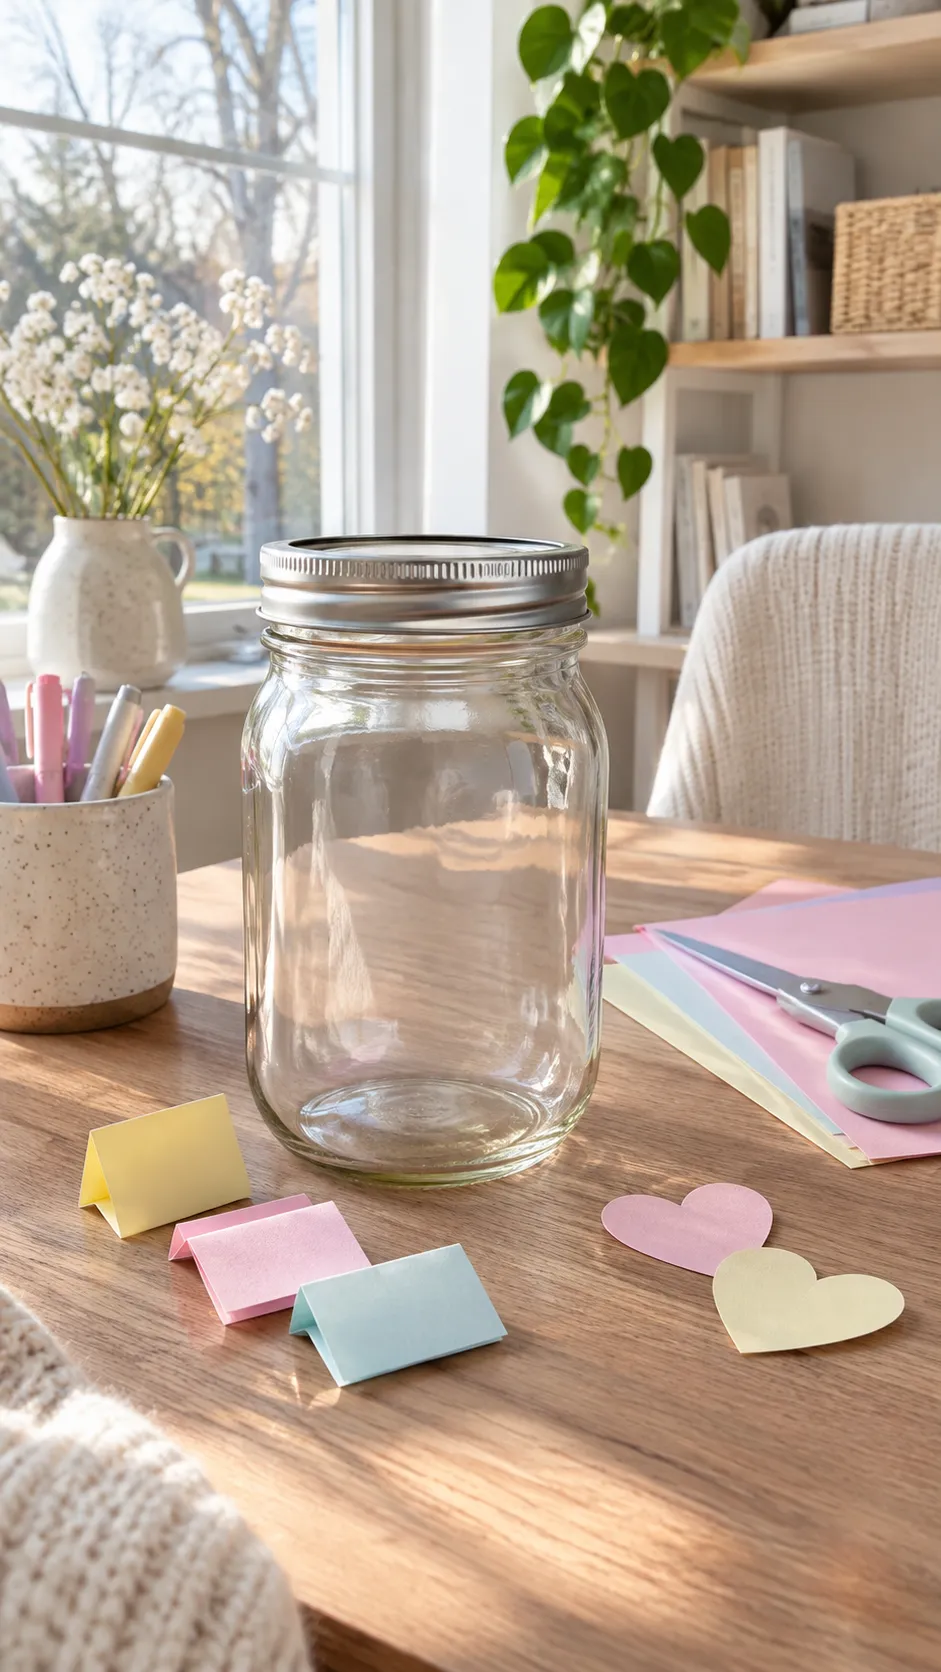
A clean jar provides a better surface for adhesive vinyl and other decorations. Dust, grease, leftover label adhesive, and fingerprints can interfere with how smoothly the decoration attaches. Preparing the glass before adding lettering helps the finished project look neater and more polished.
Wash the jar with warm soapy water and dry it completely. Remove any leftover paper or glue from the original label using a method appropriate for the glass. If you’re applying vinyl, wipe the exterior decorating area with rubbing alcohol using a lint-free cloth, following the vinyl manufacturer’s surface-preparation guidance. Allow the glass to dry before continuing. Keep the jar away from nearby flames while working with alcohol, and do not apply vinyl to damp glass.
Practical tip: Choose a smooth section of glass for the lettering. Raised logos and textured patterns can make small vinyl letters harder to apply evenly.
3. Create a Personalized Happiness Jar Label
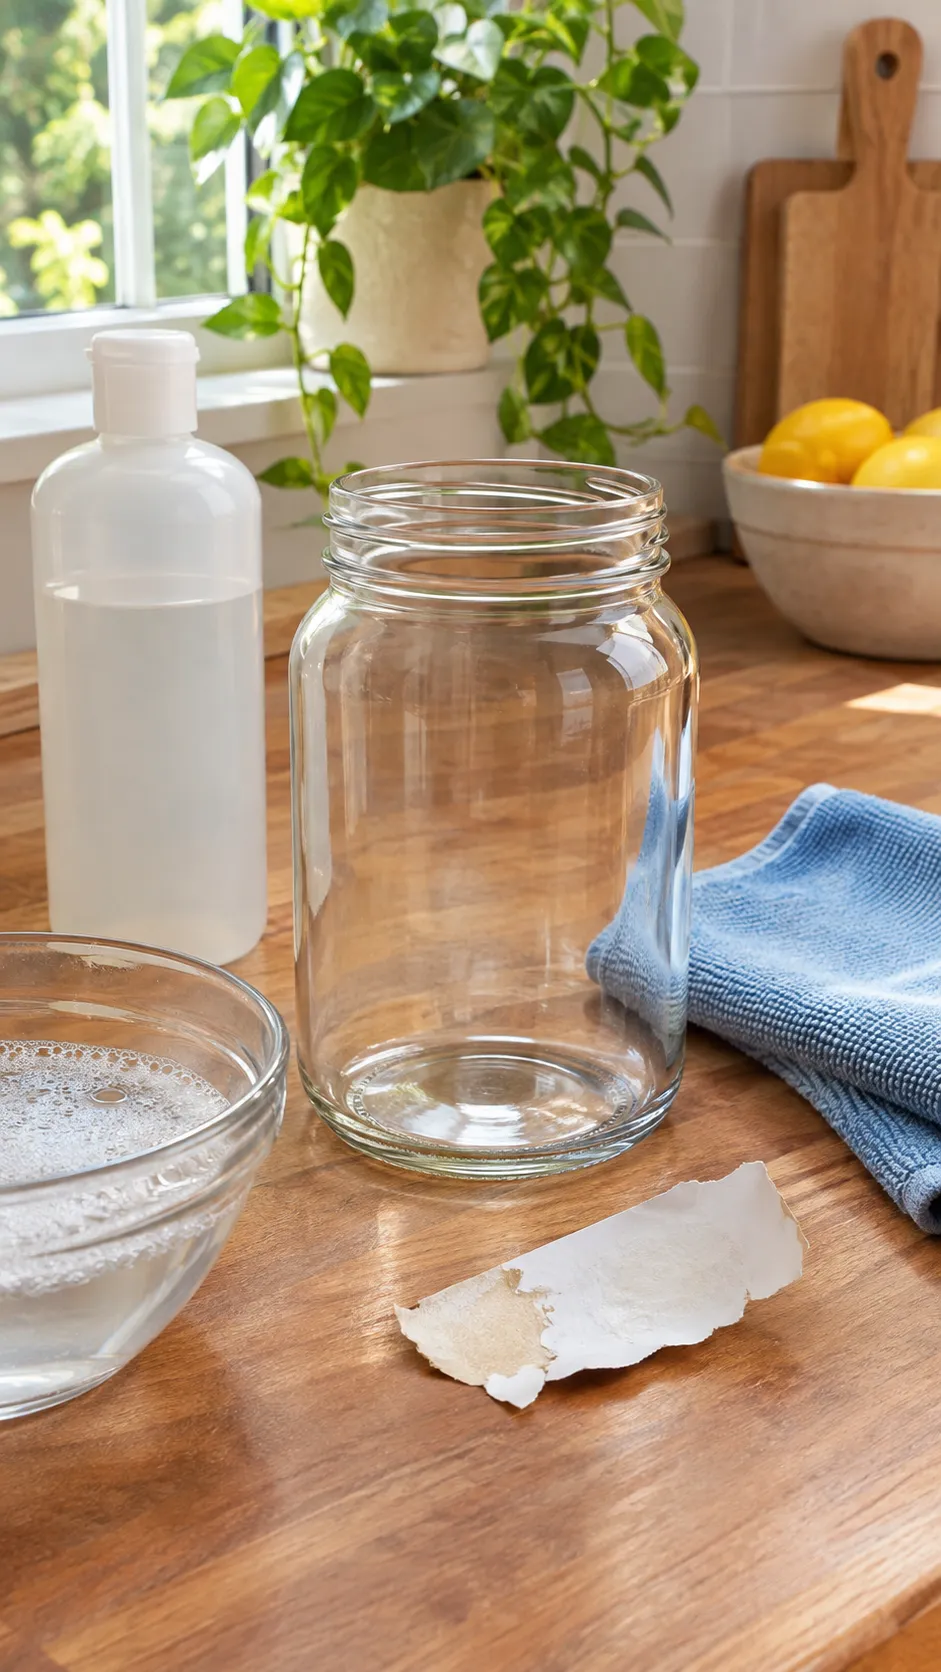
Personalizing the jar is one of the most enjoyable parts of the craft. A simple label turns an everyday container into a meaningful keepsake. You can choose a traditional title such as Happiness Jar, or create a more personal message that reflects the purpose of your collection. Short lettering usually looks best on small glass containers because it remains easy to read.
Use your cutting machine’s design software to create a lettering design, or handwrite the words on a small cardstock tag. If making a vinyl decal, measure the available glass surface first and choose a simple font with enough thickness for clean cutting. You might add a small heart, star, flower, or smile symbol beside the text. Keep the design centered and leave space around the edges. If you’re using another creator’s SVG or cut file, follow its download and usage terms rather than assuming every online design is free to redistribute.
Creative label ideas: My Happiness Jar, Little Joys, Happy Moments, The Good Things, Gratitude Jar, Our Favorite Memories, or A Year of Smiles.
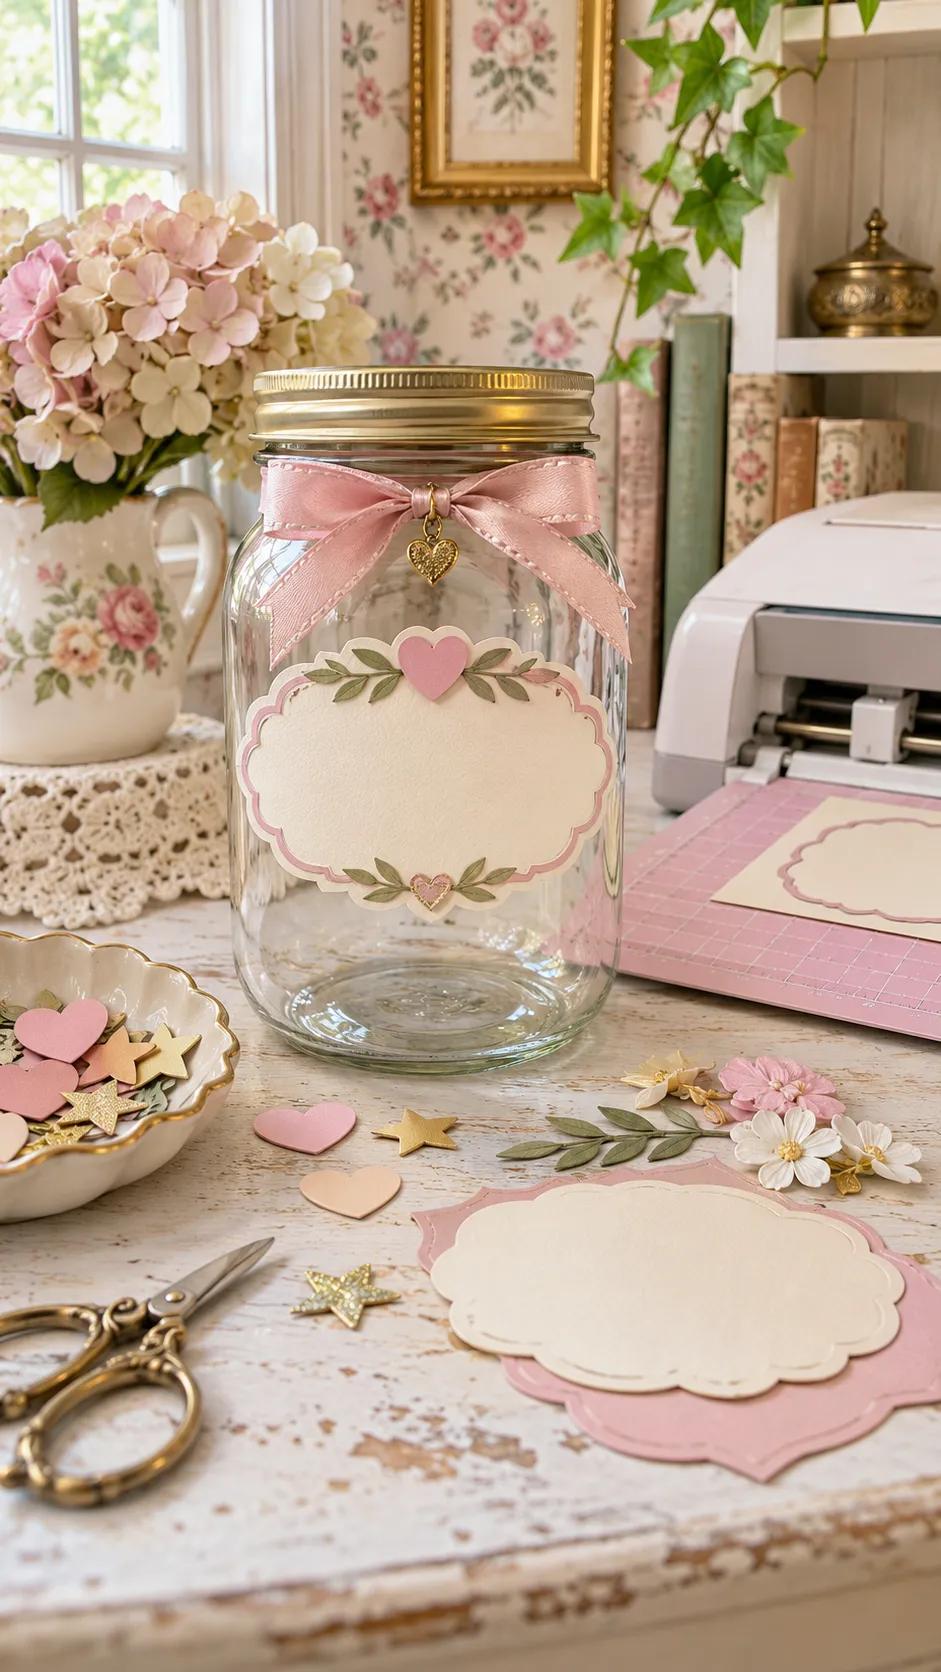
Amazon Find: Permanent Adhesive Vinyl for Glass Crafts
Adhesive vinyl can create crisp personalized lettering on suitable smooth glass jars. Check the material’s compatibility with your cutting machine and follow the manufacturer’s application instructions.
4. Cut and Weed Your Vinyl Decal
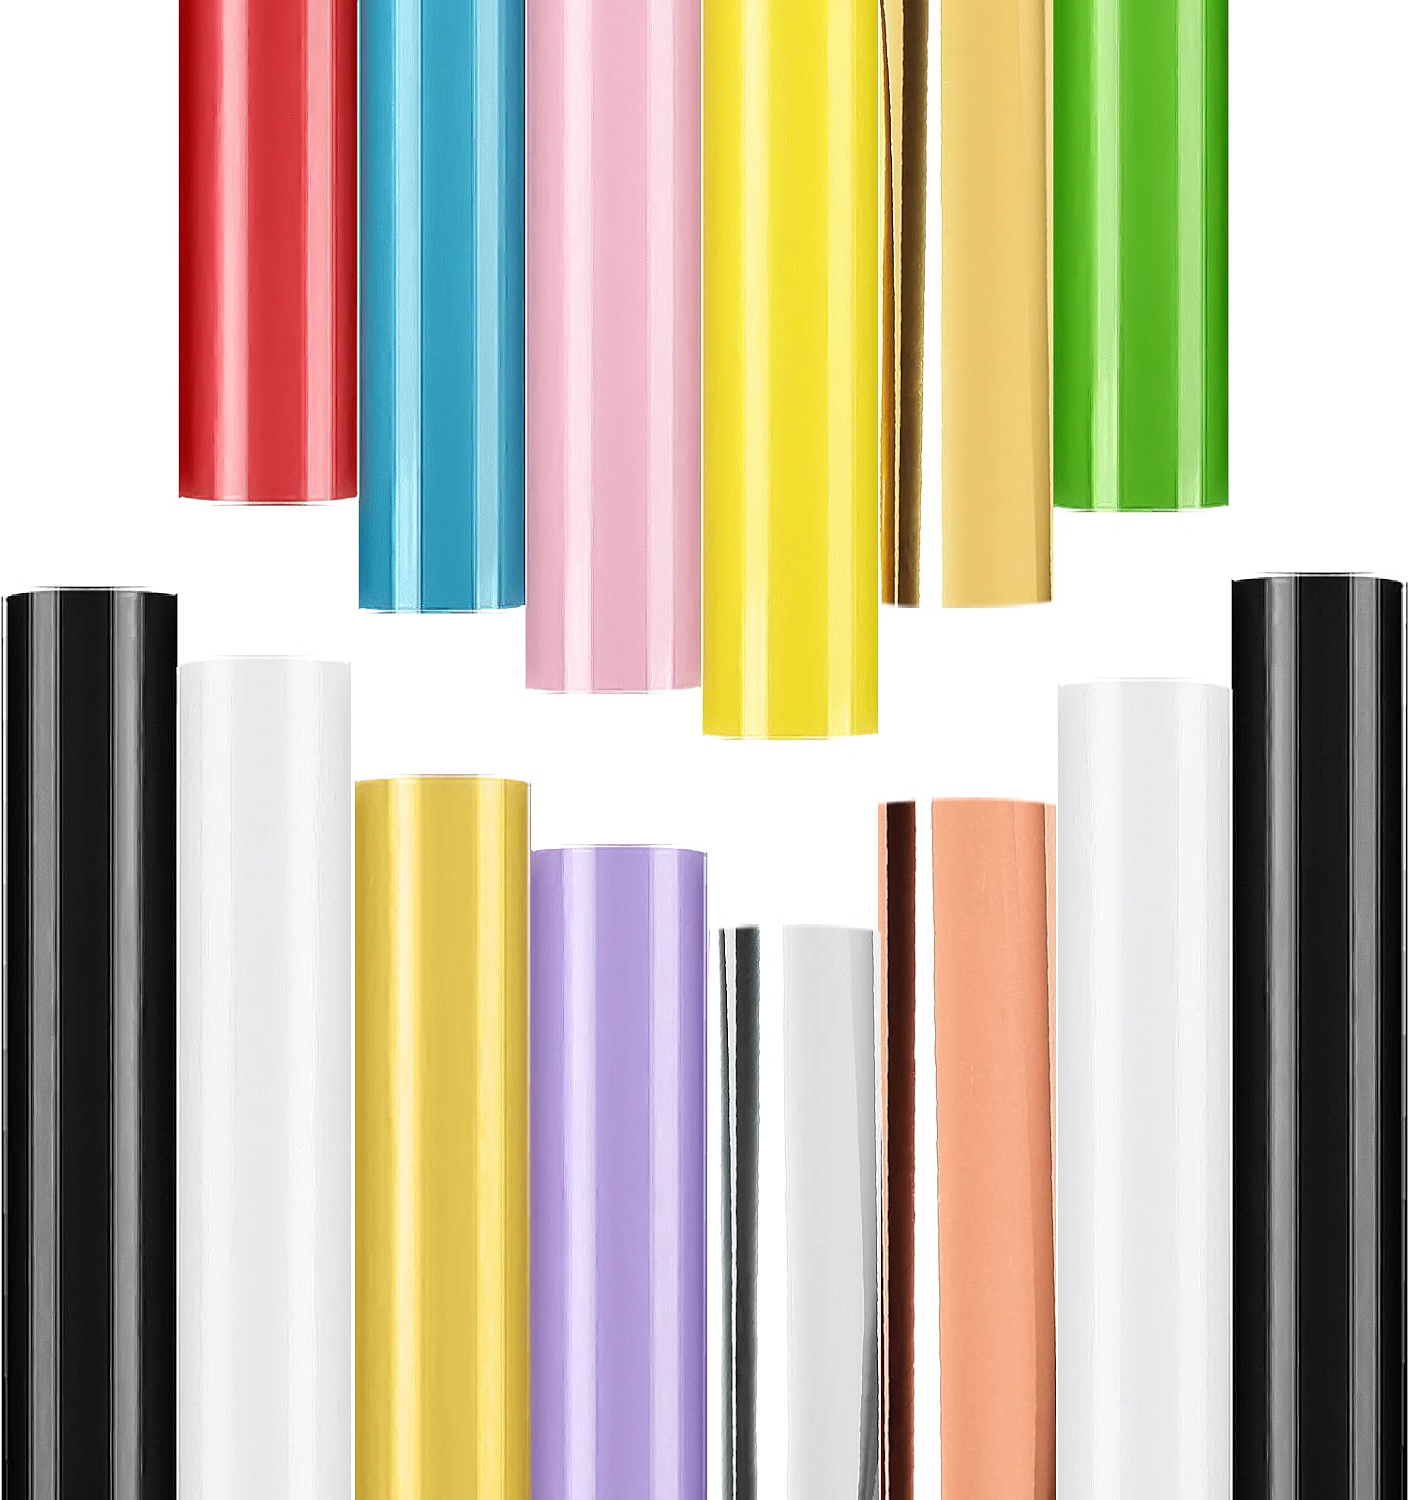
If you’re using a Cricut or Silhouette, the next step is cutting your happiness jar design from adhesive vinyl. This method creates precise lettering that can make a simple jar look like a personalized gift. A single-color design is particularly beginner-friendly because it avoids the need to align several separate vinyl layers.
Place the vinyl on the appropriate cutting mat and select the recommended material settings for your machine and vinyl. Perform a test cut if you’re unfamiliar with the material. Once the design is cut, remove the excess vinyl from around the lettering using a weeding tool. Work slowly around small letters and decorative shapes so you don’t accidentally remove the parts you want to keep. A simple bold font will generally be easier to weed than extremely delicate script lettering.
No-machine alternative: Print or handwrite your design on paper, cut the label neatly, and attach it with a suitable removable adhesive or tie it to the jar using ribbon.
5. Apply the Lettering Neatly to the Jar
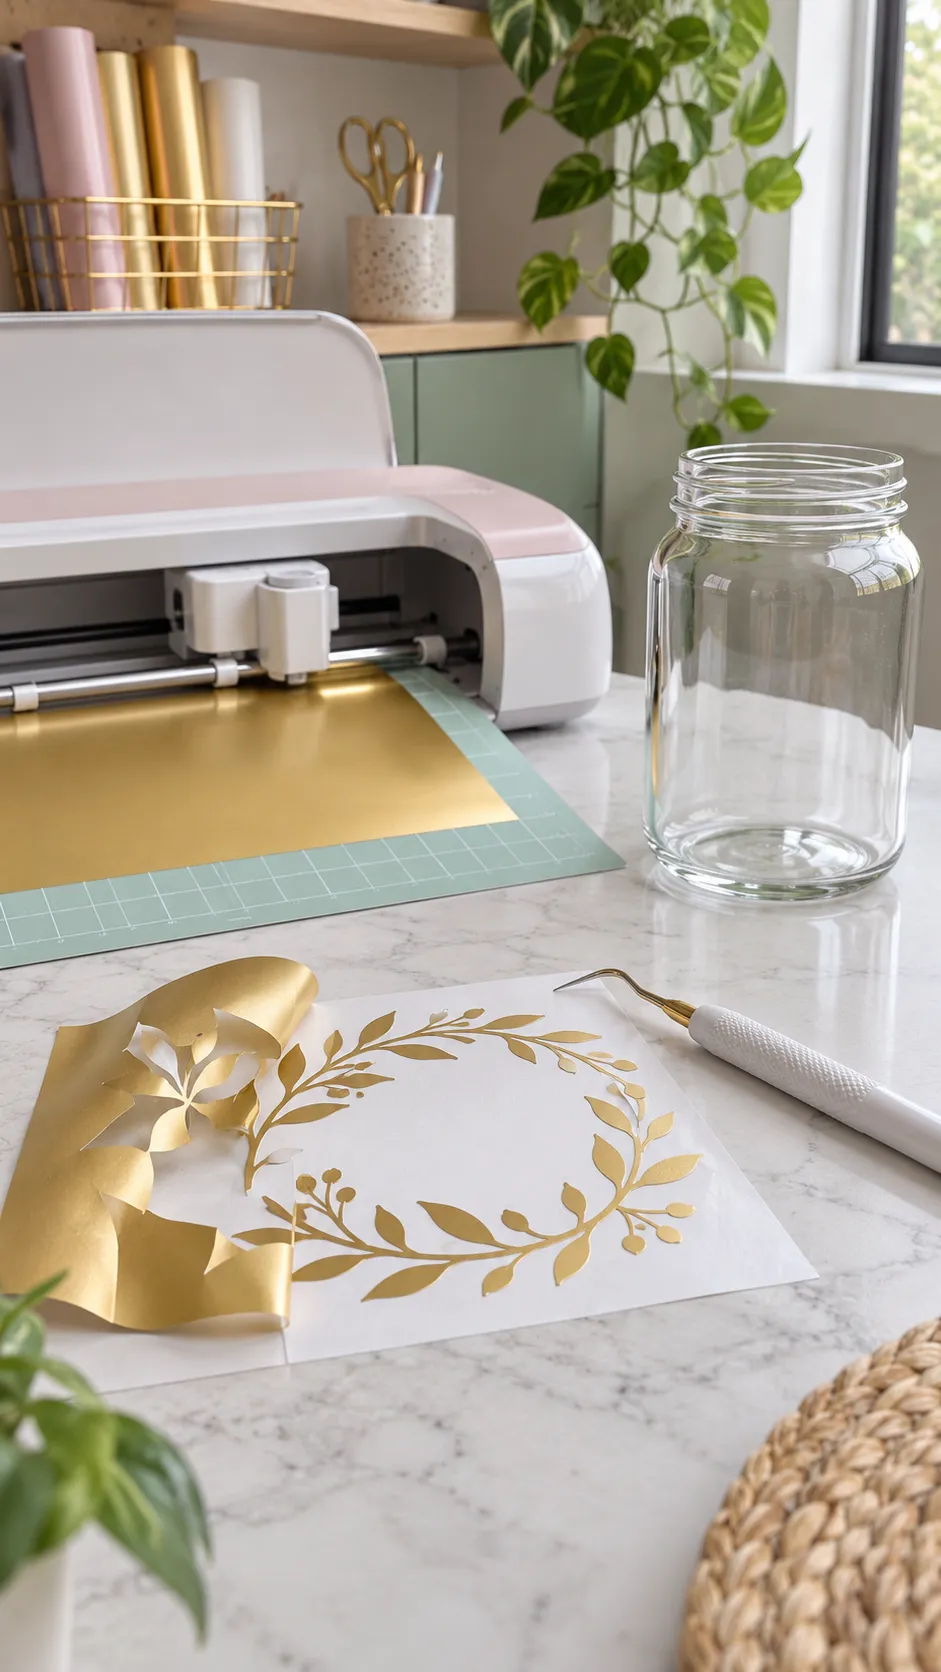
Applying the label is the moment when your plain container begins to look like a finished craft. Take your time during this step because careful positioning makes the design appear more polished. Transfer tape is especially useful for moving vinyl lettering onto glass while maintaining the spacing between individual letters.
Cut a piece of compatible transfer tape large enough to cover your decal. Apply it to the weeded design and smooth it carefully using a scraper. Lift the lettering from its backing, then position it on the clean, dry jar. Start pressing from the center outward to reduce air bubbles. Burnish the design gently and peel away the transfer tape according to the product instructions. If part of the lettering lifts with the tape, press it down again before continuing. Leave the lid and opening free from decorations that could interfere with normal use.
Finishing tip: After applying vinyl, follow the material manufacturer’s recommended settling and cleaning instructions. Decorative craft vinyl should stay on the exterior and away from food-contact areas.
6. Cut Small Colorful Paper Notes or Hearts
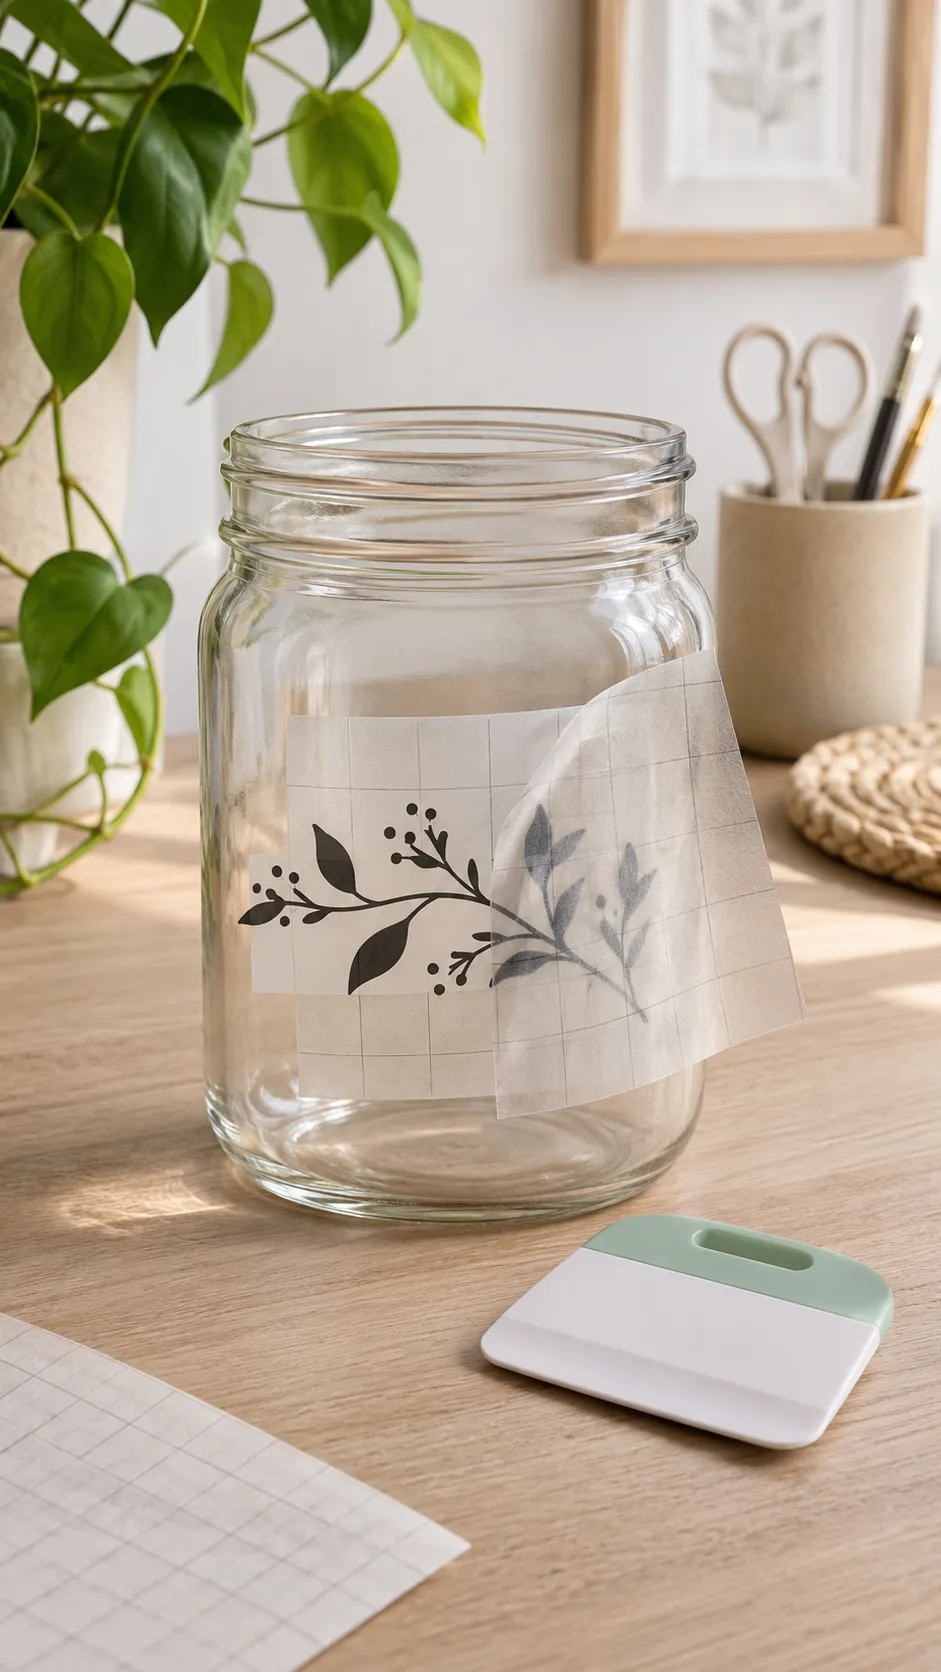
Now it’s time to create the little pieces of paper that will hold your memories. Small colorful notes make the happiness jar look cheerful as it fills throughout the year. You can use rectangular slips, circles, stars, or heart shapes depending on the style you prefer. Heart-shaped notes are especially cute for a handmade gift or a jar displayed in a bedroom or craft corner.
Choose cardstock or writing paper in a few coordinated colors. Pastel pink, yellow, lavender, sage, and peach create a gentle palette, while brighter shades make a playful display. Cut the paper into small pieces large enough for one or two sentences. If you’re using a cutting machine, create a simple repeating heart design and cut several shapes from each sheet. For a no-machine project, make one cardboard heart template and trace it onto your paper. Avoid cutting notes so small that they’re difficult to write on or unfold later.
Crafting tip: Prepare a small stack of blank notes in advance and keep them beside the jar. Having everything ready makes it easier to add memories whenever you want.
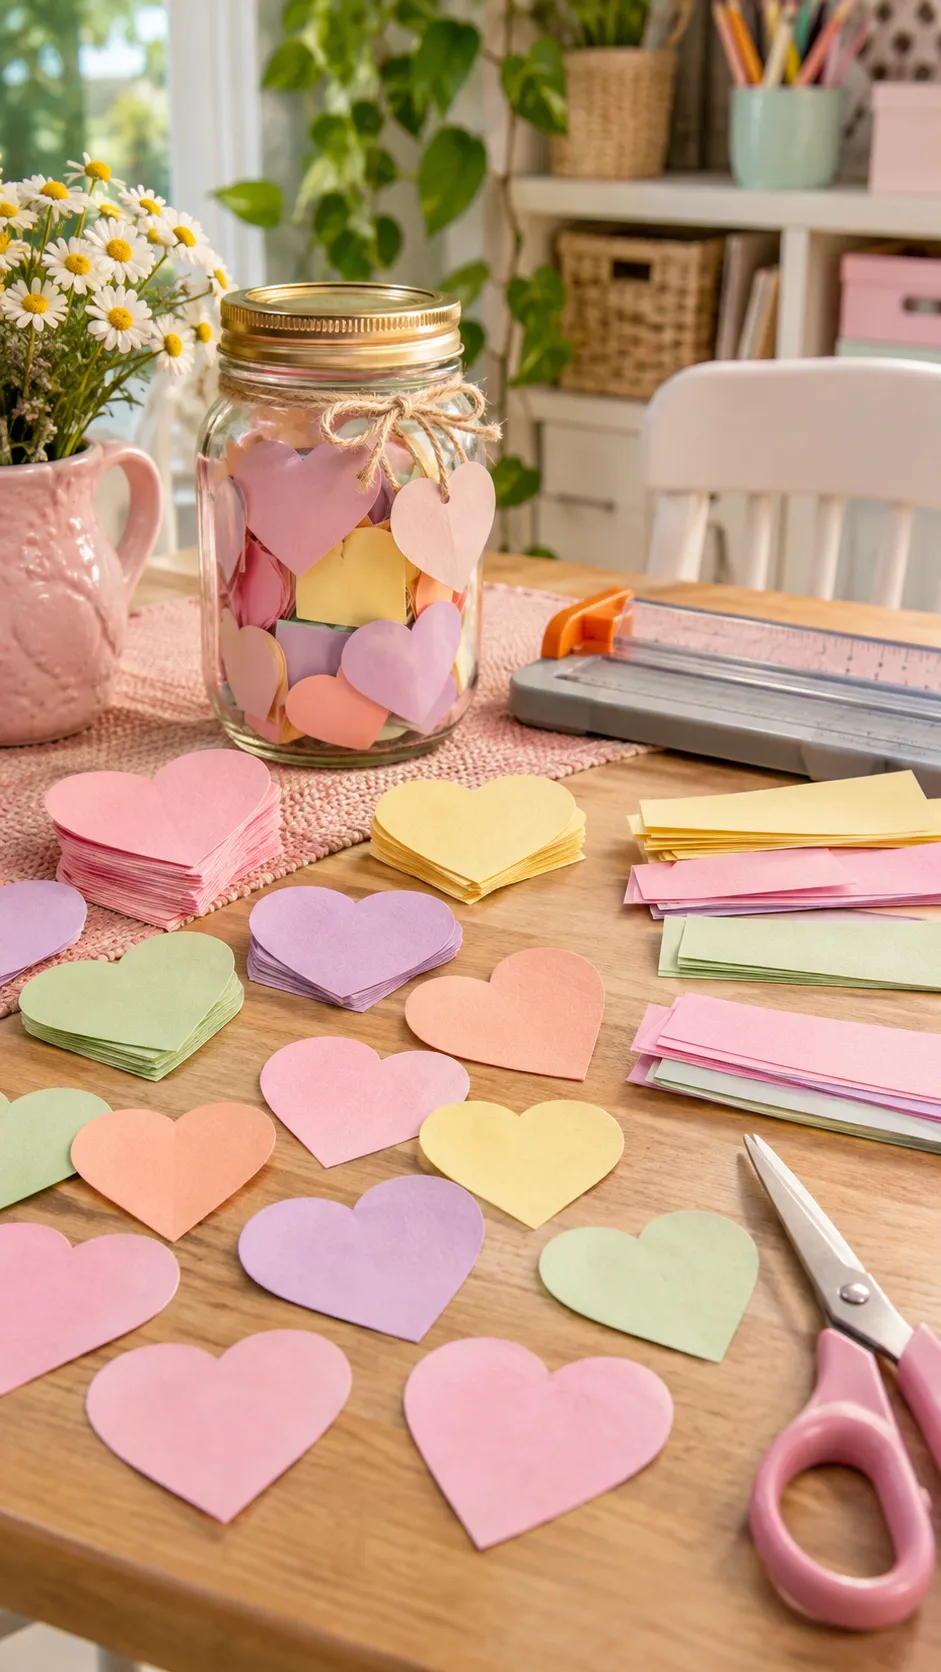
Amazon Find: Pastel Cardstock Paper for Crafts
Pastel cardstock is useful for making colorful hearts, gift tags, and memory notes. Choose a paper weight that works with your scissors or cutting machine and is comfortable to write on.
7. Add Ribbon and Simple Decorative Details
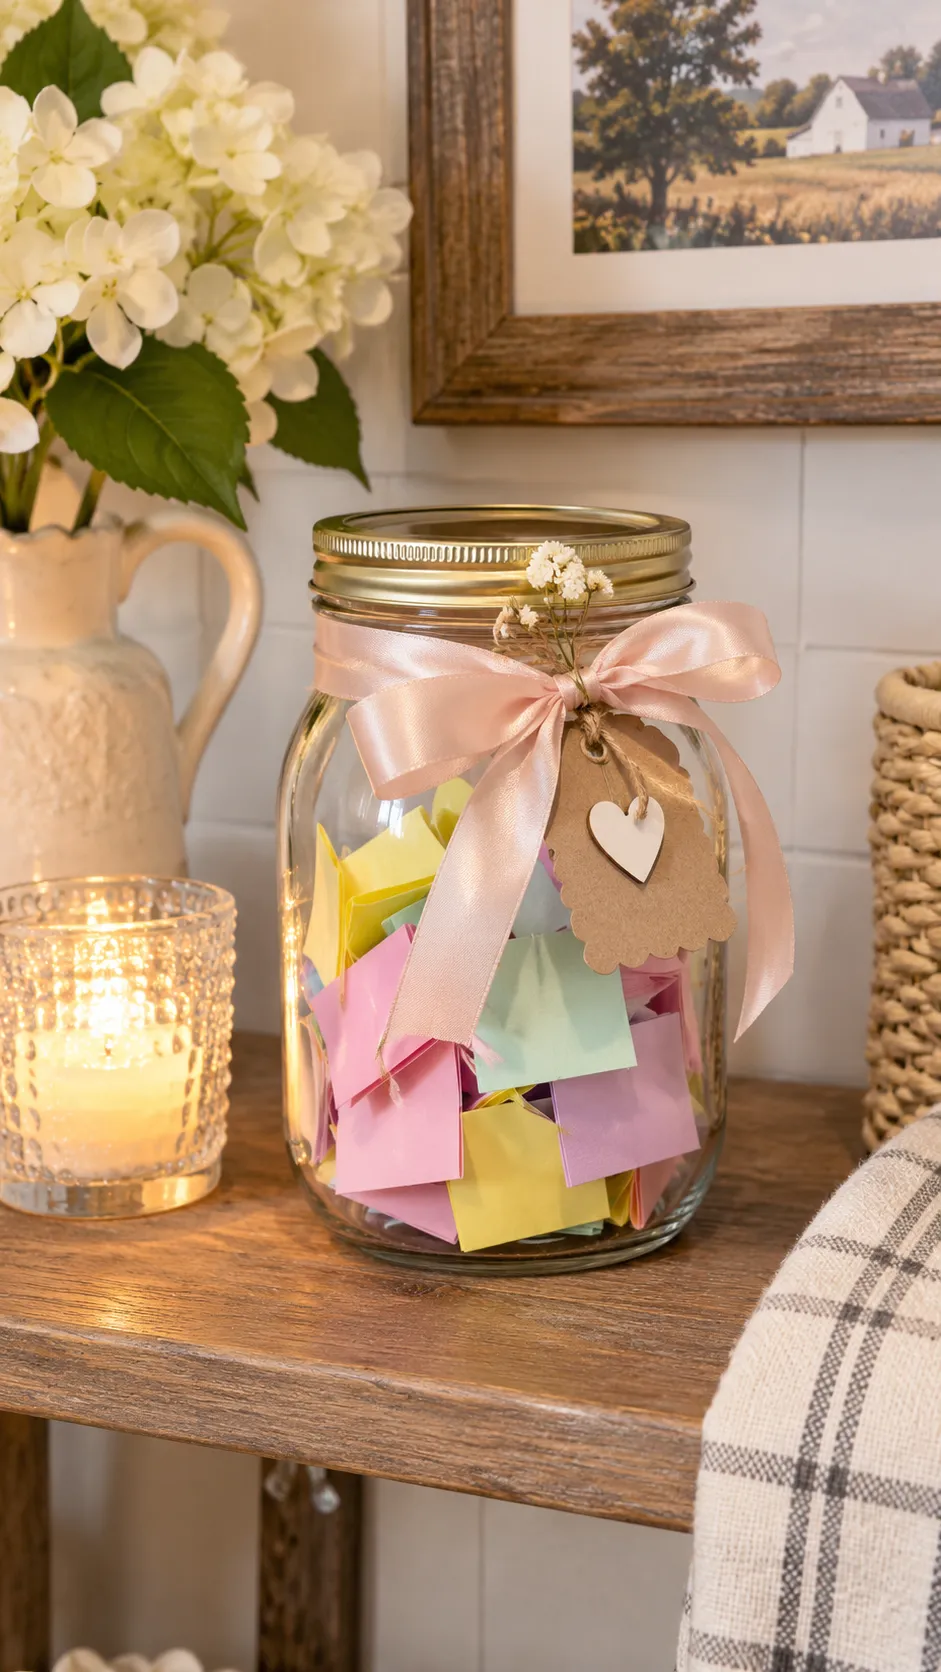
Once the label is attached, add a few decorative finishing touches to make the happiness jar feel special. A narrow ribbon or simple tag can complement the lettering without covering too much of the glass. Because the colorful notes will eventually become part of the decoration, the jar itself doesn’t need to be overly elaborate.
Tie a satin ribbon, cotton twine, or thin fabric bow around the neck of the jar. Choose a color that matches your paper hearts, such as blush, cream, pale yellow, or sage green. Add a small paper tag with the starting year or recipient’s name if you’re giving the jar as a gift. For a farmhouse look, use natural jute twine and a kraft paper label. For a more elegant appearance, choose a simple gold vinyl decal and a champagne-colored ribbon. Avoid attaching loose beads or small decorative pieces where young children may reach them.
Styling tip: One ribbon and one label are often enough. The real beauty of a happiness jar comes from the memories inside, so leave most of the glass visible.
8. Write Your First Happy Memory
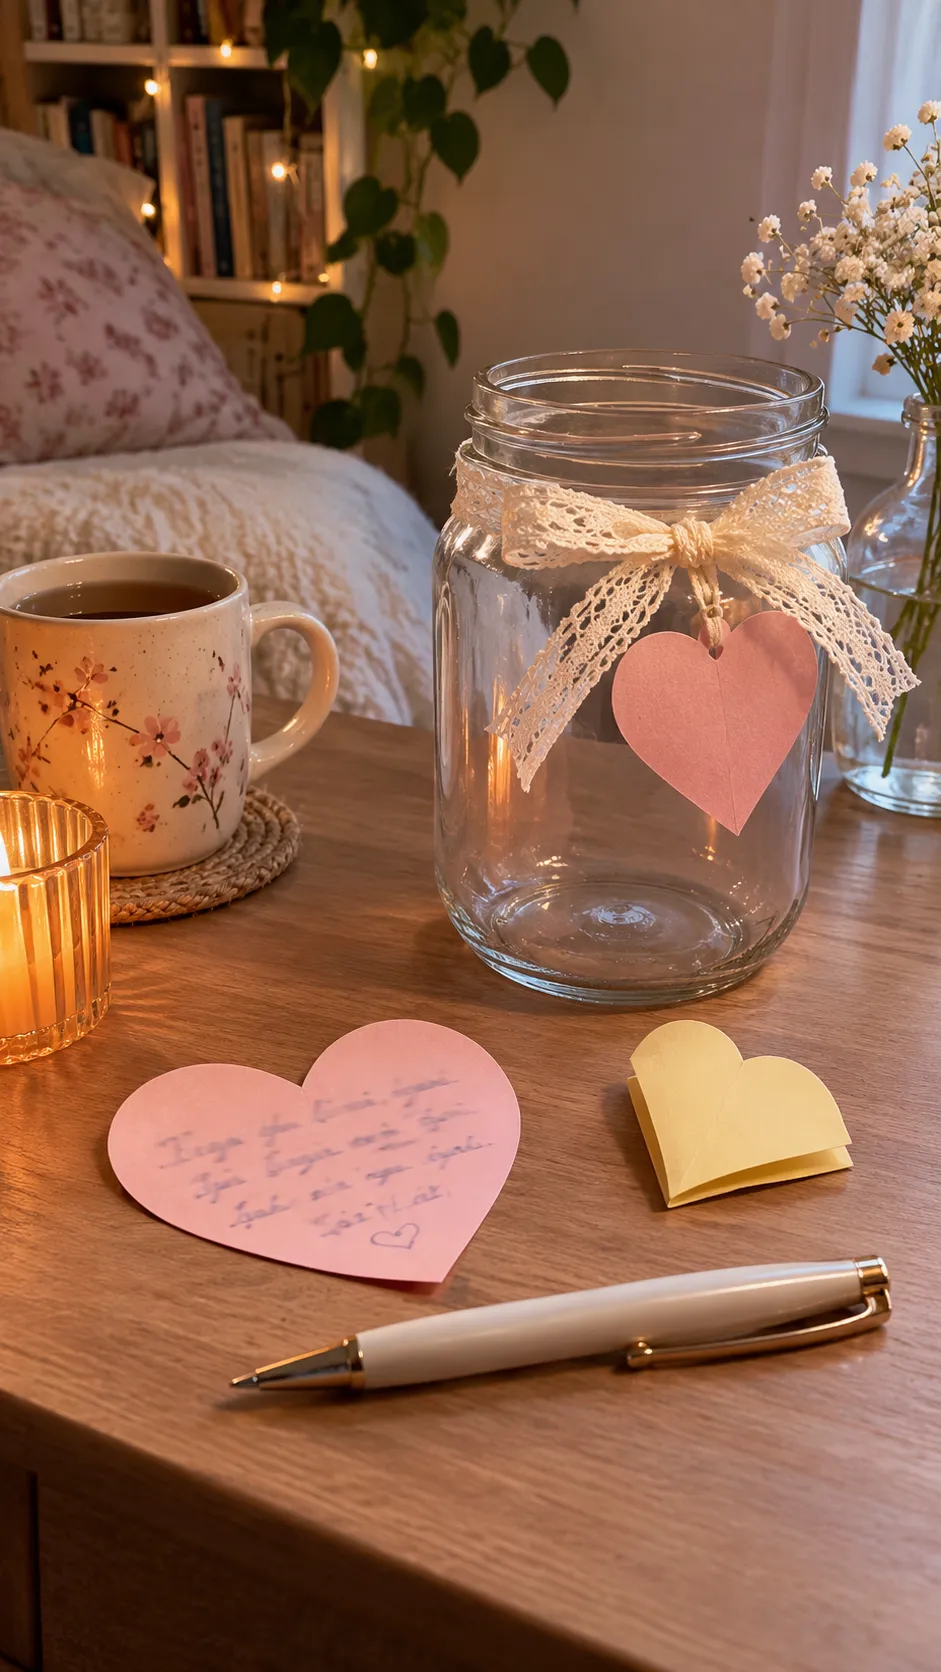
Your happiness jar is ready to use. The first memory doesn’t need to be a major accomplishment or exciting event. A quiet, ordinary moment can be just as meaningful. Think about something that made you smile recently, someone who showed you kindness, or a small experience you appreciated.
Take one paper heart and write the date at the top. Underneath, describe your happy moment in a sentence or two. For example, you might write about having a wonderful conversation with a friend or finally finishing a project you’ve been working on. Fold the paper gently and place it inside your jar. You can also include small mementos such as a photograph or a ticket stub when they’re clean, dry, and appropriate for storage. Keep private information out of a shared jar unless everyone involved is comfortable with it being read later.
Memory tip: Include the date whenever possible. Looking back at when a happy moment happened makes the notes feel more like a personal memory collection.
9. Create an Easy Habit of Adding New Notes
The most meaningful part of a happiness jar is collecting memories over time. You don’t need to wait for a perfect day or an extraordinary event. Little experiences often become the most enjoyable memories to read later, especially when they describe moments you might otherwise forget.
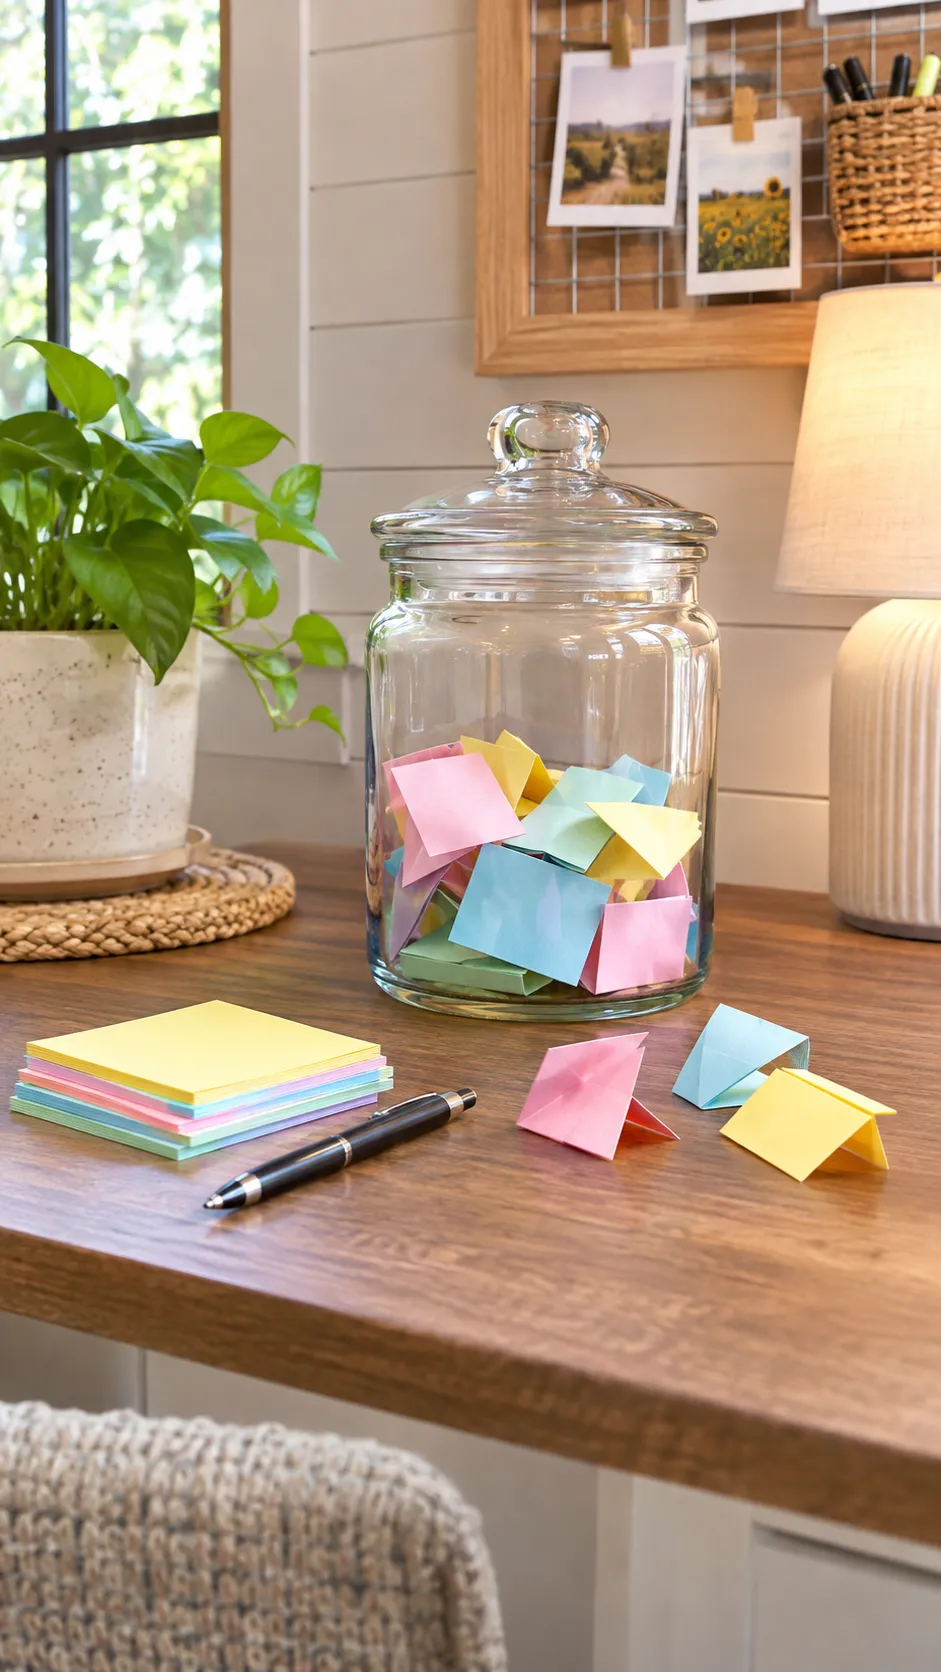
Choose a simple routine that suits your schedule. You might write one note before bedtime, add a few moments every Sunday, or make a note whenever something memorable happens. Place the jar beside your journal, on your desk, or somewhere else you’ll notice it. Keep a pen and blank paper nearby so writing a note doesn’t require extra preparation. If you miss several days, simply continue when you feel like it. The purpose is to create a meaningful keepsake, not to track perfect consistency.
Family idea: Let everyone contribute a memory during a weekly family dinner. Use different paper colors for each person if you’d like to remember who wrote each note.
10. Open Your Happiness Jar and Enjoy the Memories
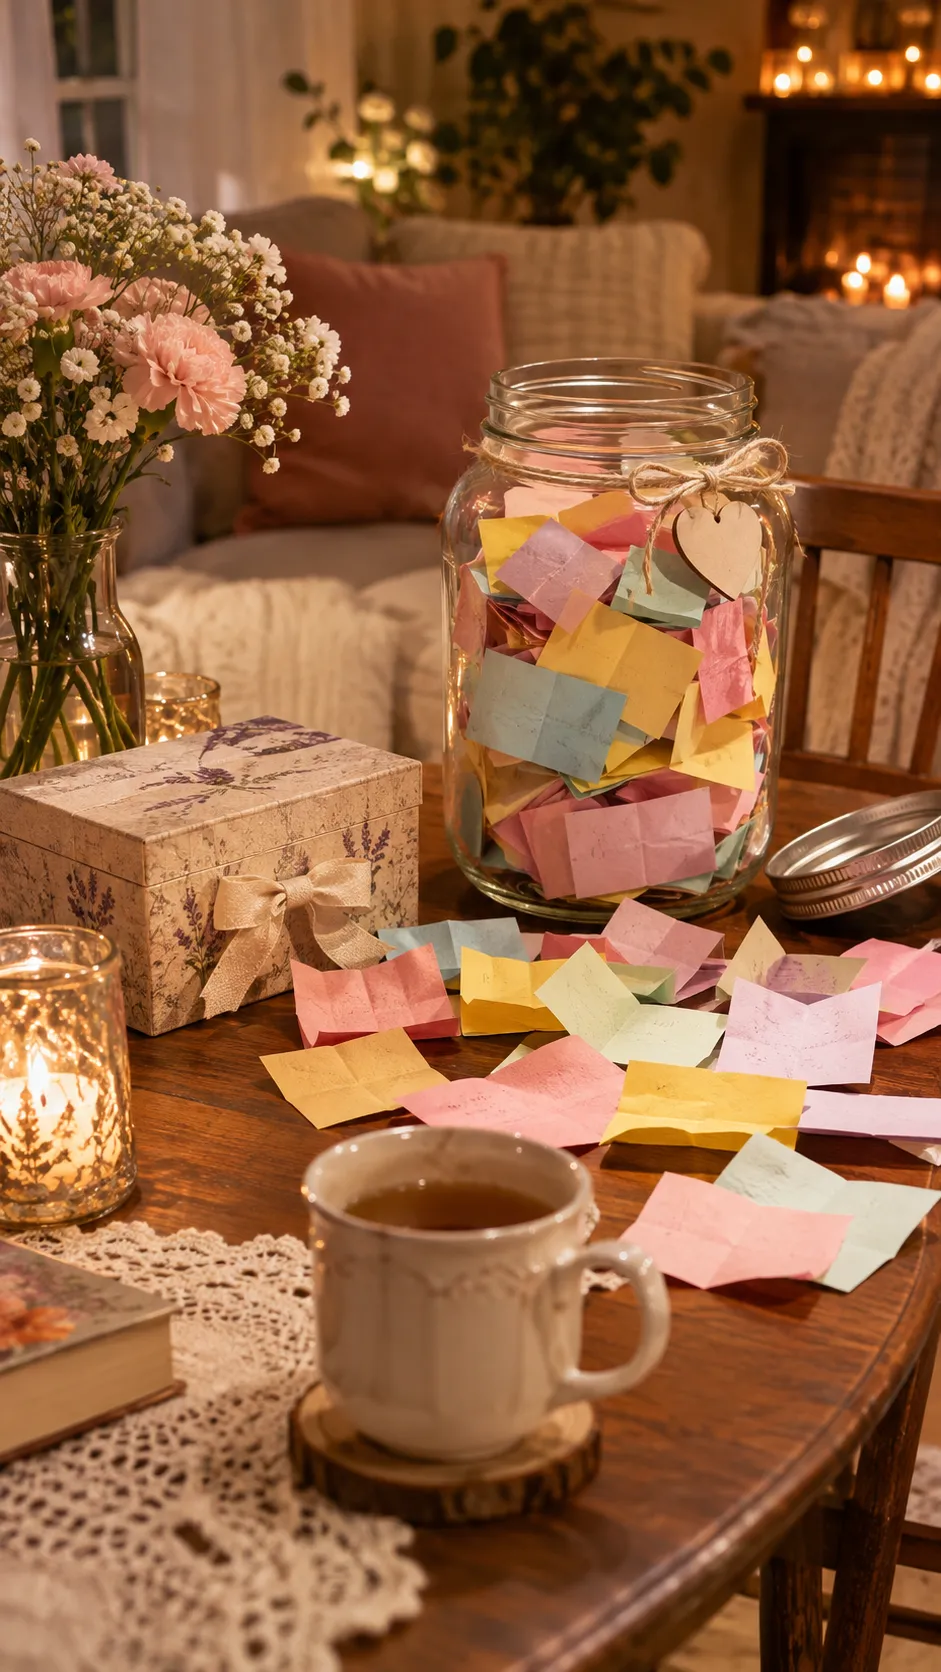
One of the loveliest parts of making a happiness jar is opening it after months of collecting memories. The notes offer a personal record of ordinary joys, milestones, meaningful relationships, and small moments that mattered to you. Reading them can become a comforting reflection ritual or a special family tradition.
You might choose to open your jar on New Year’s Eve, your birthday, an anniversary, or whenever you want to remember something positive. Read the notes privately or share selected memories with the people who contributed them. Afterward, store your favorite papers in a labeled envelope or keepsake box so you can use the jar again. If a note brings up mixed emotions, you can skip it or put it aside. A happiness jar is meant to be flexible and personal rather than an obligation to feel happy all the time.
Keepsake tip: Save each year’s notes in a separate envelope marked with the date. Over time, you can build a collection of memories without needing a new glass jar every year.
What Should You Write in a Happiness Jar? 30 Easy Ideas
If you’re wondering what to write on your happiness jar notes, start with everyday moments that made your day a little better. There’s no need to write something impressive. Specific memories often become the most meaningful ones to revisit.
- A kind compliment someone gave you.
- A funny conversation with a friend.
- A peaceful morning with your favorite drink.
- Something new you learned.
- A delicious meal you enjoyed.
- A beautiful sunset or view you noticed.
- A personal goal you reached.
- A small task you finally completed.
- A thoughtful message from someone you love.
- A movie or book that made you smile.
- A special memory with your family.
- An unexpected act of kindness.
- A fun experience with your pet.
- A song that lifted your mood.
- A new place you visited.
- A cozy evening spent at home.
- A time you helped another person.
- A new recipe that turned out well.
- A birthday or celebration you enjoyed.
- A beautiful flower you saw.
- A moment when you felt proud of yourself.
- An enjoyable walk outdoors.
- A meaningful conversation.
- A surprise that made you happy.
- A creative project you finished.
- A favorite childhood memory you remembered.
- A relaxing day without a busy schedule.
- An encouraging message you received.
- Something you appreciated about your home.
- One moment you’d like to remember years from now.
Writing tip: Instead of writing only “I had a good day,” describe one specific detail. For example: “November 9 — My friend surprised me with coffee, and we spent an hour laughing together.” Details make the memory more vivid when you reread it later.
Creative Happiness Jar Ideas for Different Occasions
Once you know how to make a basic happiness jar, you can customize the project for different people and celebrations. A few changes to the label, paper colors, and prompts can turn the same simple craft into a meaningful keepsake.
1. A New Year’s Happiness Jar
Start a new happiness jar at the beginning of January and add notes throughout the year. Decorate the jar with the current year and choose a different paper color for each season. On New Year’s Eve, open the jar and revisit the memories you’ve collected.
2. A Family Happiness Jar
Place a large jar in a shared living area and invite family members to contribute happy memories. Use simple prompts that are appropriate for different ages, such as “What made you laugh today?” or “What was your favorite part of the weekend?” Read selected notes together during a family celebration.
3. A Couples’ Memory Jar
Make a happiness jar for a relationship anniversary, Valentine’s Day, or a thoughtful everyday gift. Write notes about favorite dates, funny moments, shared achievements, and meaningful conversations. Choose romantic paper colors and add a simple personalized label to make the gift feel special.
4. A Friendship Happiness Jar
Create a jar filled with favorite memories you share with a friend. Include meaningful experiences, funny stories, thoughtful messages, and encouraging notes. This can be a lovely handmade birthday gift or a small present for someone moving away.
5. A Classroom Happiness Jar
Teachers can adapt the idea into a classroom kindness or happy moments jar. Students can contribute age-appropriate notes about teamwork, accomplishments, and positive experiences. Use a durable, nonbreakable container rather than glass around younger children, and avoid publicly reading personal notes without permission.
6. A Birthday Memory Jar
At a birthday party, invite guests to write a favorite memory with the guest of honor. Provide small note cards and pens beside a decorated container. After the celebration, the recipient can read the messages privately and keep them as a personal reminder of the people who attended.
Happiness Jar vs. Gratitude Jar: What’s the Difference?
Happiness jars and gratitude jars are very similar, and many people use the terms interchangeably. The main difference is usually the focus of the notes rather than the container or decorating method.
| Feature | Happiness Jar | Gratitude Jar |
|---|---|---|
| Main Focus | Enjoyable Moments and Memories | Things You Appreciate |
| Example Note | I Had a Wonderful Lunch With a Friend | I’m Thankful for My Supportive Friend |
| Typical Routine | Whenever Something Good Happens | Daily or Weekly Reflection |
| Decorating Method | Any Jar, Paper, and Label | Any Jar, Paper, and Label |
| Best For | Preserving Happy Experiences | Reflecting on Appreciation |
| Can They Be Combined? | Yes | Yes |
You can combine both approaches in one jar by writing about good experiences, gratitude, personal achievements, and meaningful relationships. There are no fixed rules for what belongs inside.
How to Make Your Happiness Jar Look Beautiful
If you want your happiness jar to double as home decor or a handmade gift, choose a simple decorating theme that complements the room where it will be displayed.
- Minimalist happiness jar: Use clear glass, simple black lettering, and plain white paper notes.
- Soft romantic jar: Choose pastel paper hearts, blush ribbon, and a small gold-look decal.
- Rustic farmhouse jar: Use natural twine, kraft paper labels, and cream or beige note cards.
- Colorful happiness jar: Fill the jar with cheerful paper slips in several bright colors.
- Vintage-inspired jar: Add a small paper label, narrow velvet ribbon, and antique-style lettering.
- Family memory jar: Assign a different paper color to each family member for an organized collection.
- Gift-ready happiness jar: Add a personalized name, a simple bow, and a small envelope containing blank notes.
Decorating tip: Keep the jar on a stable bookshelf, bedside table, desk, or console away from edges and direct heat. Choose a spot where the jar is easy to reach and the colorful notes can be enjoyed as part of the display.
Happiness Jar Shopping Checklist
You can create a happiness jar using only a few inexpensive supplies. Use this checklist to decide what you already own and what you might want to purchase.
| Item | Best For | Amazon Search |
|---|---|---|
| Clear Mason Jar | Main Happiness Jar Container | Shop Mason Jars |
| Colored Cardstock | Memory Notes and Paper Hearts | Shop Cardstock |
| Adhesive Vinyl | Personalized Glass Jar Decals | Shop Vinyl |
| Transfer Tape | Applying Vinyl Lettering | Shop Transfer Tape |
| Vinyl Weeding Tool | Removing Excess Vinyl | Shop Weeding Tools |
| Heart Paper Punch | Cutting Matching Paper Hearts | Shop Heart Punches |
| Fine-Tip Color Pens | Writing Happy Memories | Shop Pens |
| Satin Ribbon | Decorating the Jar Neck | Shop Ribbon |
| Small Gift Tags | Personalized Jar Gifts | Shop Gift Tags |
| Mini Note Cards | Ready-to-Use Memory Slips | Shop Note Cards |
How to Make a Happiness Jar Without a Cricut
You don’t need a cutting machine to make a pretty happiness jar. In fact, the simplest version can be created in just a few minutes using basic household supplies.
- Find a clean, dry glass jar or suitable reusable container.
- Cut a small rectangular label from cardstock or kraft paper.
- Write Happiness Jar or your favorite short title on the label.
- Attach the label to the jar using a suitable adhesive, or tie it around the lid with ribbon.
- Cut colorful paper into small rectangles or hearts.
- Place a stack of blank notes and a pen beside the jar.
- Write your first happy memory, add the date, fold the note, and place it inside.
This no-machine method is especially useful for a classroom activity, family craft afternoon, or quick handmade gift. You can decorate the jar further with a small ribbon, but the project works perfectly well with no additional embellishments.
Why Make a Happiness Jar?
Keeping a happiness jar creates a simple opportunity to notice and remember positive experiences. Writing down meaningful moments can become a personal reflection practice and a way to preserve memories that might otherwise fade with time.
Some people use their jars to reflect on gratitude, while others enjoy reading the notes with family or friends. A jar filled with dated memories may also become a personal keepsake that helps you look back on a year of changes, celebrations, and ordinary experiences.
Gratitude practices have been studied for their potential connection to well-being, but individual experiences vary. A happiness jar is not a treatment for depression, anxiety, or other health conditions, and it shouldn’t be used to pressure yourself to ignore difficult emotions. You can appreciate a good moment while still acknowledging that some days are genuinely hard.
Most importantly: Let your happiness jar remain a flexible, enjoyable project. It can be a daily habit, an occasional activity, or simply a meaningful collection of memories.
Common Happiness Jar Mistakes to Avoid
Making the Craft Too Complicated
You don’t need expensive vinyl, elaborate decals, or complicated paper designs. A plain jar with a handwritten label works beautifully. Focus on creating a container you’ll enjoy using rather than spending too much time trying to make it perfect.
Forgetting to Keep Paper and Pens Nearby
If your paper slips are stored in another room, you may be less likely to use the jar regularly. Keep a small stack of blank notes and a pen beside the container so adding a memory feels easy.
Feeling Pressured to Write Every Day
A happiness jar should never become another source of stress. You can add a note every week, once a month, or whenever you experience something meaningful. Missing days doesn’t make the project unsuccessful.
Using Paper That’s Too Small
Tiny hearts can look adorable, but they may be difficult to write on. Choose notes large enough for a date and one or two sentences. Fold them after writing rather than cutting the paper so small that your memories become hard to read.
Applying Vinyl to Dirty or Textured Glass
Adhesive vinyl may lift when applied to dusty, greasy, damp, or heavily textured surfaces. Clean the jar properly and choose a smooth decorating area. Follow the vinyl manufacturer’s instructions for application and curing.
Storing the Jar Where It Can Be Knocked Over
Glass jars should be kept on stable surfaces away from edges and busy walkways. If young children will use the project, choose a suitable nonbreakable container and supervise any cutting or decorating activities.
Treating the Jar as a Test of Happiness
Some days won’t produce an obvious happy moment, and that’s perfectly normal. Your jar doesn’t have to be filled at a certain speed. Write about positive experiences when you want to, and allow yourself to have difficult days without feeling obligated to find a cheerful message.
Frequently Asked Questions
1. How Do You Make a Happiness Jar at Home?
Start with a clean jar and add a simple label. Cut small pieces of paper and keep them nearby with a pen. Whenever something good happens, write down the moment, date the note if desired, fold it, and place it inside. Continue collecting memories and read them whenever you like.
2. What Should I Put Inside a Happiness Jar?
You can add handwritten notes about happy memories, personal accomplishments, thoughtful gestures, funny experiences, favorite conversations, and things you appreciate. You may also include small paper mementos, photographs, or ticket stubs when appropriate.
3. Do I Need a Cricut to Make a Happiness Jar?
No. A Cricut or Silhouette can help you create decorative vinyl lettering and matching paper hearts, but the project doesn’t require either machine. You can make a happiness jar using an ordinary glass container, a handwritten label, scissors, paper, and a pen.
4. How Often Should You Add Notes to a Happiness Jar?
There’s no required schedule. Some people enjoy adding one note each day, while others prefer a weekly reflection or write whenever a memorable event happens. Choose the approach that feels manageable and meaningful for you.
5. When Should You Open a Happiness Jar?
You can open your jar on New Year’s Eve, a birthday, an anniversary, or any time you want to revisit the memories. Some people prefer to read all their notes at the end of the year, while others occasionally open the jar and choose one memory to reread. Both approaches are completely fine.
Recommended Finds on Amazon
These affordable craft supplies can help you create a personalized happiness jar. Begin with items you already own and purchase only what you need for your preferred decorating method.
- Wide-Mouth Mason Jars: A practical container for collecting folded notes throughout the year.
- Pastel Cardstock Paper: Make colorful memory notes and heart-shaped paper slips.
- Permanent Adhesive Vinyl: Create personalized lettering for compatible smooth jar surfaces.
- Vinyl Transfer Tape and Weeding Tools: Help prepare and apply decorative jar decals.
- Heart-Shaped Paper Punches: Cut matching paper hearts for an adorable memory jar.
- Pastel Satin Ribbon: Add a simple decorative bow to your finished happiness jar.
Final Thoughts
Learning how to make your own happiness jar is a lovely way to combine a simple DIY craft with a meaningful personal keepsake. All you need is a clean jar, a few pieces of paper, and a willingness to notice the experiences you’d like to remember. You can decorate the container with vinyl lettering, ribbon, colorful paper hearts, or a simple handwritten label to make it your own.
Start by writing one happy memory and dropping it inside. Over time, your jar can become a collection of favorite moments, personal milestones, and everyday joys. Whether you keep it for yourself, make one with your family, or give it as a thoughtful handmade present, the most valuable part of the project will always be the memories you choose to save.