
Most modern-day graphics cards use DisplayPort (DP) to output high-resolution content.
But what do you do if your monitor doesn’t show an output via the DisplayPort?
Specifically, your Asus monitor.
While Asus has some of the best gaming and professional monitors on the market, they aren’t without flaws.
In most cases, it’s a simple fix to get your monitor working again.
But, there are situations that require a bit more troubleshooting, and that’s where I come in.
The steps and methods I’ve provided below should help fix most issues pertaining to your Asus monitor.
However, if these fixes don’t work, it might be something more complicated.
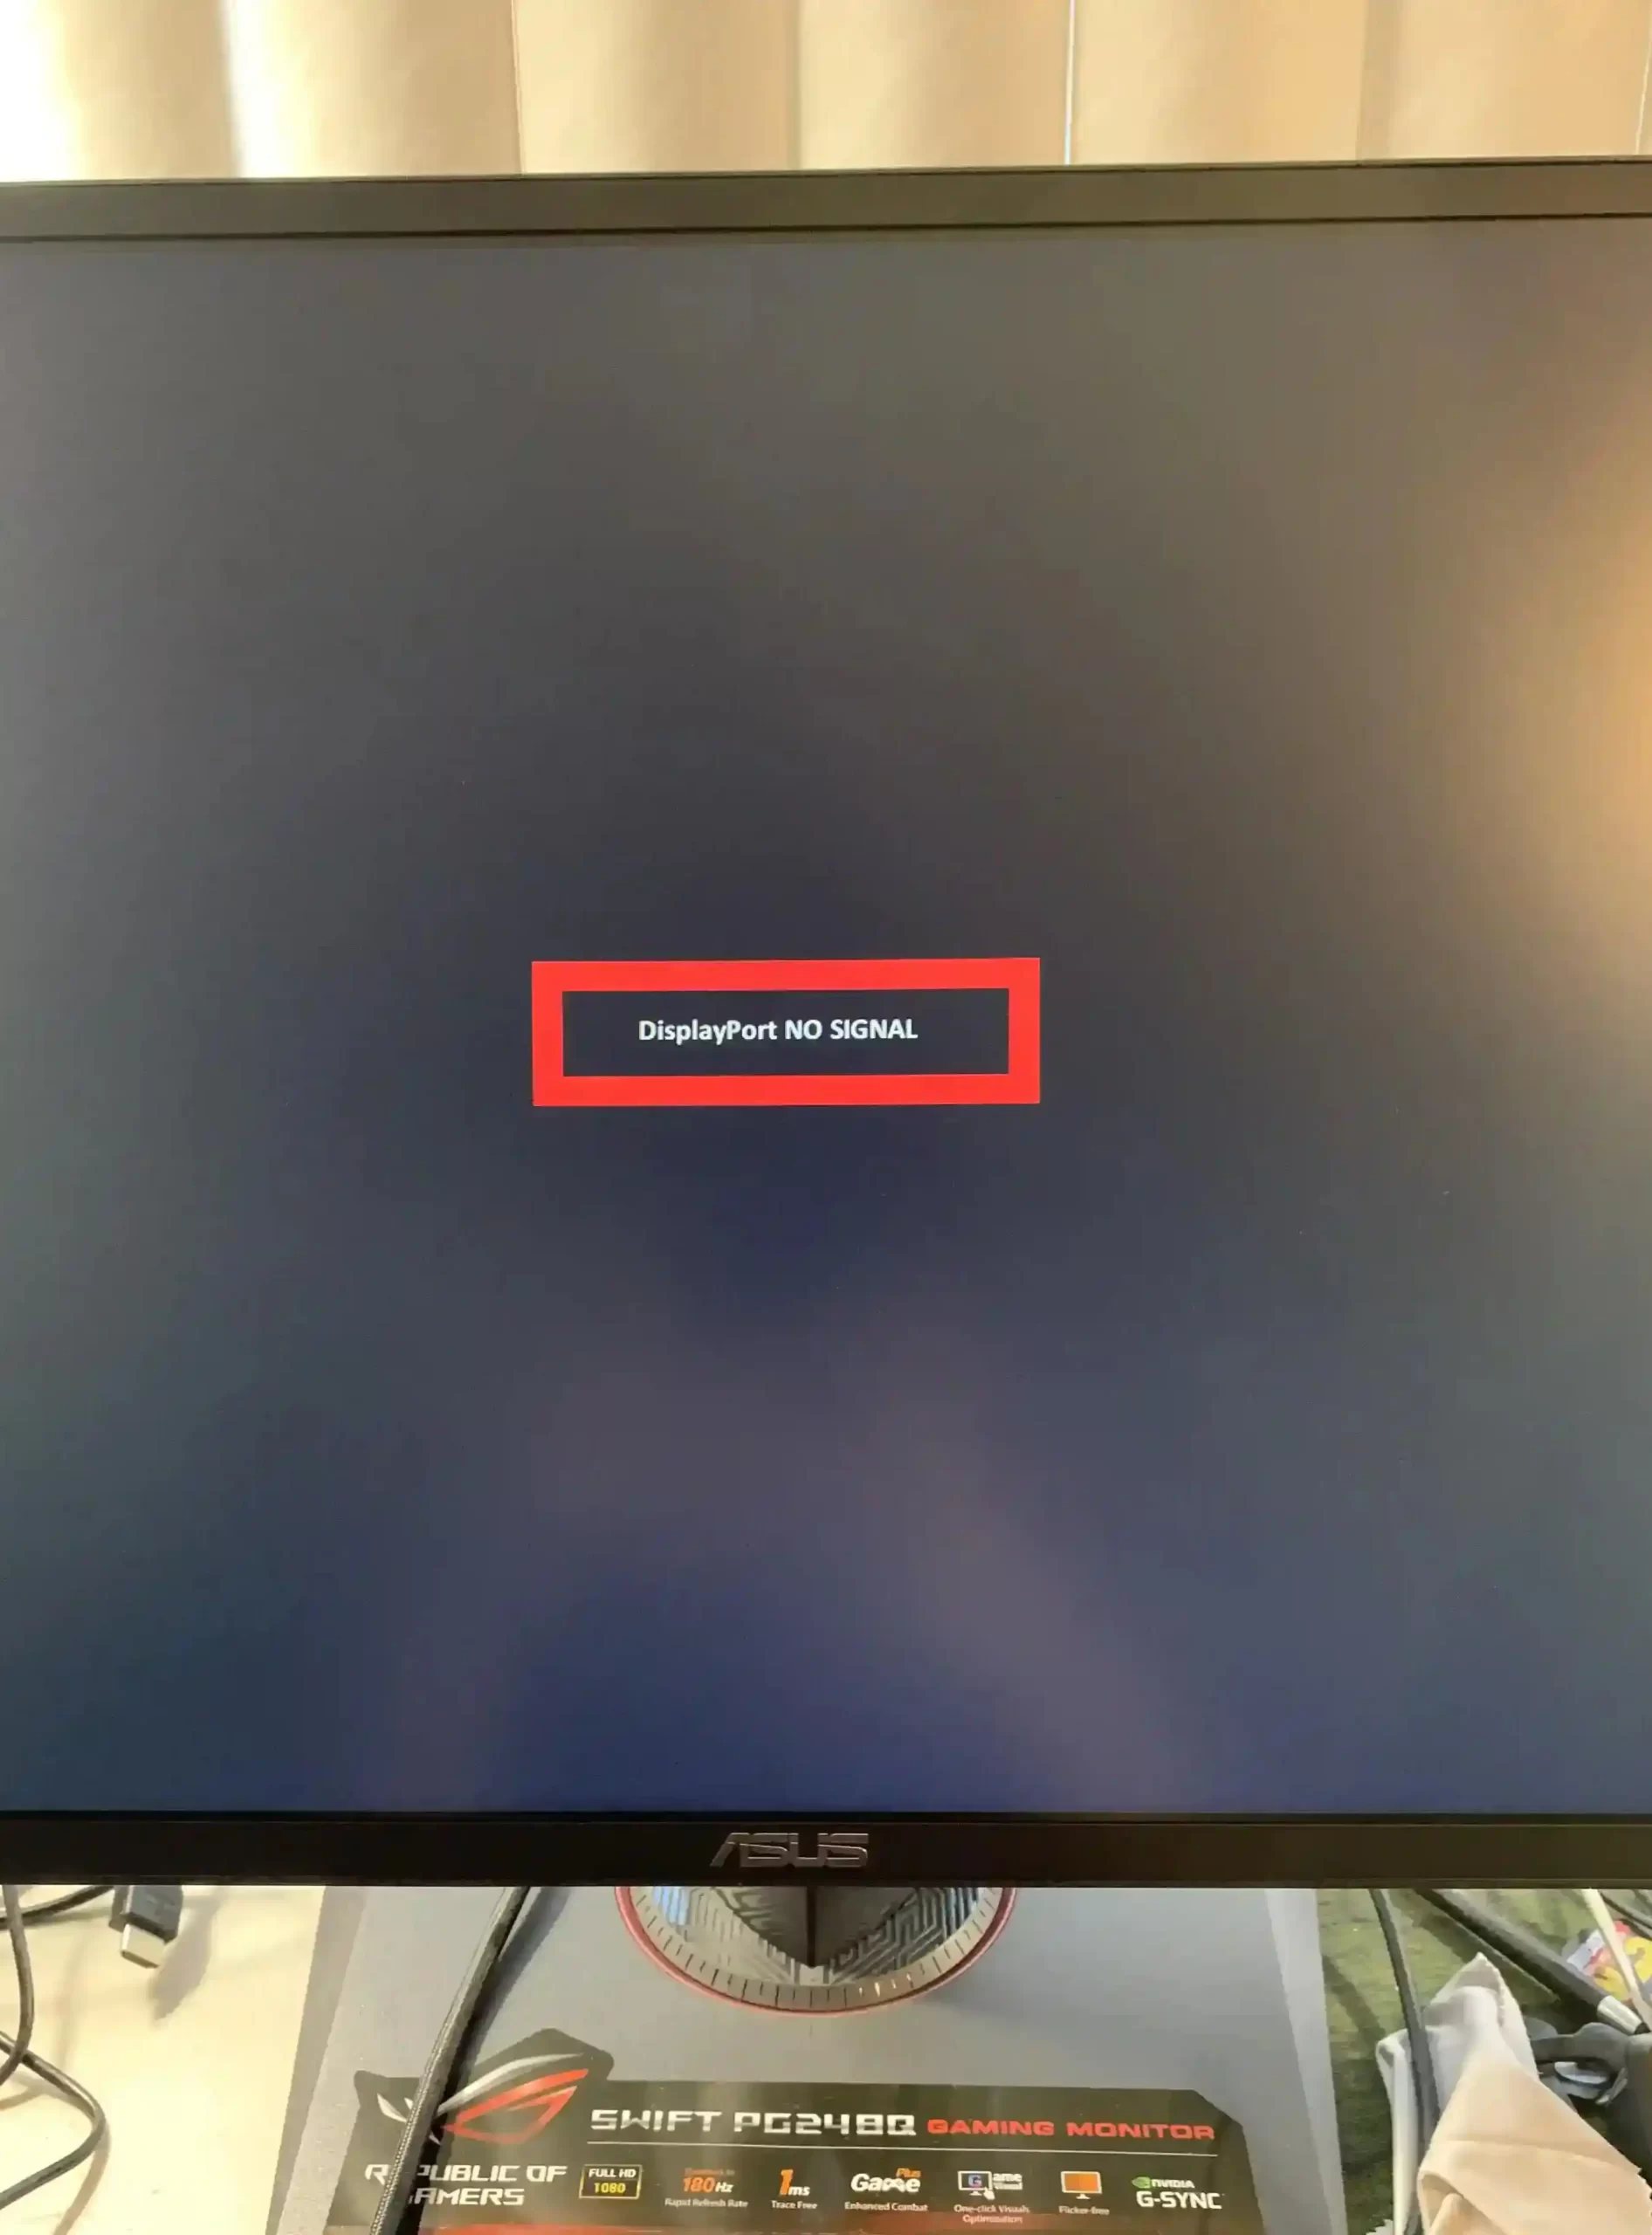
Why Is There No Signal On My Asus Monitor DisplayPort?
Short Answer: Your Asus monitor’s DisplayPort shows no signal because your cables or ports are damaged. Additionally, there might also be issues with your graphics card, or display drivers.
In rare instances, you may need to reset the CMOS battery on your PC.
While this method is advanced, it’s a tried and tested fix that has solved display issues for generations of monitors.
You might also have to reset your BIOS if certain components of your system have changed and your display doesn’t work.
Apart from all this, a simple graphics driver update might also fix the issue.
Fix: Asus Monitor DisplayPort No signal
Now, let’s jump into the various methods to fix your Asus monitor.
Method 1- Power Cycle Your Monitor
A power cycle should fix your monitor if there’s nothing else affecting it.
Essentially, there are tiny capacitors in your monitor that regulate power.
However, in some cases, there might be residual power left over in them.
So, the next time you turn on your PC or device, the excess current prevents your display from turning on and causing a short circuit.
To fix this, simply turn off the monitor and unplug the power cable, DP cable, and anything other connections.
Hold down the physical power button on the monitor for about 15 seconds to drain any excess current.
Now, reconnect the monitor, and you should get an output.
Method 2- Check Your DisplayPort Cables
Damaged and frayed cables are a common cause for monitors showing ‘No Signal’.
Check your cables for any tight bends or external damages.
Additionally, check the connectors on the cable and see if the pins are broken or damaged.
If the DP cable is damaged, don’t immediately run out and buy a new one.
Use a cable from another device to ensure that the cable is the issue.
Once you’ve confirmed this, you can go ahead and purchase a new DisplayPort cable.
Make sure you get a good high-quality cable such as UGREEN DisplayPort 2.1 cable.
After you install your new cable, manage your cables, so that they’re not bent or stressed for prolonged periods.
Maintain enough slack between your PC and monitor for the best results.
Method 3- Your Monitor Ports Might Be Damaged
Replacing the ports on your monitor might not be something everyone can do.
But everyone can definitely diagnose it.
Similar to the connectors on the cable, make sure the female ports on your Asus monitor are fine.
Look for telltale signs such as damaged pins or if your cables don’t insert properly.
If the DisplayPort you use is damaged, you might be in luck if you have another available port.
While most monitors come with one DisplayPort, some come with two.
So, if you have an extra port, you can simply use the other one till you fix the broken port.
But, if you don’t have an extra port, the good news is your monitor should still support HDMI.
Grab an HDMI cable and connect it from your graphics card to your monitor.
This way, you can still use your PC till you replace the DisplayPort.
Method 4- Check Your Graphics Card DisplayPort
If none of the cables, connectors, or ports on your monitor have issues, it’s most likely your graphics card.
Let’s first check the graphics card DisplayPort and then move on to checking the drivers.
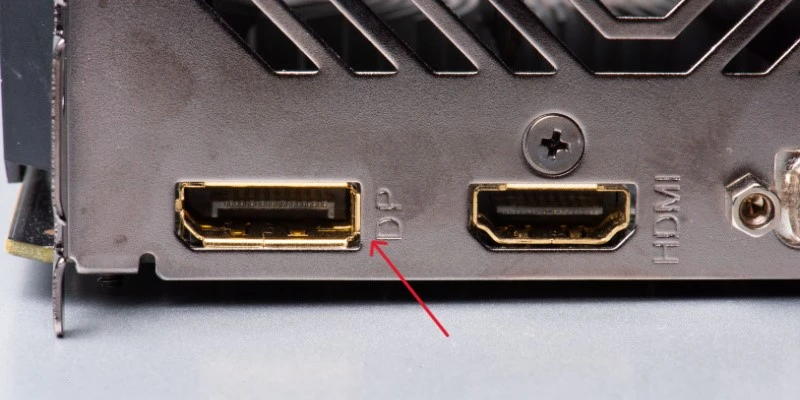
First, try using a different DisplayPort on your graphics card.
Most graphics cards have at least two DisplayPorts and one HDMI.
- Step 1- Turn off your PC first.
- Step 2- Rotate the PC and on the back, you should see the DP cable connected to the graphics card.
- Step 3- Disconnect it, and connect it to one of the other DisplayPorts.
If you get an output on your monitor, it means one of your DisplayPort’s is busted.
However, if none of them work, try using the HDMI port and see if that works.
So, now, you have three options.
- If one DisplayPort works – Repair the other one if required.
- If no DisplayPorts work – Use HDMI as an alternative till you repair it.
- If no Ports work – the graphics card needs to be replaced or repaired entirely.
But, before you go ahead and send it in for repairs or replace it, let’s try something else.
Method 5- Update Your Graphics And Display Drivers
Keeping your graphics cards and display drivers updated is necessary.
However, with how bad Nvidia and AMD’s auto-updates are, it’s not surprising people prefer manually updating their drivers.
But, if your graphics card isn’t outputting a display, you’re going to have to connect your monitor directly to your motherboard.
First, turn off the PC completely.
Use an HDMI cable and connect your monitor to the HDMI port on the motherboard as shown below.
Note that the location might be slightly different on your PC, so make sure it’s the motherboard you’re connecting to.
Now, turn on your PC, and it should boot as usual, only this time it’ll run the output through your integrated graphics instead of your graphics card.
Go to Nvidia’s or AMD’s website, depending on your graphics card.
Enter the exact details of your graphics card, and you’ll be prompted to download the drivers for it.
Once the drivers are downloaded, simply start the program, and it will automatically find and replace the old drivers with new ones.
Now turn off the PC again, connect the DisplayPort cable from your GPU to your monitor, and disconnect the HDMI from your motherboard.
Restart the system and your display should be working again.
Method 6- Update Your Display Drivers
If your graphics card drivers are already updated, then your display drivers might need to be updated.
Use the steps in the previous section to connect your monitor to the motherboard.
Once you’re on your PC desktop, click on the search bar and type in ‘Device Manager’.
In the window that opens up, look for monitors and click the drop-down bar next to it.
Right-click on your Asus monitor and click ‘Update Driver’.
Windows will automatically search, download, and install the latest drivers available for your Asus monitor.
Restart your PC once the drivers are installed, and you should be good to go.
Method 7- Reset Your CMOS Battery
While this step is slightly advanced, depending on your motherboard, it could be a very simple step.
If your motherboard has a ‘CMOS Reset’ button, you’re in luck.
All you need to do is hold down the button for about 30 seconds, and you’re done.
But if you don’t have one, you’ll need to disconnect and reconnect the battery.
Before attempting this, turn off your PC completely and lay it on its side for better visibility.
- Step 1- Open the side panel and check if the motherboard has a ‘CMOS Reset’ switch.
- Step 2- If not, then look for a circular battery similar to the ones you would use on an old watch or calculator.
- Step 3- Disconnect and remove the battery.
- Step 4- Wait for one or two minutes and then connect the battery to your motherboard.
You can use this video guide to follow along.
This will reset any internal settings and configurations that might be causing conflicts during boot-up.
These boot-up conflicts can lead to issues such as your monitor not displaying an output.
Once your PC boots up, you should have an output on your monitor.
Method 8- Contact Asus Support
If your Asus monitor still won’t turn on, it might be due to component failure.
In such cases, you don’t have any choice but to contact Asus Support or an authorized service center to diagnose and repair your monitor.
You’ll probably get either a free repair or replacement if your monitor is still under warranty.
However, this depends on the severity of the issue.
See Also:
Wrapping Up
As I mentioned earlier, Asus has some of the best monitors.
Whether it’s high-refresh rate for gaming, color accuracy for professionals, or both, Asus has you covered.
But when your monitor refuses to work, these methods should definitely sort out your issue.
It also takes away the hassle of contacting support and paying them to fix something you can easily do yourself.

As a seasoned DIY tinkerer, Arvind found the simplest way to help anyone troubleshoot or set up tech without feeling overwhelmed by it. He’s an advocate for smart home technology and in his free time makes music. He’s also an avid gamer, mostly obsessed with single-player titles.


