
Xiaomi offers some sets of good smartphones at a great and aggressive price. They do offer great hardware coupled with some good software.
This is why many users in India prefer going for Xiaomi devices in the budget and mid-range segment. And maybe that is the reason for them to hold the place in the top 2 smartphone manufacturers in India.
But all of that aside, sometimes even Xiaomi device users face issues. One of the most common of these is “THE SYSTEM HAS BEEN DESTROYED”. Like this is seen in many cases and different Xiaomi devices.
This issue primarily occurs when flashing ROM or rooting goes wrong. It may be possible that some or the other file get corrupted while rooting your device. So, if you are facing the same issue then here are a few steps that can help you out.
Fix ‘The System has been destroyed press power button to shutdown’:
Method 1: Fastboot
To start with, you need some tools and hardware devices to start fixing the issue.
These include a PC or laptop, a compatible USB connection cable, and ADB tools for the device.
In some cases, you also need to unbrick tools for your Xiaomi device. You can download the ADB tools on your PC so that these will help out in the process.

Now that you have these tools ready, you are all set to work on fixing the problem.
First of all, you need to boot your Xiaomi device into fast boot mode.
This can be done by pressing the Volume down and power button simultaneously. Once done, just connect your device with a PC or laptop through a compatible USB cable.
After that, open the command window in the ADB platform tool on your PC or laptop, and type in the command fastboot devices followed with Enter key.
In case the devices are listed in your command window then type for fastboot continues and click on the enter key. With the wait of few moments, your Xiaomi device should boot again and it should fix the issue.
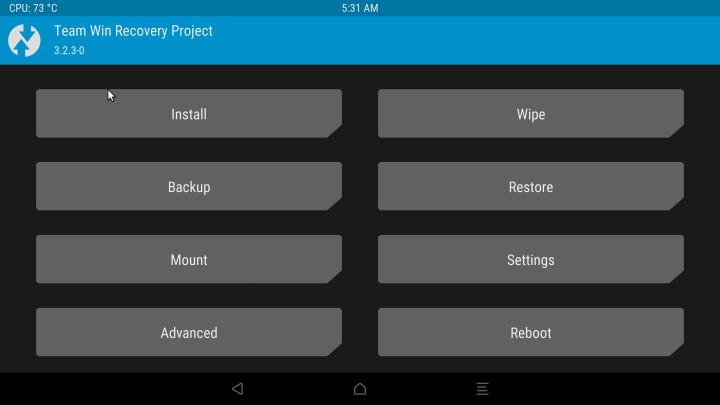
2. TWRP (Team Win Recovery Project)
In case the above method does not work out, then you can try this one but involves little more tools to start with.
These include TWRP (Team Win Recovery Project) and TWRP+VBMETA.zip file on your PC. Now, just boot the device into fastboot mode using the power and volume up button.
On the other hand, you extract the above-mentioned zip file on the PC.
Over here, open the extracted folder and look for +OPENME+ file and double click to open it. After that, type 2 as this will show the system has been destroyed issue in another toolbox.
Finally, this step will flash in TWRP on your Xiaomi device. From this onwards, you can interact with the device and navigate to Reboot -> System -> Do Not Install. That’s it.
3. Disable Verity Check
To address the “The system has been destroyed” error on your Xiaomi device, the first step is to disable the verification check by flashing the stock vbmeta file. Follow these steps:
- Download and extract Android SDK Platform Tools on your PC and install adb platform tools for Windows.
- Download the Fastboot ROM for your specific device and extract it to a convenient location on your PC.
- Copy the vbmeta.img file from the ROM and transfer it to the platform-tools folder.
- Force reboot your device into Fastboot Mode and connect it to your PC using a USB cable.
- Open the platform-tools folder, type “CMD” in the address bar, and press Enter to open the Command Prompt.
- Execute the following command in the Command Prompt to flash vbmeta and disable verity:
fastboot --disable-verity --disable-verification flash vbmeta vbmeta.img
7. Finally, execute the command below to boot your device into the operating system:
fastboot reboot
8. Check if this fixes “The system has been destroyed” error on your Xiaomi device.
4. Flash Xiaomi Fastboot ROM
If the previous methods did not succeed, you may need to flash the complete Fastboot ROM. Here’s how:
- Download and extract Android SDK Platform Tools on your PC and install adb platform tools for Windows.
- Download and extract the Fastboot ROM specific to your device.
- Boot your device into Fastboot Mode and connect it to your PC using a USB cable.
- Double-click the flash-all.bat file present in the Fastboot ROM to start the flashing process.
- Wait for the process to complete. Once done, your device will automatically boot into the operating system.
Conclusion:
That being said, if these above steps did not work in your case, you can contact any technician from the company. But do remember that flashing ROM or rooting has already made your warranty null and void.
Either way, do consider sharing this how-to with your friends who have been facing the same issue. As who knows it can help them out.
Karthik, a tech enthusiast and avid gamer, is a seasoned expert at AndroidNature.com. With a passion for cricket, bowling, and Counter Strike (PC Game), Karthik seamlessly combines his hobbies with his extensive knowledge to assist users in conquering social media apps, software, and devices.


