

Snapchat is among the most popular social networking applications owing to its extraordinary features. It does its job well to add some excitement and enhance connectivity in your life.
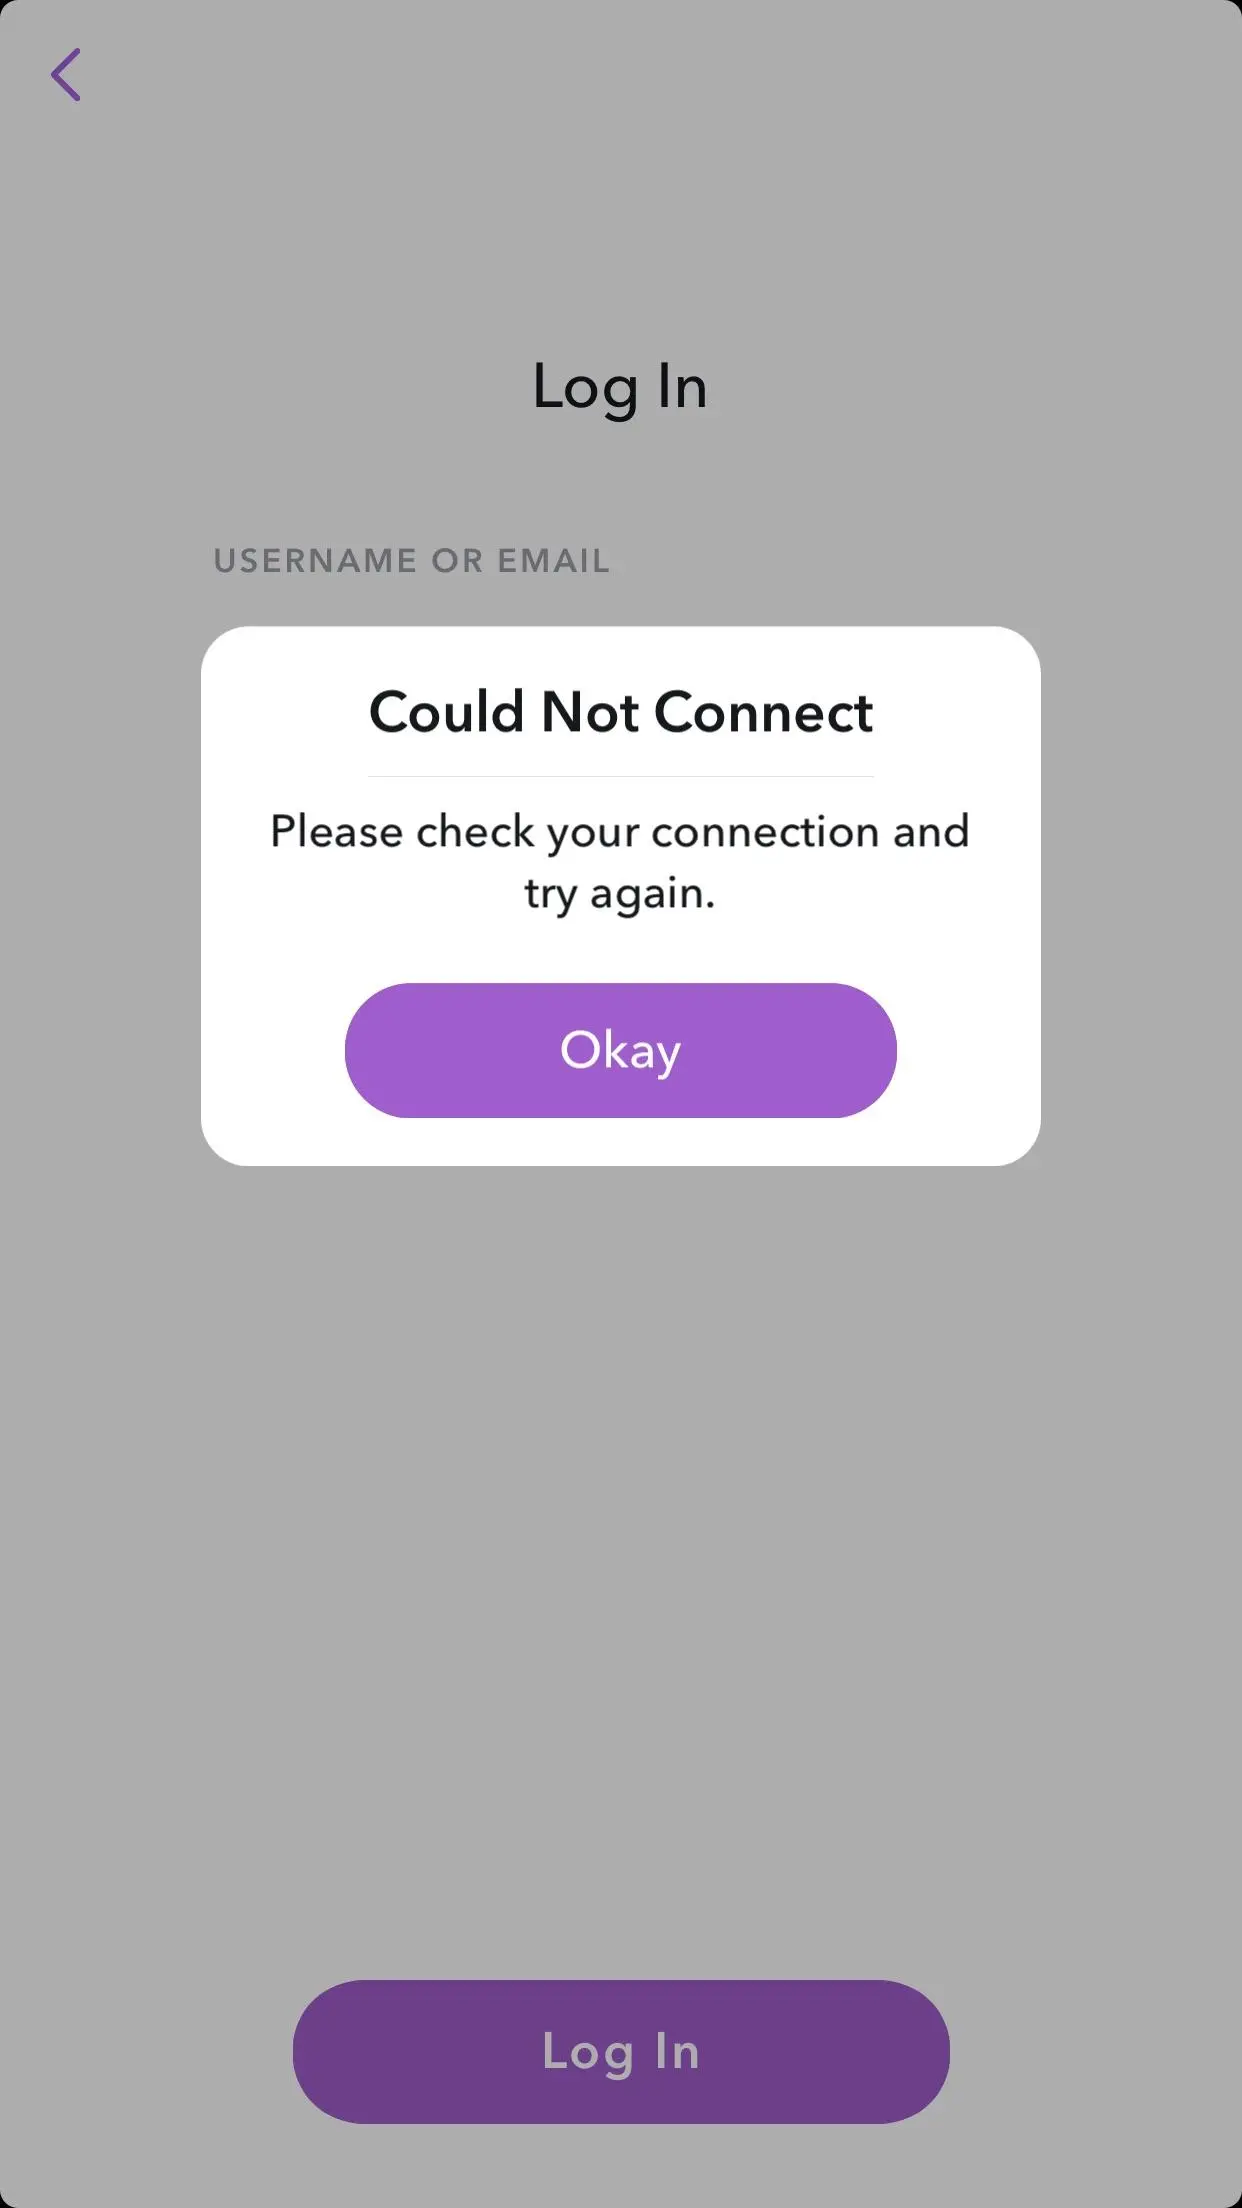
However, the application isn’t without faults. At times, it is common for you to get an error saying “Could Not Connect” which might disrupt your close-to-perfect social networking experience.
But worry not, with problems come solutions, and this guide will introduce you to them. The error can stem from a range of reasons, such as basic glitches in the application or network problems.
Follow the troubleshooting steps we’ve listed to switch back to having an excellent experience with the application.
Why does the Snapchat ‘Could Not Connect’ issue occur?
Short Answer: The ‘Could Not Connect’ issue can occur due to problems with the internet connection, third-party applications, or Snapchat-based problems such as an old version or server down.
Different reasons can cause this error for different people. Let us look at some of the key reasons behind it:
1. Internet connection
The most common reason this error could occur is due to a faulty or inactive internet connection.
2. Third-party applications
It is common for third-party applications to cause a hindrance in the smooth functioning of Snapchat.
3. Application-based Problems
An old version of the application or server problems can cause the ‘Could Not Connect’ error.
Fix: Snapchat ‘Could Not Connect’ issue
With an understanding of the possible reasons behind the ‘Could Not Connect’ issue, let us now look at some troubleshooting ways to fix it in no time.
Method 1: Force close the Snapchat application
Any basic glitch with the application can cause an error in the functioning. Force close the application and reopen it to get rid of any glitches in the application.
Come to the home screen on your device, swipe up, and close Snapchat from the recent applications. Once you are done closing and reopening the application, check now if the ‘Could Not Connect’ error occurs again.
Method 2: Check third-party plugins
In case you are using any unauthorized third-party applications or plugins such as Snapchat ++, then this error might occur.
All you have to do is uninstall these plugins or applications and try opening the Snapchat application once again and see if it works. Keep in mind that Snapchat supports the usage of certain applications that do not need to be uninstalled.
Method 3: Do not use a VPN
Using a virtual private network to connect to Snapchat might cause an issue as well. If you are using a VPN to log in and face the ‘Could Not Connect’ issue, then we recommend changing your network or disabling the VPN.
Now try again and see if Snapchat lets you log in.
Method 4: Check the internet connection
There is a possibility that there is nothing wrong with either the application or the device but solely with your internet connection. Check if the Wi-Fi network you are on is working well.
If not, then try switching the network from Wi-Fi to mobile data to see if the application works fine now. A disrupted internet connection can cause these errors and simply switching the network can fix it easily.
Method 5: Clear app cache
App cache data might sometimes restrict the smooth functioning of an application. As a result, one of the reasons behind Snapchat not allowing you to log in can be due to cache data.
Clear the cache data and try to log in again. Here are the steps to clear cache data:
- Step 1: Go to Settings on your device.
- Step 2: Go to Applications and navigate to Snapchat.
- Step 3: Open it and select the option setting Clear Cache.
- Step 4: Click on Clear Data.
- Step 5: Once the cache is clear, restart the device and try opening Snapchat now.
You can also clear the cache from the Snapchat application itself by following these steps:
- Step 1: Go to Settings.
- Step 2: Choose Clear Data from Privacy Controls.
- Step 3: Click on Clear Cache.
This is a highly effective way to resolve loads of Snapcat errors such as seeing a green line on Snapchat and basic functionality issues.
Method 6: Update the application
Being on the latest version of the application is imperative not only to use all the features of Snapchat but also to experience smooth functioning.
If you have disabled auto-updates, you must update the application manually by going to the Play Store or App Store.
Update the application and try again to see if Snapchat allows a login now. This step will also help fix other basic errors such as the camera not working or you have too many friends on Snapchat.
Method 7: Check if the Snapchat server is down
At times, the problem might not be with your internet connection or the device but from the application’s end. It is common for social media networking sites to be down sometimes.
If this is the case,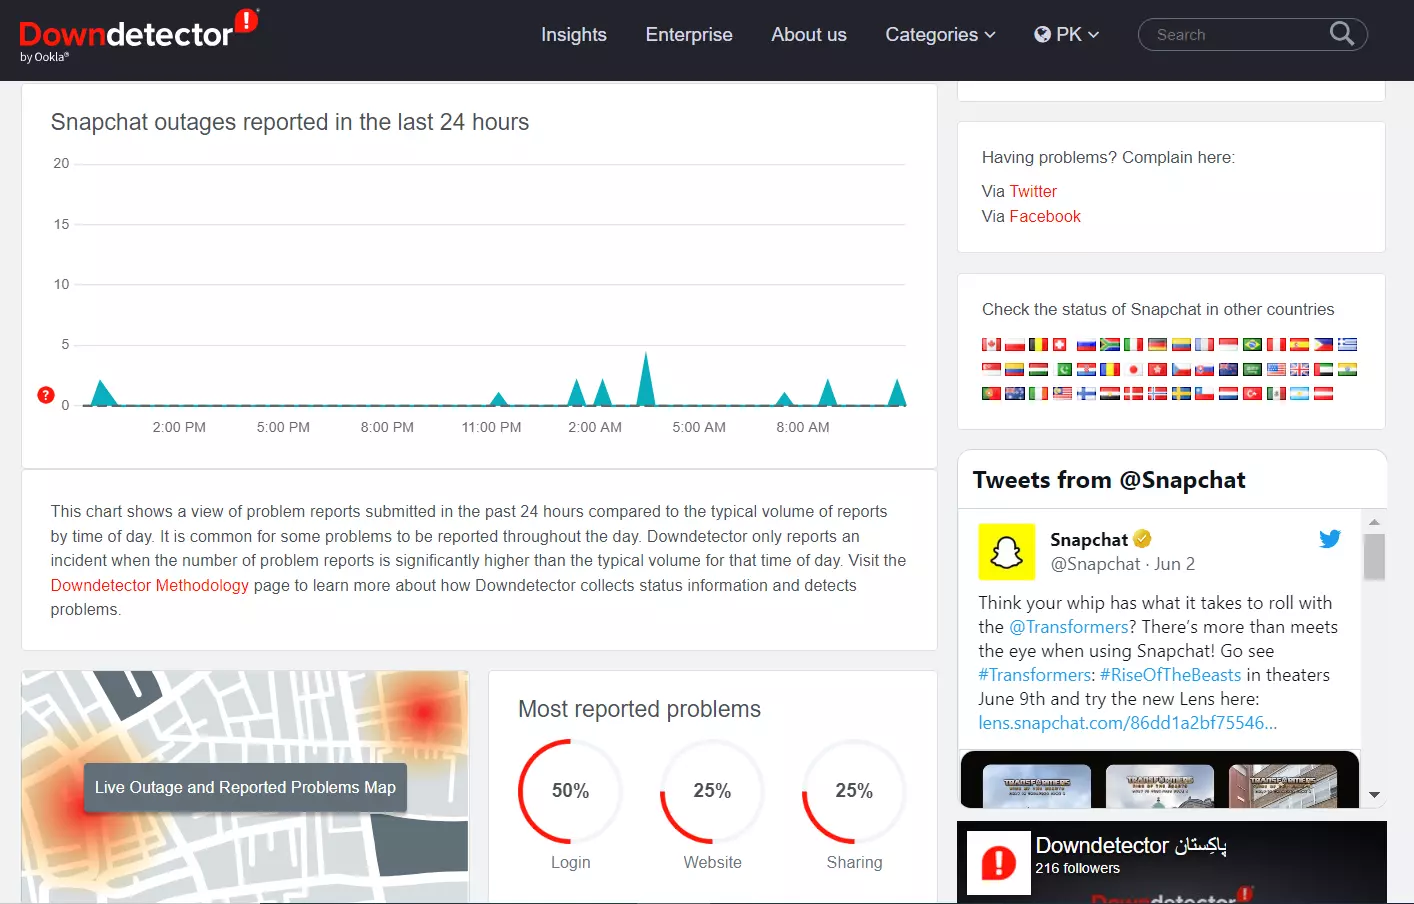 then everyone logging in to the application will be facing the same issue. Check with people around you and see if the Snapchat server is down.
In this case, all you can do is wait for Snapchat to resolve the issue, which might take a few minutes to a few hours. You can also use third-party tracker sites like Downdetector.com to check reports related to Snapchat service.
Additionally, Snapchat’s official Twitter account also provides service-related updates.
SEE ALSO
- How to Get Original Snapchat Notification Sound on Android
- Someone Blocked Me On Snapchat, But I Can Still Search Them: What Does It Mean?
- Can you See who Viewed Snap Map Story | Snapchat
Summing up
Trying out all these troubleshooting methods one by one is sure to help you fix the ‘Could Not Connect’ issue in no time. Identify the problem that might be causing the hindrance and apply the relevant solution to fix it.
You must always remember that using the latest application version is recommended to minimize any such errors from occurring again.
We hope the article was helpful, and you are now able to seamlessly log in to Snapchat again.


