Bluestacks is the most popular Android emulator for several reasons. But, if you do not know what an Android emulator is. So, an Android emulator is software for laptops and desktops, through which you can install and use Android apps. Yes, it is possible through an emulator. Do note that this holds for both Windows and Mac devices. Also, you can download apps and games from the Google Play Store. On the note of Play Store, there are almost infinite apps and games on it.
Now, there are several options if you search on the web. But, Bluestacks is the most reliable option amongst the lot. First and the foremost reason, Bluestacks is one of the early players in this whole emulators game. It also implies that they have the experience and scope for improvement. You can notice at first glance. On a side note, Bluestacks 5 launched in the beta phase. You can download it from the official website.
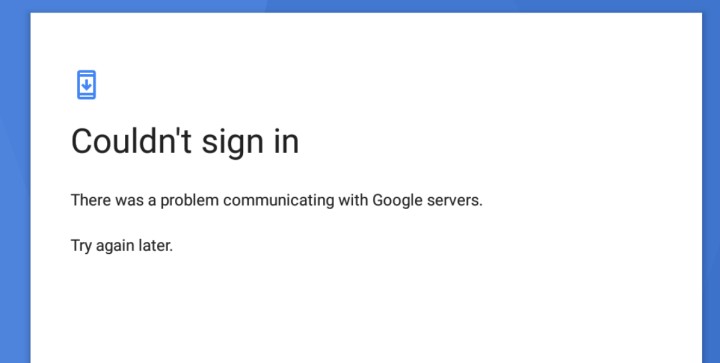
Well, even for such a player, there are some hurdles in some cases. It means that you can face a few errors and issues in the Bluestacks app. So, one such error is when you couldn’t sign in to your Google account. As you might remember, Bluestacks runs on Google Play Store that requires the Google account. So, let us see how to fix that.
How to fix Bluestacks error couldn’t sign in:
1. Restart the device and check the internet:
The best way to troubleshoot any error is to start with the simple methods. So, this error is no different. In this way, you can quickly restart the app and see if it works. Also, you can reboot the desktop or laptop. Power OFF the device, unplug it from the respective power socket, wait for some moments, and then power it on again. Thus, you can check the status. Along with this, you can also have a look at your network connectivity and speeds.
2. Clear the cache:
Next up, you can also try to clear the cache for Bluestacks in your device’s memory. In some cases, the cache memory may fill up space and cause such issues. So it is better to clear the cache in your respective device settings and give it a try.
3. Modify Device Settings:
Now, if the above two methods did not work, then it is time to deal internally. The best way to do is to modify a few settings in the Bluestacks. First, open the app and click on settings. On this page, select the performance page, and you can see a couple of options. So, you can increase the CPU cores, RAM and decrease FPS. Similarly, change Graphics rendering server, display resolution, orientation, etc.
4. Disable the Antivirus and VPN settings:
Sometimes, external apps may also alter the performance of Bluestacks. So, it is better to try in that way as well. If you are using an antivirus, then make sure to whitelist Bluestacks from it. If possible, disable the antivirus once and try again. On the same note, you can disable the VPN on your device (if any) and check once.
Conclusion:
To conclude, these were some of the methods through which you can fix the issue. Also, you can sign in with a different Google account or install Bluestacks on another device. Apart from that, you can also visit the official support page for better assistance. Lastly, if none of these worked, update the app or switch to some alternatives such as Nox Player, Memu Play, etc.
Karthik, a tech enthusiast and avid gamer, is a seasoned expert at AndroidNature.com. With a passion for cricket, bowling, and Counter Strike (PC Game), Karthik seamlessly combines his hobbies with his extensive knowledge to assist users in conquering social media apps, software, and devices.


