

A beautifully layered bed has a very different feeling from one covered with a single flat comforter. It looks softer, fuller, more intentional, and closer to the beds you see in boutique hotels and professionally styled bedrooms.
The designer look is not really about piling on as many blankets and pillows as possible. It comes from building the bed in the right order: a smooth foundation, comfortable sheets, a fluffy duvet, structured pillows, one or two textural layers, and a relaxed finishing throw.
This guide explains how to layer a bed like a designer step by step, including how to arrange pillows, how to make a duvet look fuller, how to mix patterns and textures, and how to keep the finished bed comfortable enough for everyday use.
As an Amazon Associate, I earn from qualifying purchases. This article contains affiliate links, which may earn us a commission at no extra cost to you.
Quick Designer Bed Formula
- Foundation: mattress + protector.
- First bedding layer: fitted sheet.
- Optional layer: flat sheet tucked at the foot.
- Main fluffy layer: duvet or comforter.
- Structured layer: quilt or coverlet near the foot.
- Pillow order: sleeping pillows → shams → Euro pillows → accents.
- Finishing layer: casually draped throw blanket.
- Overall look: full and relaxed rather than perfectly flat.
What Makes a Bed Look Professionally Styled?
Designer beds usually combine three things: volume, variation, and restraint.
Volume comes from a fluffy duvet and well-filled pillows. Variation comes from mixing smooth fabric with linen, velvet, knits, quilting, or woven texture. Restraint comes from stopping before the bed becomes buried under decorative pillows.
| Layer | Purpose | Designer Effect |
|---|---|---|
| Sheets | Comfort | Smooth clean foundation |
| Duvet | Main warmth | Plush volume |
| Quilt/Coverlet | Extra warmth | Color and texture |
| Pillows | Sleep + styling | Height and structure |
| Throw | Flexible warmth | Relaxed finishing touch |
How to Layer a Bed Like a Designer
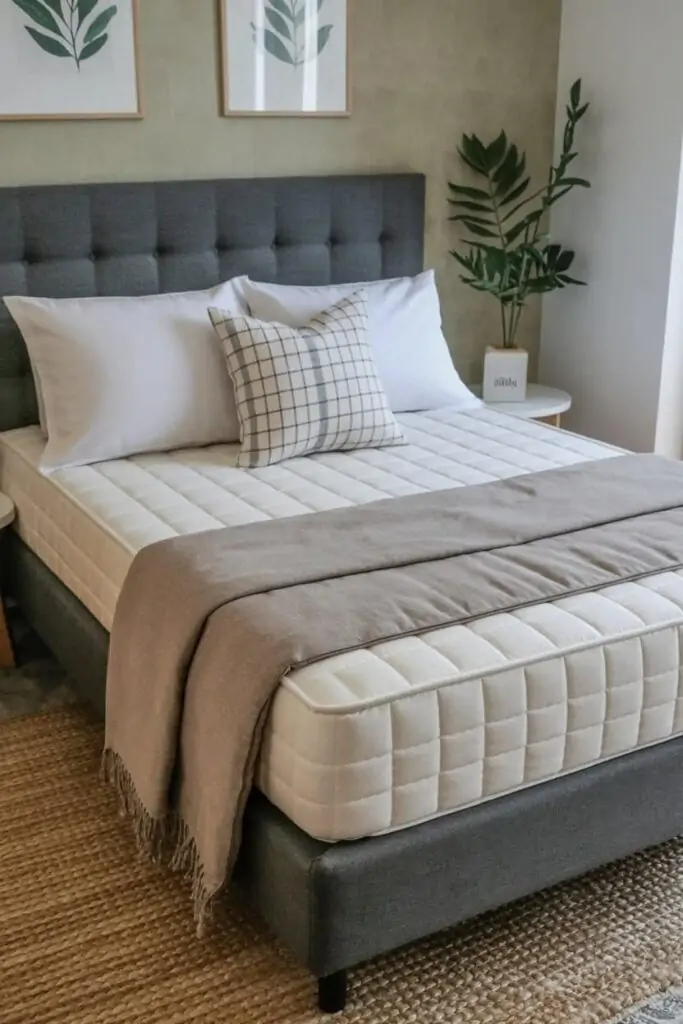
1. Start With the Mattress and Protector
The styled layers will only look as smooth as the foundation underneath them.
Make sure the mattress is sitting evenly on the bed frame, then cover it with a fitted mattress protector.
A lightly quilted protector can help create a smoother surface while also protecting the mattress from sweat, spills, and everyday wear.
Designer tip: smooth the protector completely before adding your sheets so wrinkles do not show through the upper layers.
2. Pull the Fitted Sheet Smooth and Tight
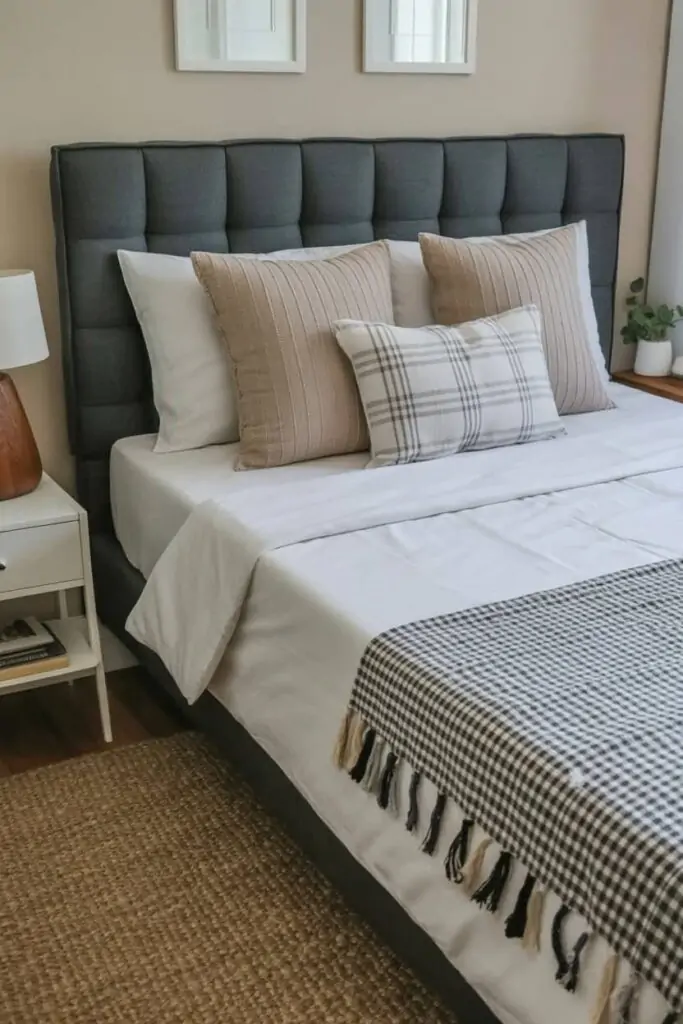
The fitted sheet is the first visible comfort layer and should feel smooth rather than loose or wrinkled.
Cotton and linen are easy options if you prefer natural-feeling bedding.
Pull the fitted sheet firmly around each corner and smooth the center before adding anything else.
Important: correct sheet depth matters more than decorative detail. A fitted sheet that is too shallow will continually pull away from the mattress.
3. Add a Flat Sheet for a Crisp Hotel Layer
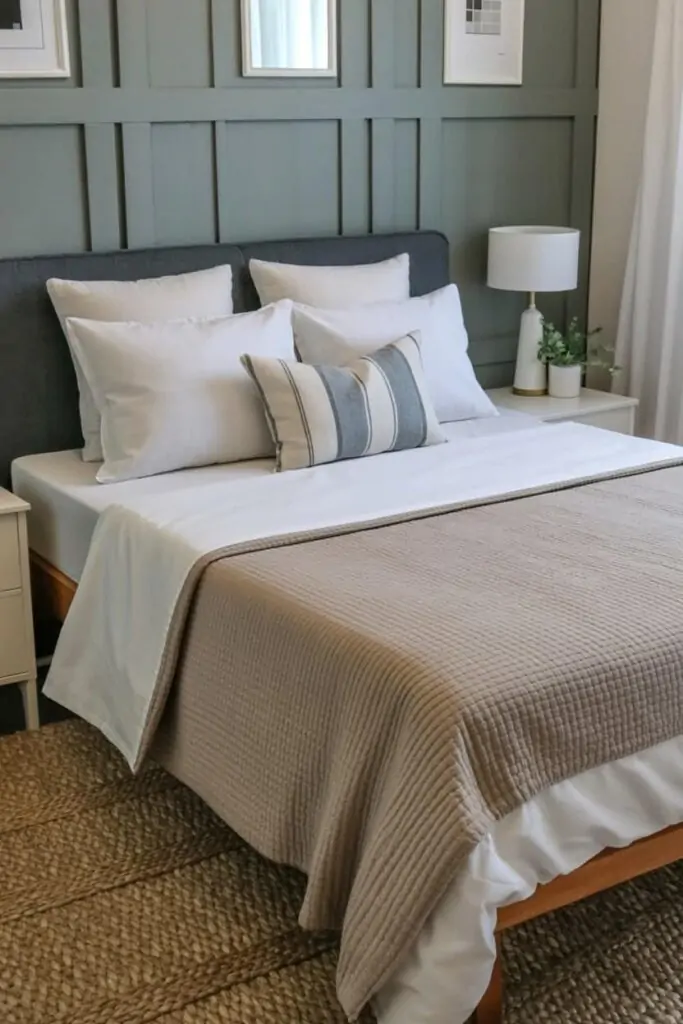
A flat sheet is optional, but it adds another light layer between you and the duvet.
Lay it with the finished side facing downward so the decorative side becomes visible when the top edge is folded back.
For a relaxed designer look, tuck the bottom securely at the foot of the bed and leave the side edges less rigid.
Style choice: skip the flat sheet if you prefer a simpler bedding routine. The layered look can still work without it.
4. Make the Duvet the Main Plush Layer
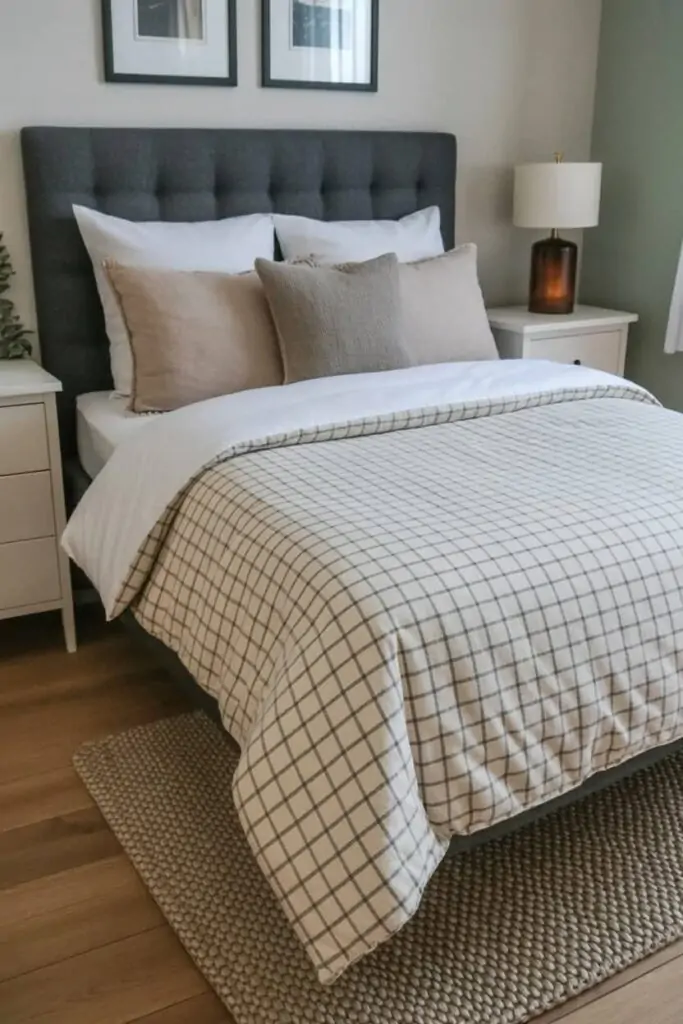
The duvet or comforter provides most of the visual volume.
Choose one with enough loft to look fluffy rather than flat, especially if you want the soft hotel-bed effect.
One common styling trick is using a duvet insert larger than the mattress size when the duvet cover dimensions allow it. For example, a king-size insert may create more overhang on some queen beds.
Measure first: bedding dimensions vary by brand, so compare the mattress, duvet insert, and duvet-cover measurements rather than relying only on the size label.
Amazon Find: Fluffy Down-Alternative Duvet Insert
A lofty duvet insert can help create the soft, full appearance associated with hotel-style bedding.

5. Let the Duvet Cover Establish the Color Story
The duvet takes up a large percentage of the visible bed, so its color influences the entire bedroom.
White, cream, oatmeal, pale gray, taupe, and other softer neutrals make flexible foundations because pattern and stronger colors can be introduced through smaller layers.
You can still use a colorful duvet, but keep some of the surrounding pillows and throws quieter if the main bedding already has a strong pattern.
Easy palette: duvet = main color, quilt = secondary tone, accents = stronger color or pattern.
6. Let the Duvet Drape Instead of Pulling It Tight
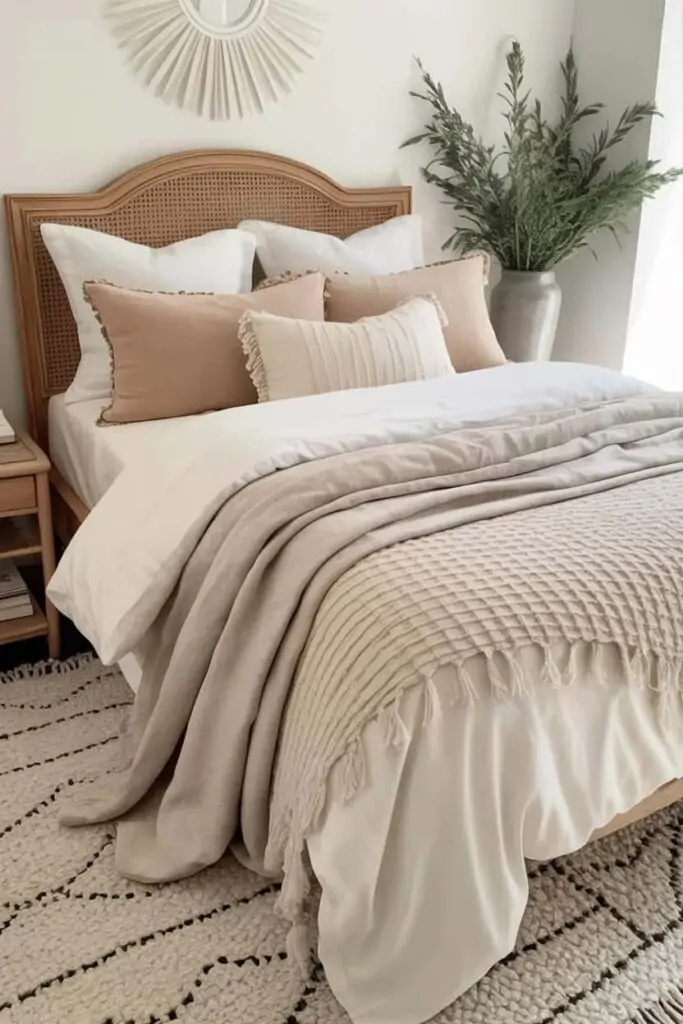
A designer-style bed usually looks softer when the duvet has some natural movement.
Give the duvet a good shake so the filling redistributes, then allow it to fall naturally over the sides.
Avoid pulling every edge perfectly tight like a bedspread. A gentle fold or soft break at the foot makes the bed look more inviting.
Visual goal: full and relaxed, not messy and not rigid.
7. Place Your Sleeping Pillows at the Back
Your actual sleeping pillows form the rear layer of the pillow arrangement.
Place them against the headboard or wall, either lying flatter or propped slightly depending on the headboard height.
These pillows should still be selected for comfort rather than decoration because they are the ones you use every night.
Practical rule: style around your sleeping pillows rather than replacing them with decorative pillows you cannot actually sleep on.
8. Add Decorative Shams in Front
Shams create the transition between practical sleeping pillows and the more decorative front layers.
Use shams that match the duvet for a calmer hotel look or choose a complementary fabric for more depth.
Stand them upright in front of the sleeping pillows so they create a more structured backdrop.
Simple styling: when your duvet is patterned, solid shams can help calm the arrangement.
9. Add Euro Pillows for Height
Euro pillows are large square pillows, often around 26 inches square, that add height and make the bed feel more substantial.
Position them upright in front of or mixed with the sham layer depending on the height of your headboard.
Linen, velvet, quilting, or another noticeable texture works particularly well here because Euro pillows create a large visual area.
Designer detail: use texture on the Euros when the bedding palette is mostly neutral.
10. Finish the Pillow Arrangement With Accent Pillows
The front pillows are where you can introduce stronger pattern, contrast, or personality.
Try one long lumbar pillow or a small pair of square cushions rather than creating a huge pile.
Velvet, embroidery, boucle, stripes, or a subtle print can all create enough variation.
Less is often better: one or two strong accent pillows can look more expensive than several small cushions competing for attention.
11. Follow the Back-to-Front Pillow Formula
If pillow styling feels confusing, arrange everything from largest and most practical to smallest and most decorative.
Back to front: sleeping pillows → shams → Euro pillows → accent pillows.
The gradual reduction in scale creates the layered effect without needing a perfectly symmetrical display.
Everyday option: simplify the formula by removing one decorative layer if you do not want to move several pillows every night.
12. Fold a Quilt or Coverlet Across the Foot
A quilt or coverlet provides an important middle layer between the main duvet and the final throw.
Fold it into thirds and place it across the lower section of the bed.
Choose a fabric or color that contrasts slightly with the duvet so the layers remain easy to see.
It also gives you a lighter blanket to pull up on nights when the duvet feels too warm.
Designer trick: keep the quilt relatively structured and let the final throw provide the looser layer.
13. Use Several Medium Layers Instead of One Heavy Layer
Layering is not only visual. Several removable layers make the bed easier to adjust as your temperature changes.
A sheet, duvet, coverlet, and throw give you multiple combinations instead of one extremely heavy blanket.
This also means the bed can look full without every layer being bulky.
Comfort first: the final combination should suit your climate and sleeping preferences rather than following a fixed number of layers.
14. Drape a Throw Casually Over One Corner
The throw is usually the final styling layer and should look less formal than the quilt underneath it.
Drape it diagonally across one lower corner or loosely fold it across part of the foot of the bed.
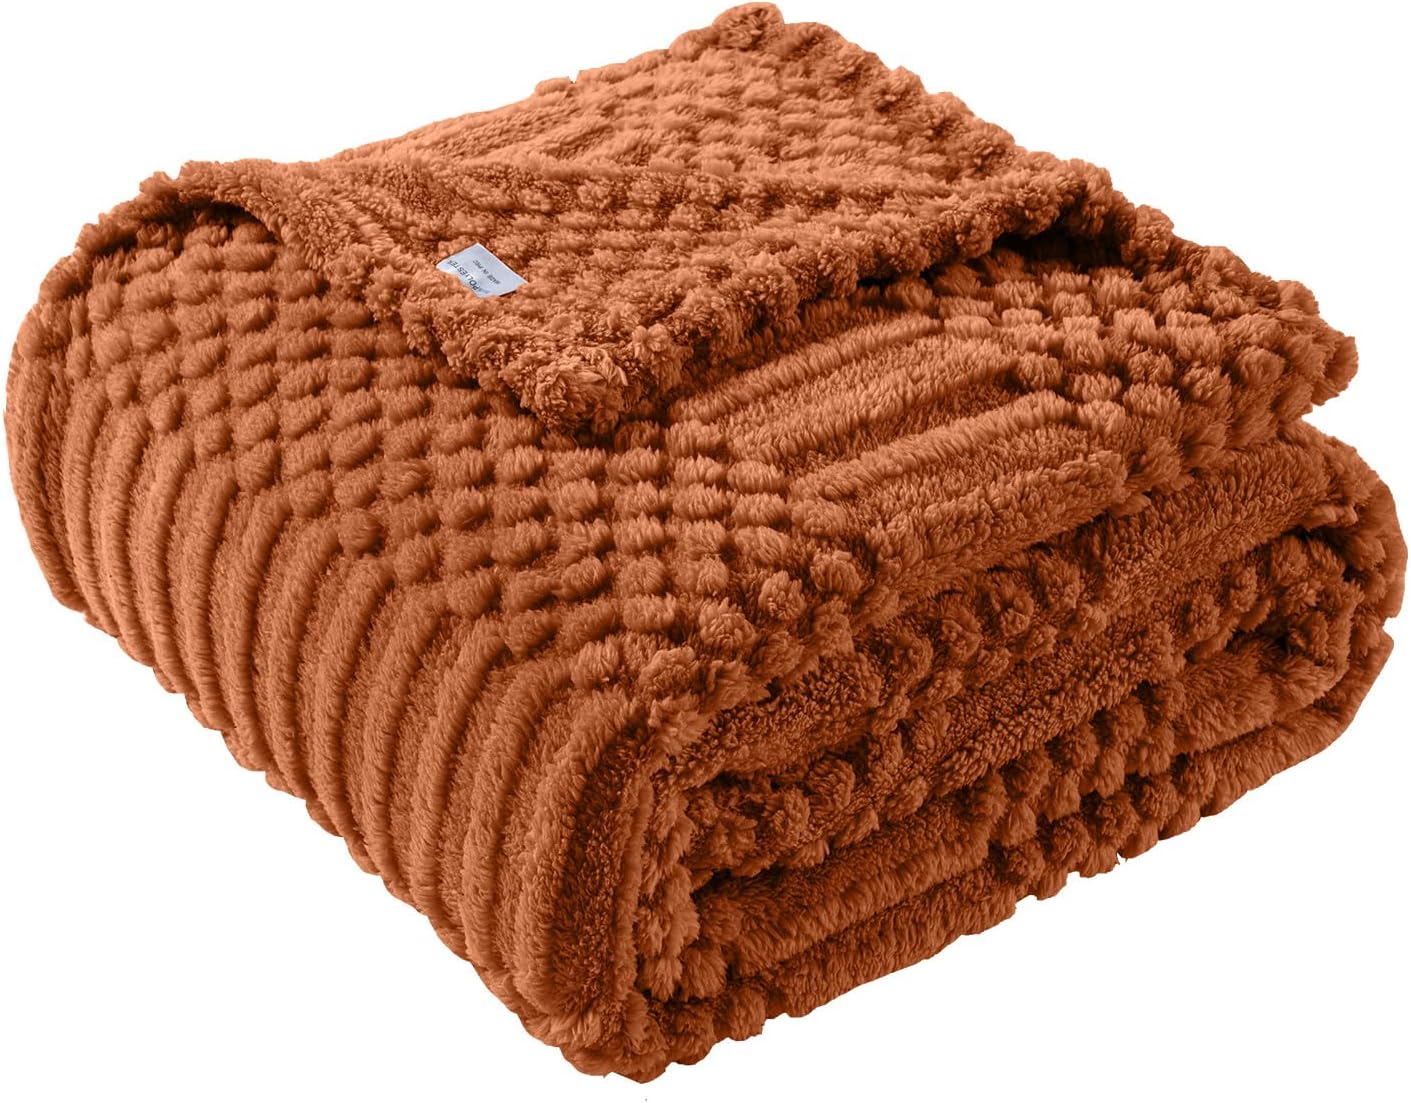
Chunky knits, waffle weaves, faux fur, linen, and woven throws can all add noticeable texture.
Avoid over-styling: the throw should look casual enough that you could easily grab it when you need extra warmth.
Amazon Find: Textured Throw Blanket
A knit, woven, or waffle-textured throw can create the final relaxed layer without changing the main bedding.
15. Mix Patterns at Different Scales
Pattern mixing looks more polished when the patterns are not competing at the same scale.
Pair a larger floral or abstract print with a narrow stripe, tiny geometric, or subtle check.
Keep several colors consistent between the patterns so they still feel related.
Easy rule: large pattern + small pattern + solid texture is a reliable combination.
16. Use Texture When the Color Palette Is Neutral
You can create a deeply layered bed without using bold color at all.
Combine cream linen, quilted cotton, a cable-knit or boucle pillow, velvet, and a soft woven throw.
Because the colors remain close together, the different surfaces become more noticeable.
Neutral formula: cotton + linen + knit + velvet or boucle.
If you are styling a small or shared bedroom, the neutral-bedding approach also works well with these dorm room ideas, where the bed is used as the main focal point.
17. Finish the Base With a Bed Skirt or Box-Spring Wrap
A beautifully layered top can still look unfinished if the base underneath is distracting.
Use a tailored bed skirt or fitted box-spring wrap if you need to hide the foundation or under-bed storage.
White, cream, oatmeal, or another neutral usually blends easily with most bedding palettes.
Modern option: choose a simple tailored or fitted style rather than heavily gathered fabric if you prefer a cleaner look.
18. Fluff and Adjust the Final Layers
Once everything is on the bed, step back and look at the overall balance.
Fluff the duvet, reshape the pillows, and smooth or adjust the quilt at the foot.
You can lightly indent decorative pillows if you like that look, but it is optional rather than essential.
Final check: the bed should look inviting from the doorway, not so perfect that you are afraid to touch it.
19. Avoid the Most Common Layering Mistakes
Designer-style layering works because each layer has a purpose. Adding more items does not automatically improve the result.
- Too many pillows: the bed becomes annoying to use every night.
- A completely flat duvet: it removes the softness and volume.
- Only smooth fabrics: the bed can look visually flat.
- Perfectly matching bedding sets: mixing complementary pieces usually creates more depth.
- Too many competing patterns: give the eye somewhere quiet to rest.
20. Make the Bed Easy to Maintain
A styled bed is not useful if rebuilding it every morning becomes a chore.
For everyday maintenance, pull up the duvet, smooth the quilt, straighten the throw, and reset only the decorative pillows you genuinely enjoy using.
Save the full styling reset for sheet-change day if that works better for your routine.
Practical designer rule: remove any decorative layer that repeatedly gets thrown onto the floor and never used.
21. Adjust the Formula to Your Own Bedroom
The final goal is not to recreate a hotel bed exactly. It is to make your own bed feel more comfortable and visually complete.
If you dislike decorative pillows, use fewer. If you sleep warm, choose lighter layers. If you love color, use the duvet or coverlet as the statement piece.
A layered bed works best when the styling supports the way you actually sleep and use the room.
Best result: comfort first, then volume, texture, and color.
Designer Pillow Formulas by Bed Size
| Bed Size | Simple Formula | Fuller Formula |
|---|---|---|
| Twin | 1–2 sleeping pillows + 1 accent | 1 sleeping pillow + 1 Euro + 1 lumbar |
| Full | 2 sleeping pillows + 1 lumbar | 2 sleepers + 2 shams + 1 accent |
| Queen | 2 sleepers + 2 shams + 1 lumbar | 2 sleepers + 2 shams + 2 Euros + 1 accent |
| King | 2 king pillows + 2 shams + 1 lumbar | 2 king pillows + shams + 3 Euros + 1–2 accents |
Easy Bedding Color Formulas
- Warm hotel: white + oatmeal + camel.
- Soft neutral: cream + taupe + warm gray.
- Organic: cream + sage + natural linen.
- Moody: charcoal + ivory + rust.
- Coastal: white + pale blue + tan.
- Soft feminine: cream + dusty pink + muted gray.
If you need help choosing the palette before buying bedding, this bedroom color-scheme guide explains an easy two-main-colors-plus-one-accent approach that also works well beyond dorm rooms.
Bed Layering Checklist
- Smooth the mattress protector.
- Pull the fitted sheet tight.
- Add a flat sheet if you use one.
- Fluff the duvet before styling.
- Let the duvet drape naturally.
- Place sleeping pillows at the back.
- Add shams and optional Euro pillows.
- Use only one or two accent pillows.
- Fold a quilt or coverlet near the foot.
- Drape the throw more casually.
- Mix textures rather than matching everything.
- Remove any layer that makes daily use annoying.
Common Bed Layering Mistakes
- Using a duvet that looks too small: limited overhang can make the bed appear flat and undersized.
- Choosing only one texture: layers become difficult to distinguish visually.
- Adding too many decorative pillows: they quickly become more work than decoration.
- Pulling every layer perfectly tight: a little softness helps create the inviting designer look.
- Using several loud patterns at the same scale: vary pattern size and repeat colors instead.
- Ignoring the bed base: visible box springs and storage can make the finished setup look incomplete.
- Choosing style over sleep comfort: bedding temperature and pillow support should still work for you.
- Buying everything as one matching set: a collected mix of complementary pieces usually creates more visual depth.
Frequently Asked Questions
What is the correct order for layering a bed?
Start with the mattress protector, fitted sheet, optional flat sheet, duvet or comforter, quilt or coverlet, pillows, and finally a throw blanket. The quilt and throw can be moved depending on the look you prefer.
How do designers make a duvet look so fluffy?
Use a well-filled duvet insert, redistribute the filling by shaking it before styling, and make sure the duvet dimensions provide enough volume and overhang for your bed.
How many pillows should be on a designer bed?
There is no fixed number. A queen bed can look finished with two sleeping pillows, two shams, and one lumbar pillow, while a fuller arrangement might add Euro pillows. Keep the amount practical for your daily routine.
Do you need a flat sheet for a layered bed?
No. A flat sheet is optional. It creates another light layer and can help protect the duvet, but many people prefer sleeping directly under a washable duvet cover.
How do I layer a neutral bed without making it boring?
Vary texture instead of relying on color. Combine smooth cotton, linen, quilting, velvet, boucle, knit, or woven fabric in related neutral shades.
Should a throw blanket be folded or draped?
Either works. A folded quilt gives the bed structure, while a looser throw creates a softer finishing layer. Using both approaches together creates useful contrast.
How can I make my bed look expensive on a budget?
Focus on a full-looking duvet, smooth sheets, one textured coverlet, a limited pillow arrangement, and one quality throw. Coordinated colors and visible texture usually matter more than buying a large matching bedding set.
Recommended Finds for Layering a Bed
You do not need to buy every bedding layer at once. Start with the pieces that improve comfort and volume, then add texture gradually.
- Quilted mattress protector — for protecting the mattress and creating a smoother foundation.
- Cotton sheet set — for a comfortable fitted and optional flat-sheet layer.
- Fluffy duvet insert — for creating the main volume of the bed.
- Neutral duvet cover — for establishing a flexible base color.
- Euro pillow inserts — for adding height and structure behind accent pillows.
- Lightweight quilt or coverlet — for creating a structured layer at the foot of the bed.
- Textured throw blanket — for the softer final layer.
Final Thoughts
Learning how to layer a bed like a designer is mostly about arranging simple bedding pieces in a more intentional order.
Start with smooth sheets, add a full duvet, build height through the pillow arrangement, introduce texture with a quilt or coverlet, and finish with a relaxed throw.
You do not need ten pillows or an expensive matching set. In fact, beds often look more polished when the layers feel collected rather than perfectly matched.
Most importantly, keep the setup practical. The best designer-inspired bed should look beautiful during the day but still feel easy, soft, and comfortable when it is finally time to climb in.

Ankit is an engineer by profession and blogger by passion. He is passionate to do all the stuff such as designing the website, doing the SEO, researching for the content, writing tech blog posts and more.