
“Is your Dish Joey not working? No problem!
In this guide, we’ll show you how to identify common issues and fix them quickly, so you can get back to enjoying your favorite shows in no time.”
Why is my Joey not working?
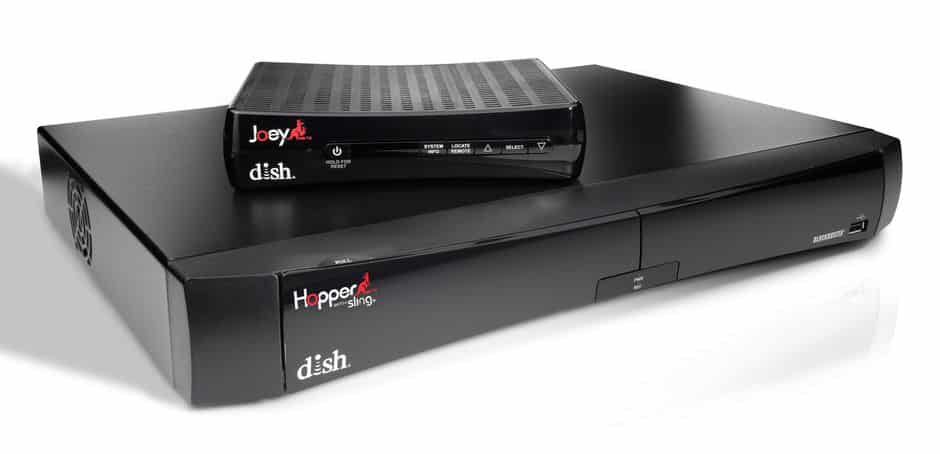
Your Dish Joey is the secondary devices that connect to your main Hopper console. Once connected, users can practically access all the features available on the Hopper on another device via the Joey.
Sometimes the joey may be unable to connect to the Hopper due to complete or partial signal loss, inability to locate the Hopper, internet problems for wireless joeys, etc.
Interference with the connection on the main Hopper console is most likely to affect your services on Joey as well. Sometimes if the console or dish is moved or wires changed can also cause problems. It is also good to keep your devices updated, both Joey and Hopper to receive the best performance out of them. Sometimes severe weather conditions can also cause problems with stability and signal strength.
If users are facing poor or pixelated video on their joey devices, the reasons could lie with faulty wires in the connection. Other problems also include a frozen screen, which would probably require a soft reset in most cases.
Depending on the means available to you and the type of problem you have, follow our guide to solve problems with your Joey.
How do I fix dish joey not working?
1. Check for power
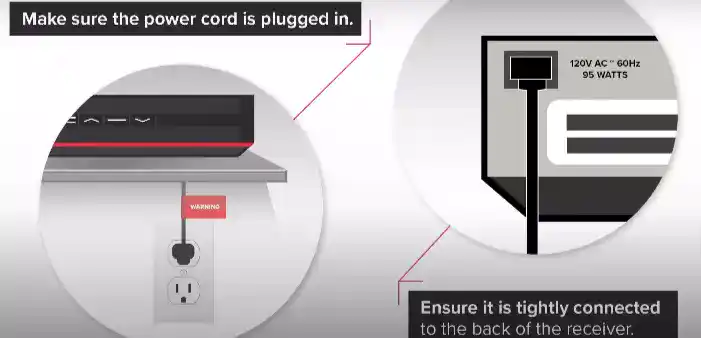
Before troubleshooting your Dish Joey, make sure the power cord is properly connected to the back of the receiver.
The power cord usually has a red tag, so ensure that it is tightly connected to the receiver. If the power cord is loose or not connected at all, the Joey will not turn on or function properly.
If you are using a power strip to connect your Dish Joey, make sure it is turned on. Check to see if there is a green light on the front of your receiver. If there isn’t one, press the power button on the receiver to turn it on.
Once the receiver is turned on, turn your TV on and check to see if you can launch programming.
2. Remote Troubleshooting:
If your Dish Joey isn’t responding, it might be an issue with the remote.
Try using a different remote if you have one.
This will help you determine if the problem is with the original remote or the Joey unit itself.
2. Make sure your receiver is well ventilated
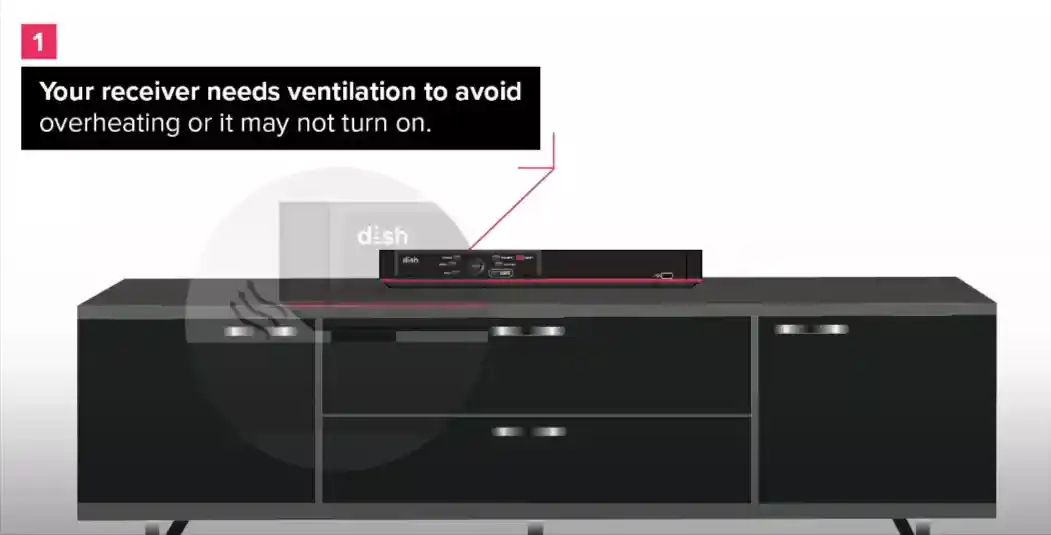
To prevent overheating and ensure your Dish Joey functions properly, make sure your receiver is well-ventilated.
Your receiver needs proper ventilation, and it should not be enclosed in a cabinet or other confined space.
Make sure there is at least four inches of space between the receiver and other electronic devices to allow for proper airflow.
If the receiver is not well-ventilated, it may not turn on or may experience other performance issues.
By ensuring that your receiver has enough space to breathe, you can help prevent overheating and extend the life of your Dish Joey.
3. Repositioning Dish to original position.
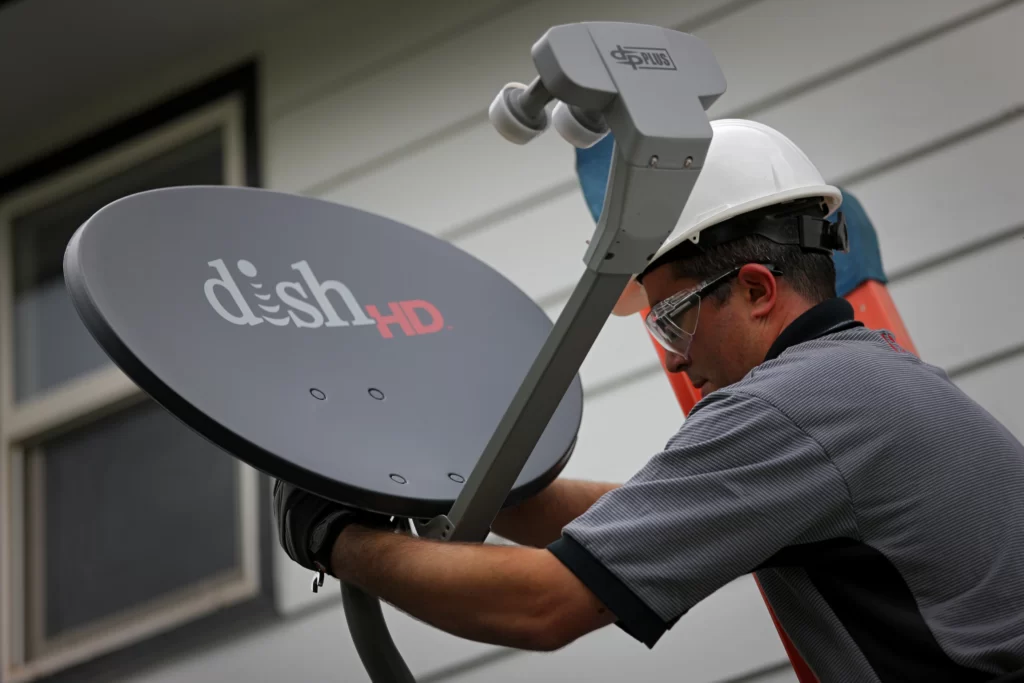
The Dish installed outside your home should not be moved from its original position, moving the dish from its original position can totally disrupt signal that the dish receives.
As Dish is based off of satellites transmissions and not broadcast or cable, it is important that the satellite remain in its original position.
The dish is kept in sync with a geosynchronous satellite, and moving it could alter the way signals are received.
To restore usability, get the satellite and Hopper back to its original position or contact Dish to restore the dish back to its original position.
4. Resetting Hopper and Joey.
If users are facing problems with Joey unable to find the Hopper, it is probably because the Hopper console has been moved or wires have been changed.
To check whether Joey has connection with Hopper, follow the given steps.
- Press the “Guide” button on your remote.
- Depending on your remote, press “Home” thrice or “Menu” twice.
- Under Dish Diagnostics, head to “Whole Home”.
- Under the “Detected Devices”, head to the Hopper and that the Joey should be connected to.
In case the Hopper is not visible, user will have to reset their Hopper and Joey. To reset your Hopper and Joey, follow the given steps:
- On the Hopper Console, hold down the “Reset” button for 5 seconds.
- The Hopper should reset and take at least 5 minutes to do so.
- On the Joey Console, hold down the power button for 5 seconds.
- Joey should take about 5 minutes as well for the reset process.
After completing this steps, the Joey be able to connect to Hopper automatically. If not, users can repeat the same process by going into guide and connecting manually.
5. Update your Dish Hopper.
It is advisable to always keep your Hopper’s software up to date. As the Hopper is the main console through which your Joeys are connected, having the latest software therefore is important.
As the Joeys practically receive the same features as available on the Hopper, it is important that Hopper gets timely fixes via updates. To update you your Hopper to the latest software version, here is what you should do:
- Press “Home” button thrice or the “Menu” button twice.
- Select “Receiver”.
- Head to “Tools”.
- Then select “Upgrade Software”.
- When prompted, users should “Update Now”.
If users already have the latest software version on Hopper, a message will pop up confirming it.
It is essential that the Hopper stays updated, as any problems or bugs with the Hopper is most likely to trickle down on to the Joey devices as well.
6. Unblock any obstacles blocking the dish.
Sometimes obstructions and interference around the satellite dish can impact the signal of the dish.
It is important to make sure that there are no objects blocking the antennae of the dish. Branches, snow, birds, debris etc. usually cause interference with the signal of the dish.
7. Contact Dish customer support
If none of the above steps work, it’s time to reach out to Dish customer support. They can offer more specific advice or send a technician if needed.
- Dish Network support website: https://my.dish.com/support
- Dish Network customer service: 1-800-333-3474
Bonus Tip: Channel 103 – Hopper Insider:
For valuable insights and tips, tune into Channel 103 to watch Hopper Insider. This show, hosted by DISH experts, guides viewers through various topics like the billing process, troubleshooting steps, understanding equipment features, and more. It’s a great resource for DISH users to get the most out of their service.
SEE ALSO:
Final Words
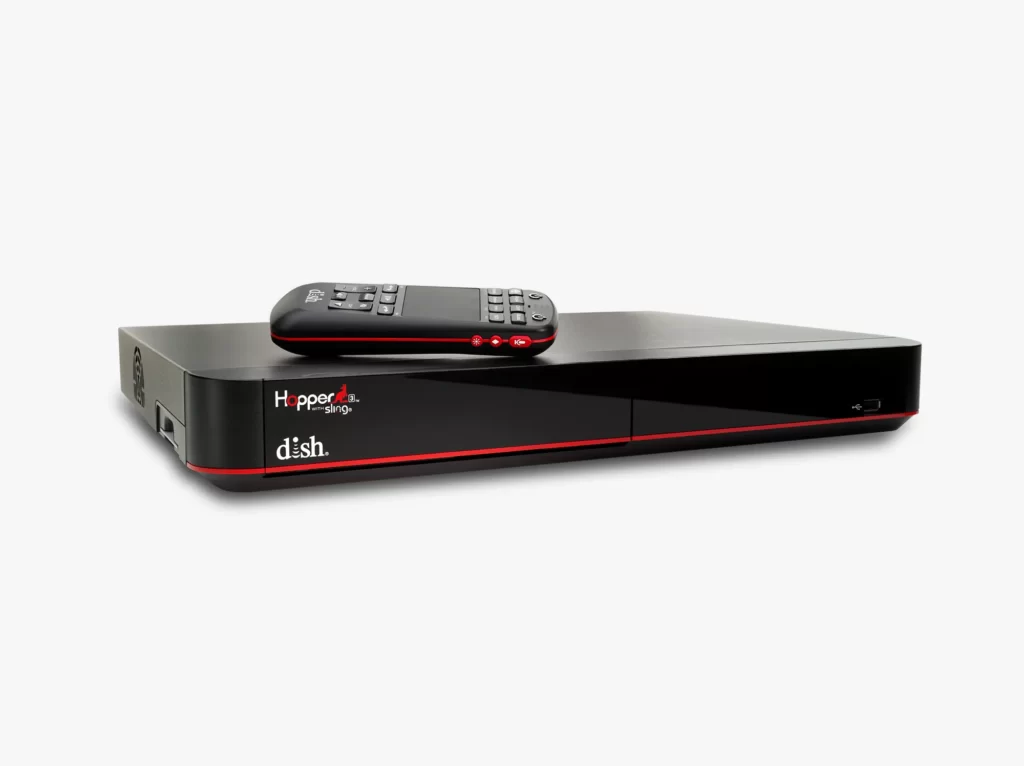
Dish Hopper is one of the best one room solution to connect all your house TVs to one console.
With the help of Joeys, users can now access all the benefits and features of one console on multiple TV sets across the house. It proves for a wide channel support and DVR functionality as well.
While we understand that having multiple devices for viewing is a great option, sometimes having a problematic node in the network is an annoying problem.
We hope that the article has helped you deal with your problem with Joeys not working with your Hopper.
Further Reading:
How to Fix dish network no signal on TV 1 and TV 2

A perennial tech-head with a knack for words, sneakers and fast cars. Likes to be in the know, of anything upcoming and cutting edge. Will probably sit down and talk to anyone over a cup of coffee. The coffee has to be good.


