
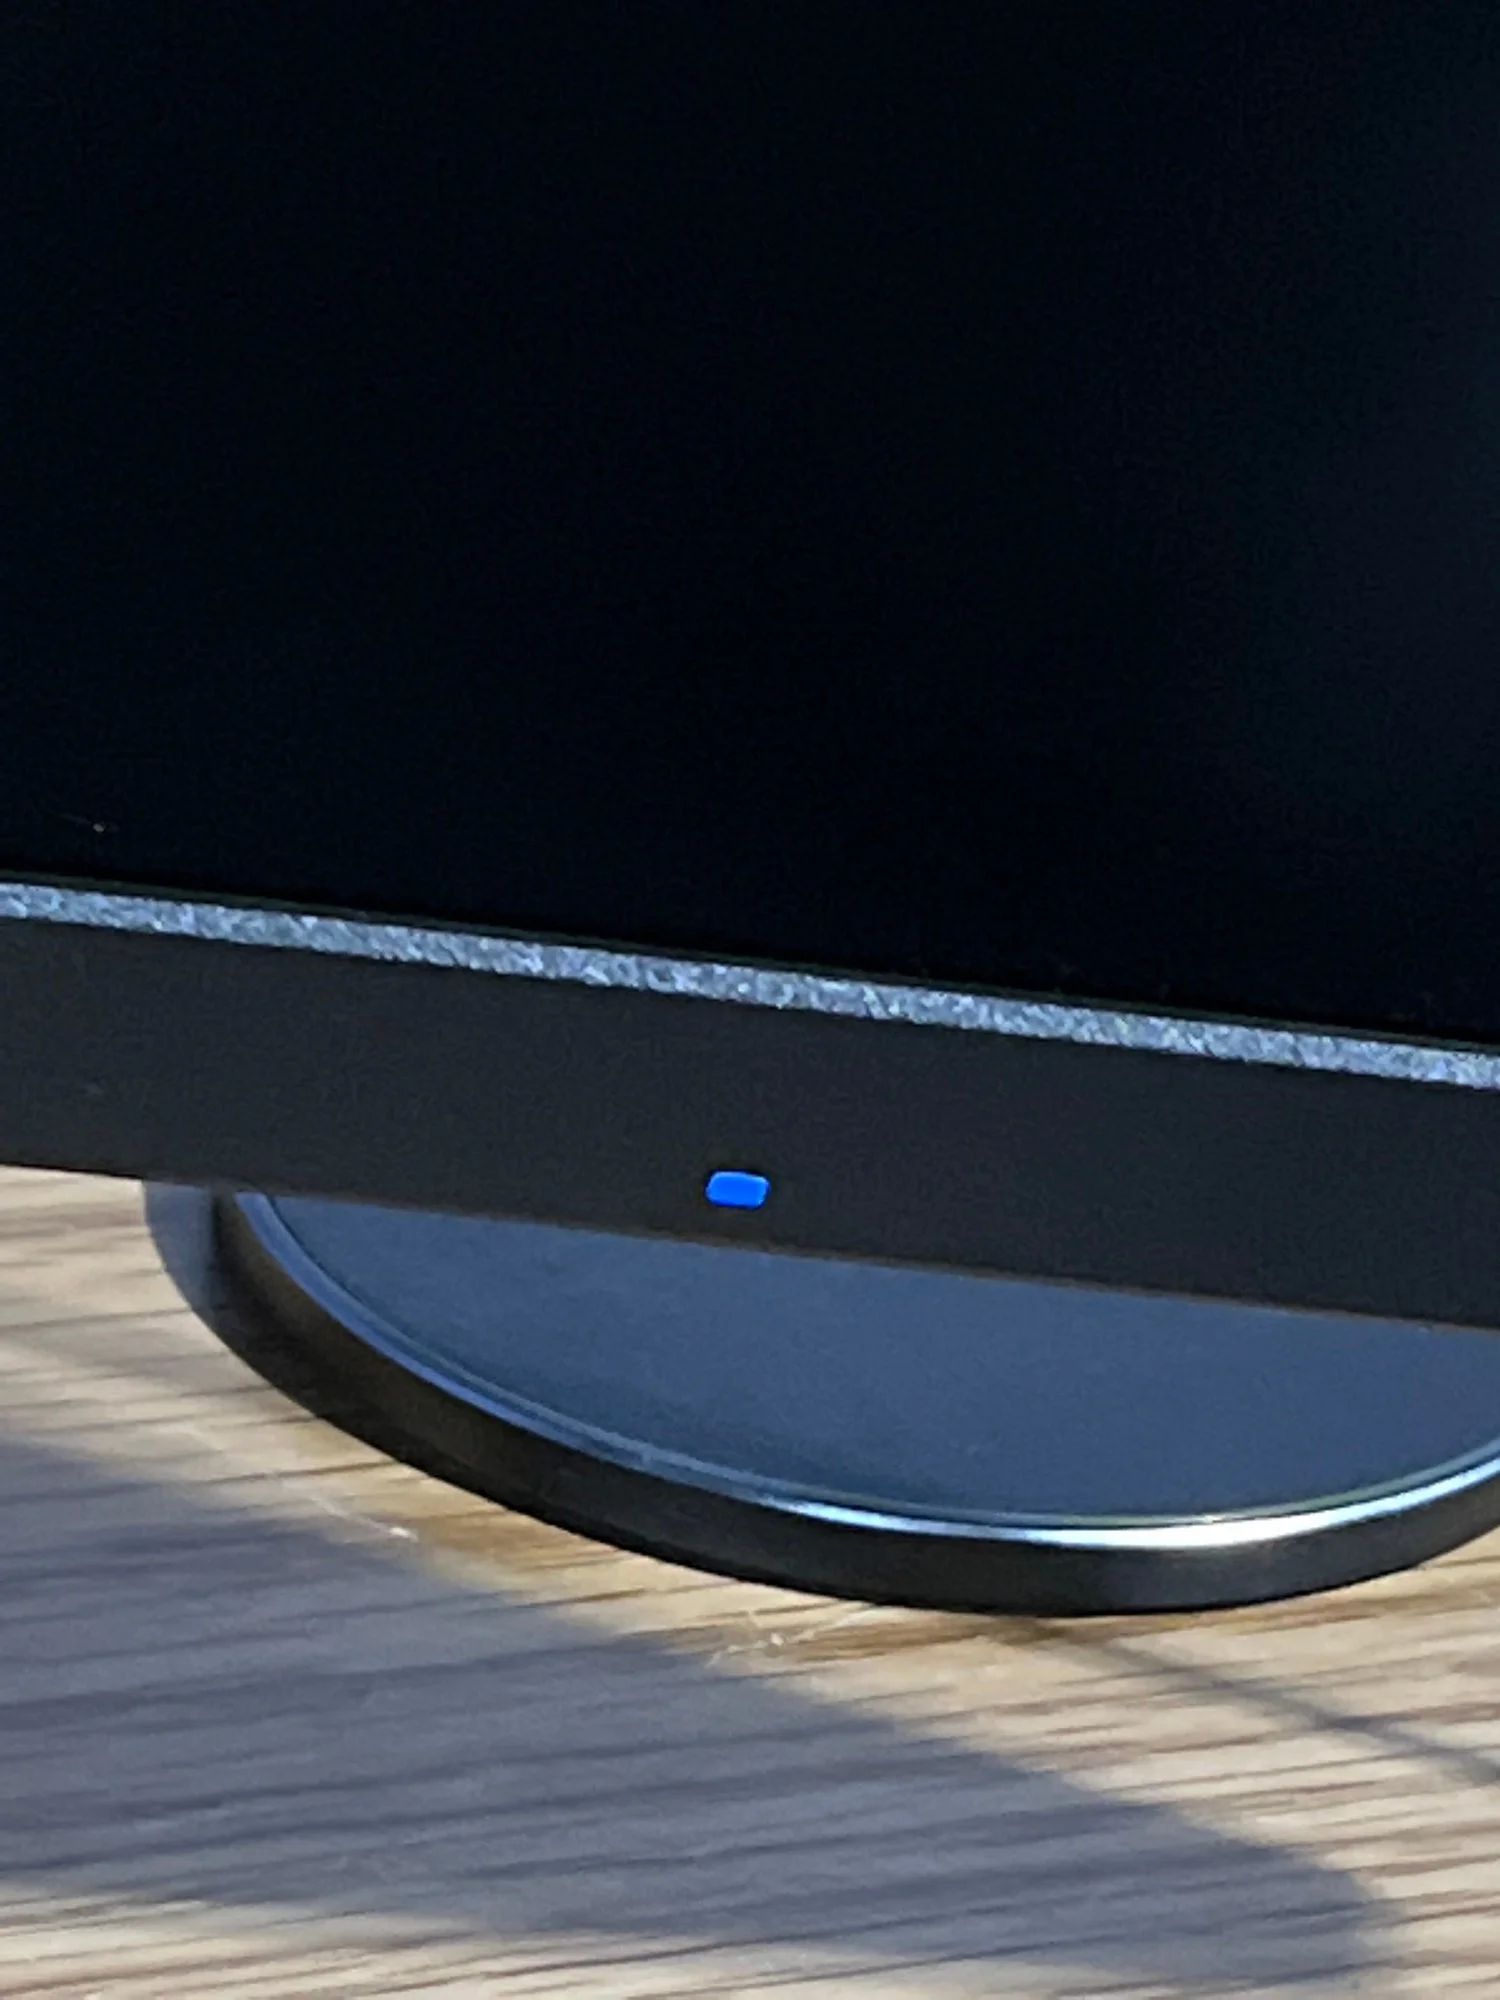
Your Acer monitor blue light is on, but the screen is black?
I had the same issue.
A few weeks ago I turned on my PC for some gaming only for my display to not work.
I tried restarting my PC, but it was the same deal.
After a few resets, I gave up and ended up gaming on my console, but I came back the next day to sort out the issue.
I tried a few fixes and eventually got it working, so unless you have a dead monitor, you should be able to make use of these solutions.
Why Is My Acer Monitor Blue Light On, But The Screen Is Black?
Short Answer: If your Acer Monitor’s blue light is on, but the screen is black, it could be the power cable, input cables, your HDMI/DisplayPort, or graphics card issues.
The ‘blue light black screen’ issue, as the online forums call it, seems to be affecting quite a few users.
But the solutions are rather simple and require little to no tools.
Apart from the solutions that most people can use, I’ll also provide an advanced troubleshooting method, which is to reset your PC’s CMOS.
Don’t, however, attempt this solution unless you know how to open up a PC case and work on the internal components.
Working on the internals without some prior knowledge could end up being worse.
Additionally, if you also have an Asus device with issues, you can check out our guides to fix them too.
Now, let’s take a look at the solutions.
Fix: Acer Monitor Blue Light Is On But Screen Is Black
Try each fix in the order I’ve written them in, as it goes in order of simple to advance.
Method 1- Power Cycle Your Monitor
First, try power cycling your monitor.
There might be too much residual current, causing your monitor to only show a black screen.
To power cycle your monitor,
- Step 1- Turn off the monitor and unplug the power cable.
- Step 2- With the power cable disconnected, hold down the power button on your monitor for 30 seconds to drain any residual power.
- Step 3- Reconnect the power cable and turn on your monitor.
If the power cycle is successful, your monitor should show a display.
Otherwise, try the next fix.
Method 2- Check The Monitor Power Cable
The most common cause of the blue light black screen issue is the power cable.
People have had varying degrees of success trying to unplug and replug the power cable.
Give it a shot and see if it works for you.
Sometimes you might have to reconnect it a few times before it starts working properly again.
But don’t do it too vigorously because you might end up damaging the power cable.
If this doesn’t work for you, you might need to get a replacement power cable.
However, let’s make sure it’s not some other component causing the issue before you fork over for a new power cable.
Method 3- Check The Input Cables
Most Acer monitors have both HDMI and DisplayPort capabilities.
So, you might want to check if your cables are working properly.
While both HDMI and DisplayPort cables are pretty robust, they can be damaged.
Check if your cables are badly bent or damaged.
Additionally, check the connectors to see if there are any pins that are damaged or frayed.
If you see any of these signs of damage, your culprit might be your input cable.
If you have another device that uses HDMI/DisplayPort, use it to check if the cable is the issue.
You can get replacement cables from sites like Amazon.
Just make sure you get high-speed cables like the PowerBear HDMI or the Silkland DisplayPort cable.
Method 4- Ensure Your HDMI/DisplayPort Is Working Properly
If the cables aren’t the issue, it could be the input ports on your monitor.
While you can check for physical damage like bent connector pins or damage on the port, you should still check for connection issues.
Most people typically use the DisplayPort to connect their graphics card to the PC.
So, I’d suggest swapping to the HDMI port to see if that works.
If it does, it’s most likely something wrong with your DisplayPort.
Similarly, if you use HDMI, swap to your monitor’s DisplayPort to see if that works.
Some older monitors might not have DisplayPort, but have multiple HDMI ports.
So, make sure you check each port to see which ones work.
You’ll need to take it to a PC repair store to fix a damaged port.
But, you can continue using the working ports if you choose to do so.
Method 5- Check Your Graphics Card Drivers
Sometimes it might be your graphics card that’s the culprit.
Turn off your PC before trying to fix graphics card issues.
In most cases, it might be a driver issue.
But, just to be sure, try using the other DisplayPort’s or HDMI ports to ensure the graphics card still works.
If it doesn’t show a display, you’ll need to update your graphics card drivers.
Disconnect your monitor from your graphics card.
Use an HDMI cable and connect your monitor directly to the motherboard of your PC.
The motherboard slots are on the back of your PC.
Note that the red arrow is your motherboard output. The green arrow is your graphics card output.
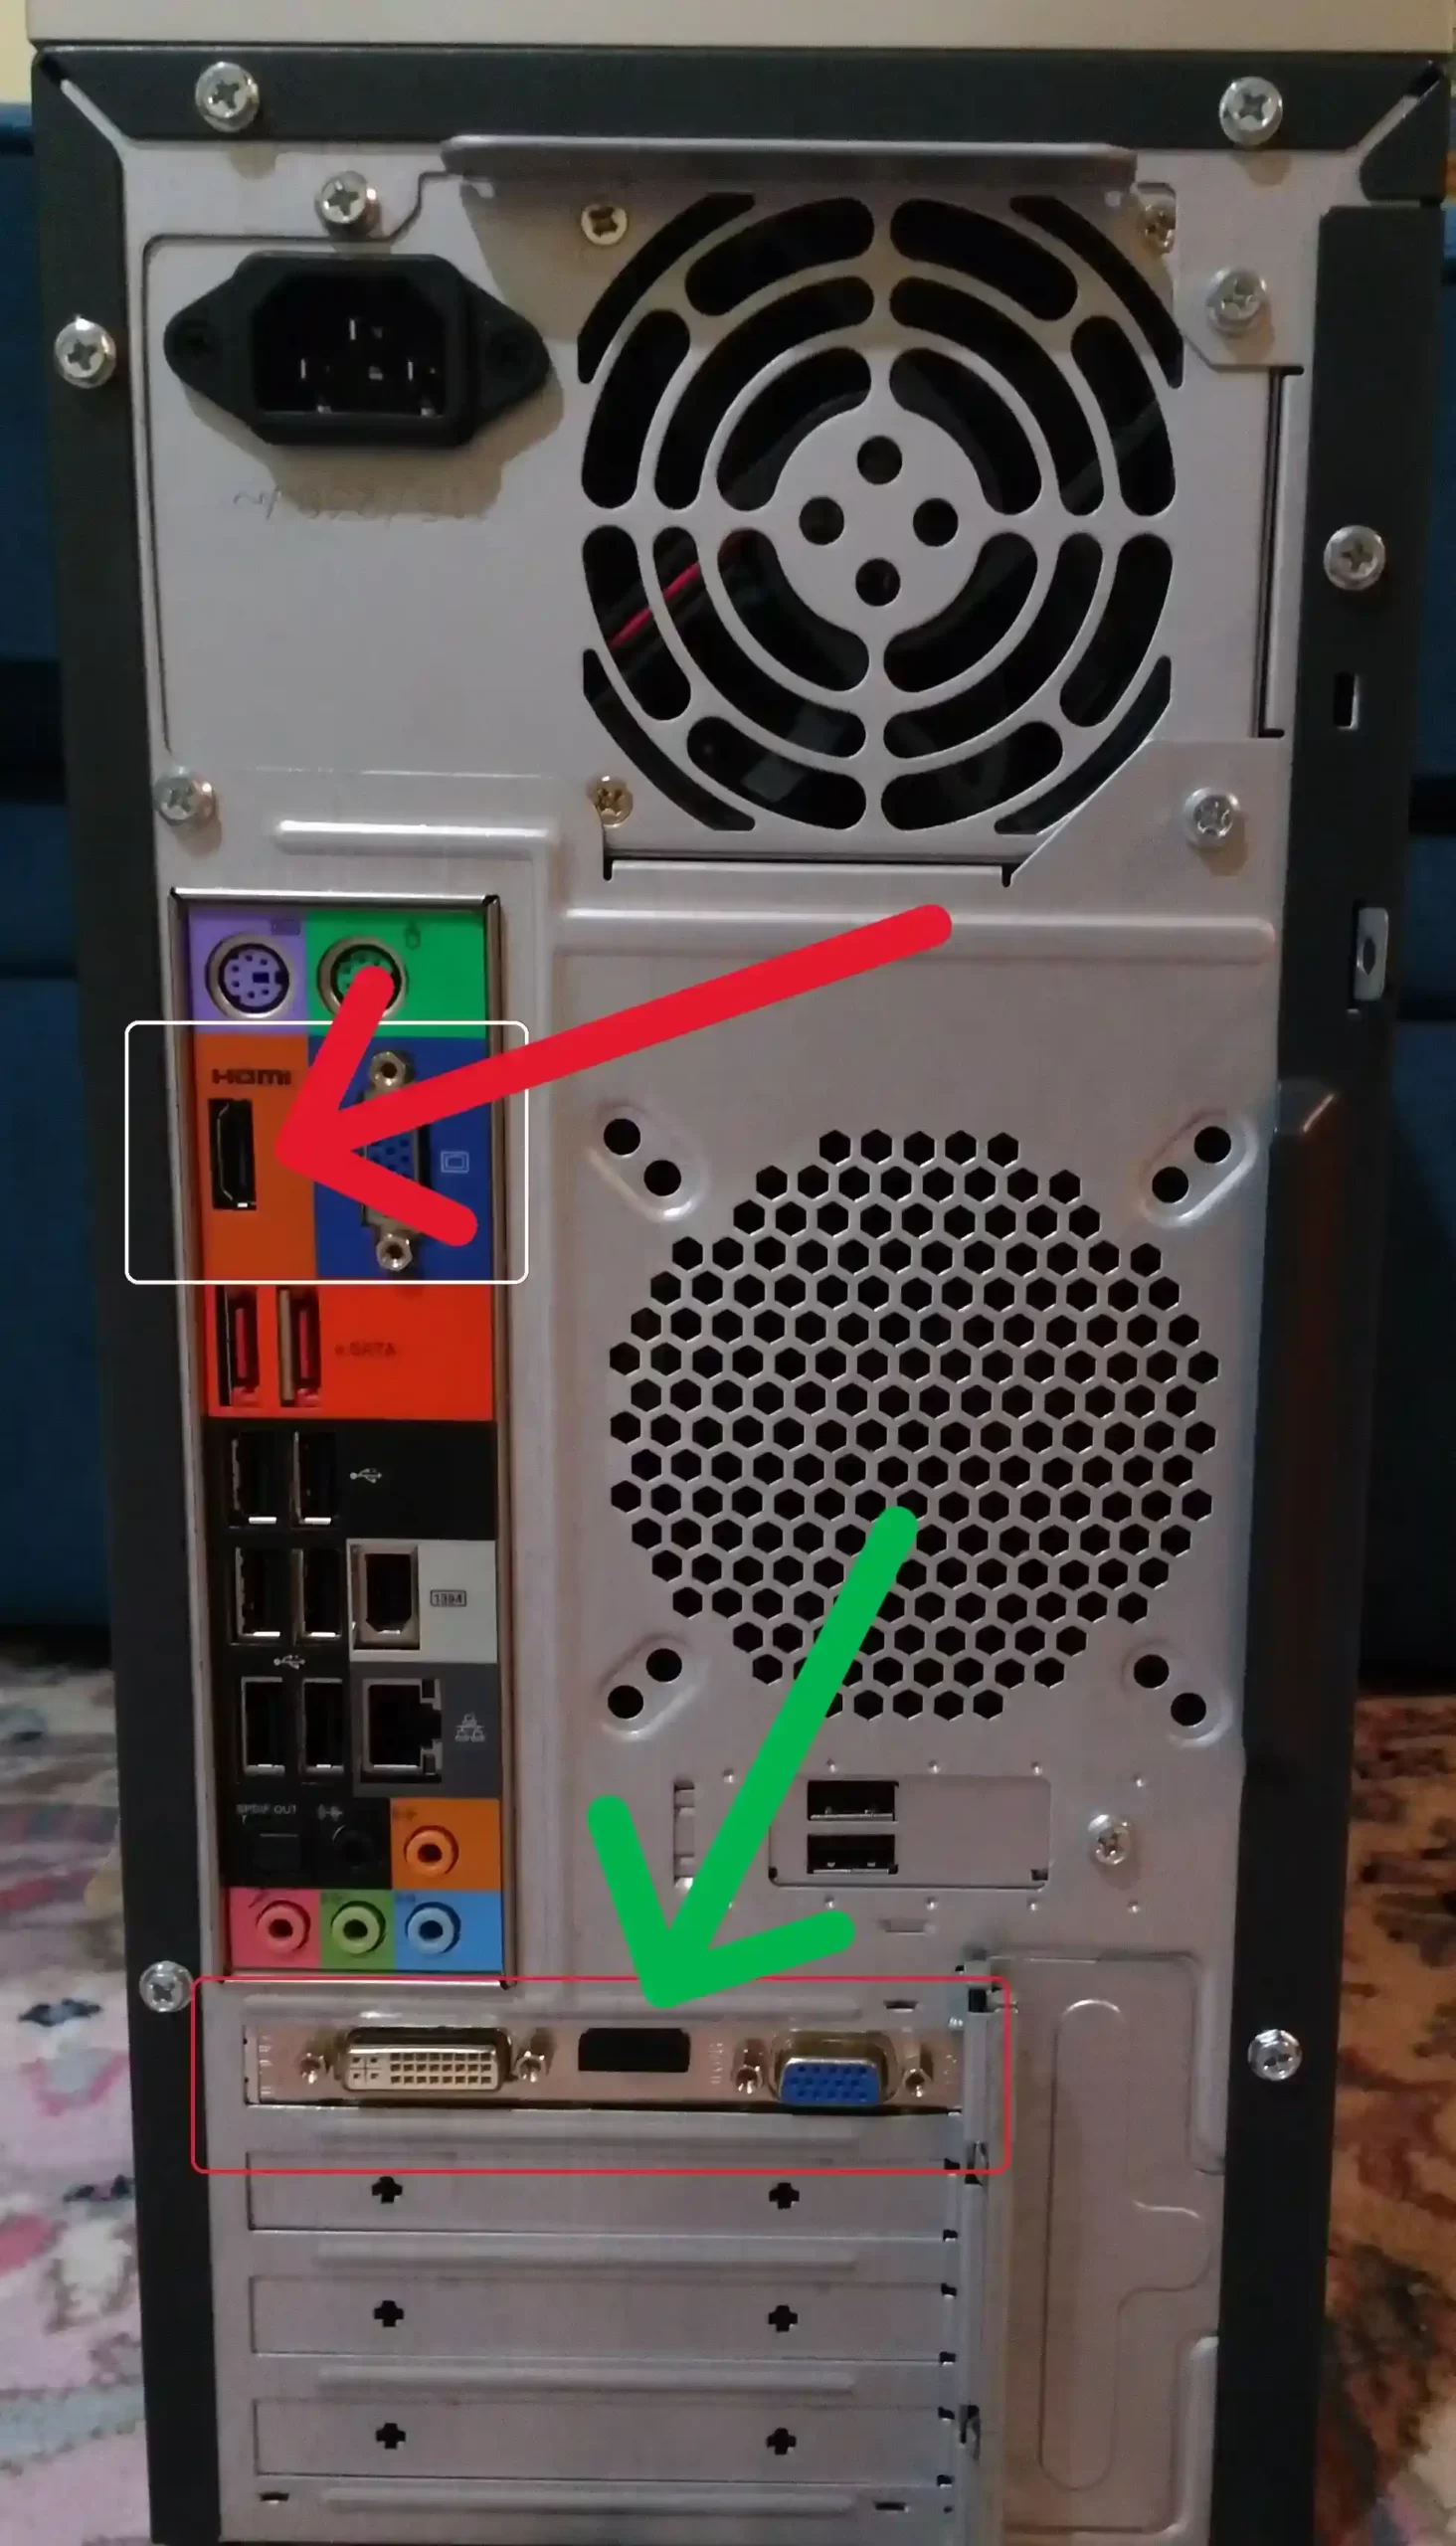
The back of your PC case might look slightly different, but the motherboard’s output should be in a similar spot on your PC.
Now that your monitor is connected to the integrated graphics, turn on your PC.
You should get a display.
Now, if you use Nvidia Geforce Experience, you can download the latest driver updates from there.
However, you can also manually download the drivers based on your model of graphics card from their website.
Make sure you select the correct mode of graphics card from the drop-down list.
In the drop-down for ‘Download Type‘ select Game Ready Driver for gaming or Studio Driver for professional work and click ‘Search‘.
Click the latest drivers from the list, download and install it.
Similarly, if your PC has an AMD graphics card, download the latest drivers from AMD Software.
If you don’t want to install AMD software, simply download it from their website.
Search for your model and graphics car, download and install the latest drivers.
In the event a driver update doesn’t fix the issue, the graphics card either has some other issue, or it’s bust.
Reset Your CMOS (Advanced Method)
I mentioned this earlier in the article, but unless you know how to work on the internal components of a PC, don’t try this.
If you have experience opening up and working on your PC, then resetting your CMOS battery should help.
A CMOS is basically a small chip with a battery on your motherboard.
It stores data such as system configurations, hardware boot order, hardware settings, date and time, and password information.
To reset the CMOS, you simply need to disconnect and reconnect it.
However, some newer motherboards have a dedicated CMOS reset switch.
So, if you have one on your motherboard, go ahead and hold down the button for a while till the CMOS resets.
But, if you don’t have one, you’ll have to do it manually.
To do this,
- Step 1- Make sure your PC is turned off completely before starting this process.
- Step 2- Lay your PC case on the side before starting work on it. It’s easier to manage, and you don’t have to worry about dropping anything inside.
- Step 3- Check the motherboard for a circular battery. These are similar to the batteries you would find in watches and other small devices.
- Step 4- If there are any hooks or latches on the battery, slowly unhook or release them.
- Step 5- Wait for about one to five minutes and then connect the battery back in.
- Step 6- Ensure the battery is locked in place and then proceed to close your PC case.
Turn the PC on now, and it should have reset the CMOS.
If you need, you can use this video guide to help out.
This will also fix any boot or BIOS issues that might have caused your display to malfunction.
Contact Acer Support
Most of these fixes should and have worked for me and other Acer monitor users.
However, if your monitor still won’t turn on, you’ll have to contact Acer customer support.
You can tell them all the steps you’ve tried, since they might ask you to try the same solutions I’ve provided.
But, they’ll also be able to provide advanced troubleshooting, which isn’t always documented.
Additionally, if there are any malfunctions with the monitor, you might have to send it in for inspection and repairs.
As long as it’s under warranty, you won’t have to pay for any repairs.
Even if it’s not, as long as it isn’t a major problem, it shouldn’t cost too much to get fixed.
You can also check out third-party service centers, but I’d recommend looking for ones that are authorized by Acer.
See Also:
Wrapping Up
Acer monitors are generally fantastic and provide a range of displays for various use cases.
So, whether you’re trying to fix your professional studio monitor or your gaming monitor, these fixes should help out.
And as a side note, always keep your system and display drivers updated for the best results.

As a seasoned DIY tinkerer, Arvind found the simplest way to help anyone troubleshoot or set up tech without feeling overwhelmed by it. He’s an advocate for smart home technology and in his free time makes music. He’s also an avid gamer, mostly obsessed with single-player titles.


