
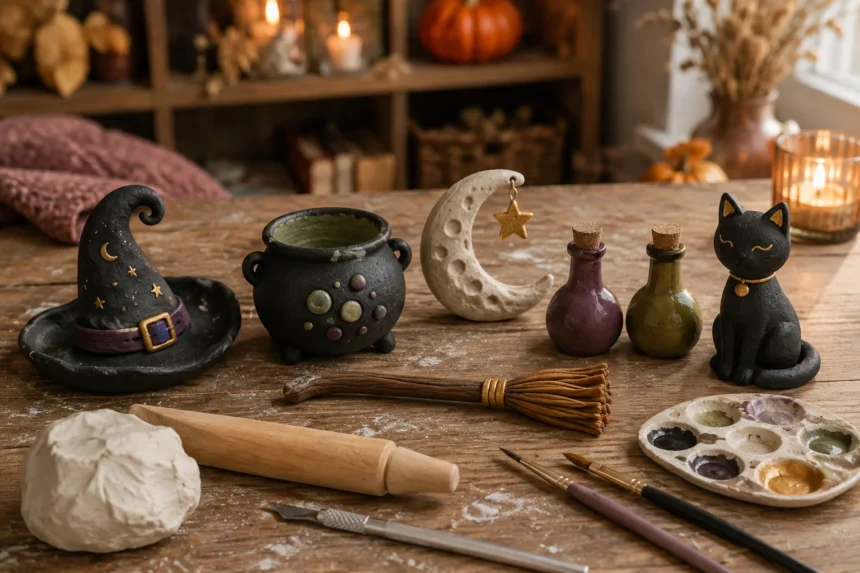
Air-dry clay is perfect for making Halloween decor that feels mysterious, handmade, and a little enchanted. You do not need a kiln, and the naturally imperfect finish suits moons, ravens, potion labels, keys, and other witch-inspired details.
Most of these projects use only a small amount of clay, so they are easy to make in an afternoon and affordable enough for a craft night. Paint them in black, charcoal, moss green, dusty purple, or antique gold to create a coordinated collection.
Here are 12 Halloween witchy clay crafts using air-dry clay, arranged in the same order as the inspiration images so you can follow along easily.
Quick List: Witchy Air-Dry Clay Crafts
- Moonlit Spell Stone Set
- Tiny Witch’s Herb Drying Rack Charms
- Eclipse Potion Bottle Trinket Dish
- Crow Feather Moon Hanger
- Crystal Ball Candle Collar
- Forgotten Witch’s Key Collection
- Lunar Moth Spell Plaque
- Black Cat Familiar Pocket Token
- Potion Ingredient Apothecary Tags
- Mini Cauldron Trinket Bowl
- Raven Moon Wall Talisman
- Witch’s Moon Garden Marker Set
Air-Dry Clay Basics
Work on parchment paper or a silicone mat and keep unused clay sealed while you shape each piece. A thickness of about 1/4 inch is sturdy enough for most ornaments and plaques without making them excessively slow to dry.
| Tool | Use | Substitute |
|---|---|---|
| Clay roller | Makes an even slab | Smooth glass jar |
| Sculpting tool | Carves symbols and texture | Toothpick |
| Fine sandpaper | Smooths dry edges | Emery board |
12 Halloween Witchy Clay Crafts Using Air-Dry Clay
1 Moonlit Spell Stone Set
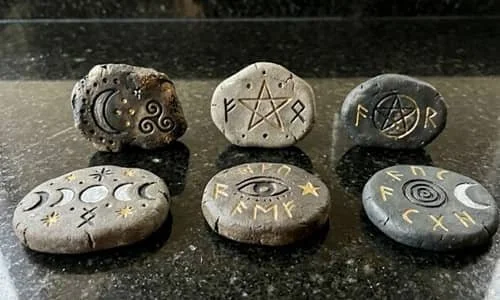
Shape small, smooth clay pebbles and flatten the backs so they rest securely on a tray. Carve a different symbol into each one—crescent moon, star, eye, spiral, sun, or tiny botanical sprig—using a toothpick.
When dry, paint the stones matte black or deep grey and lightly brush the raised areas with silver or antique gold. Display them in a velvet pouch, shallow dish, or clustered beside candles and crystals.
2 Tiny Witch’s Herb Drying Rack Charms
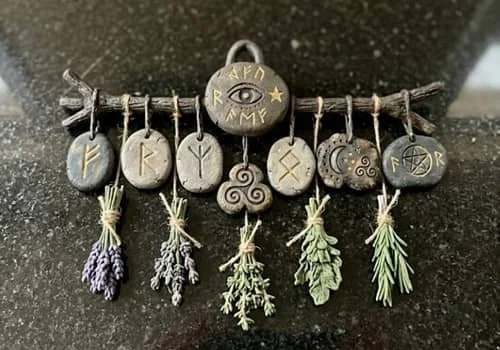
Cut tiny herb bundles, leaves, mushrooms, and crescent moons from a rolled slab. Press leaf veins and stem lines into the soft clay, then pierce each piece near the top before drying.
Tie the finished charms to a miniature wood dowel or twig with black thread so they resemble herbs hanging in a witch’s kitchen. This small display looks charming on a shelf, tiered tray, or inside a shadow box.
Shop on Amazon
3 Eclipse Potion Bottle Trinket Dish
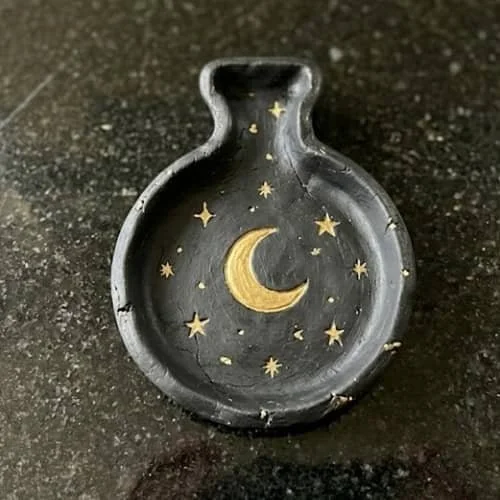
Form a shallow oval or round dish and gently lift the edges. Add a raised potion-bottle silhouette in the center, then carve a sun-and-moon eclipse symbol onto the bottle while the clay remains soft.
After drying, use black paint around the rim and a cloudy purple or smoky green wash inside. The dish is useful for rings, earrings, keys, or a few decorative crystals, but it should not be used for food.
4 Crow Feather Moon Hanger
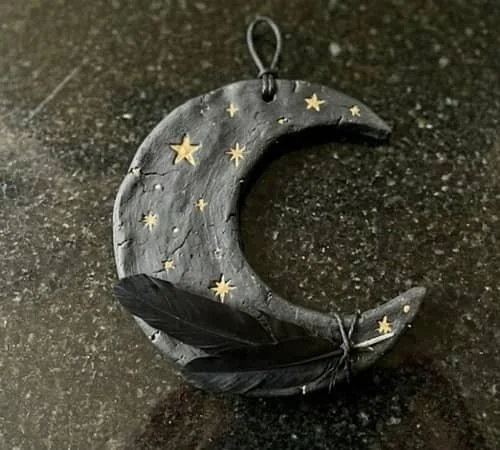
Cut a crescent moon from a rolled slab and create three small holes along its lower curve. Shape long feather charms separately, scoring the shafts and making fine diagonal lines on both sides.
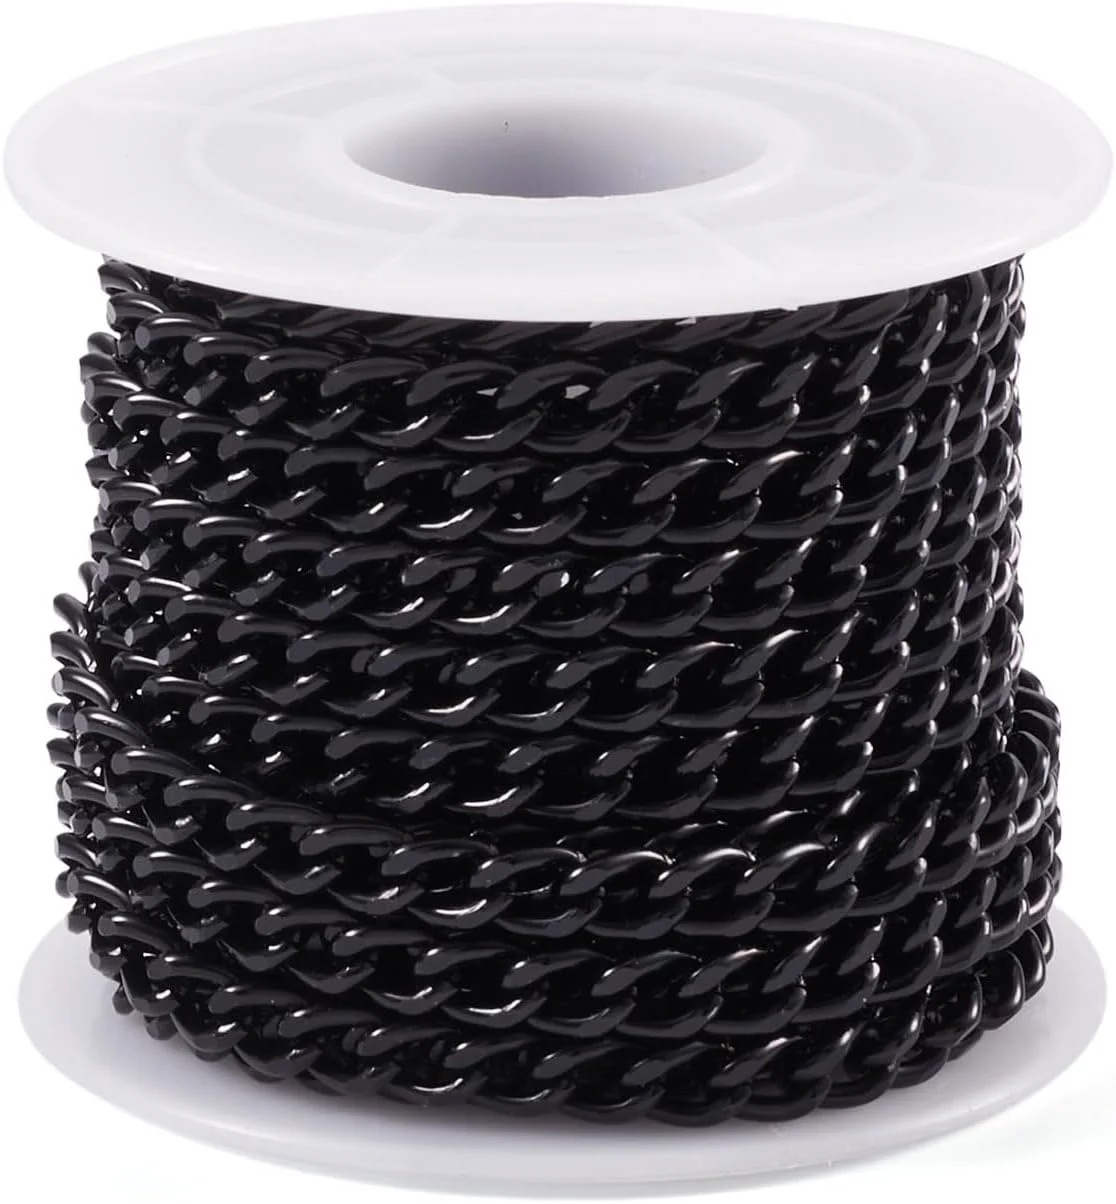
Once every piece is dry and painted, suspend the feathers from the moon with dark thread or fine chain. Add a top loop and hang the finished mobile where it can move gently against a light-colored wall.
5 Crystal Ball Candle Collar
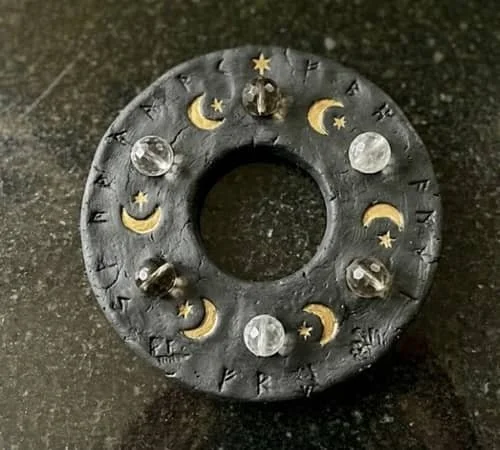
Measure around the base of an LED pillar candle, then shape a low clay band that fits loosely around it. Decorate the front with a raised crystal ball, tiny stars, moons, and curling vines.
Paint the collar charcoal or black and give the crystal ball an iridescent purple-blue center. It instantly makes an ordinary flameless candle look like a fortune-teller’s treasure without requiring a permanent makeover.
6 Forgotten Witch’s Key Collection
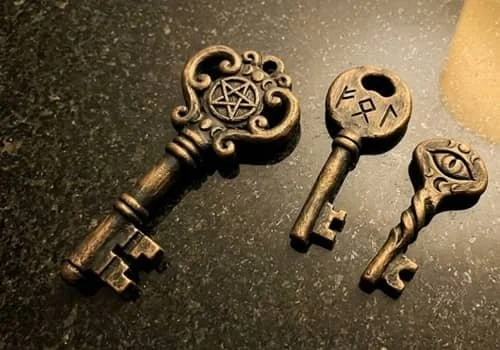
Roll clay slightly thicker than an ornament and cut several old-fashioned key shapes. Give each key a different bow—moon, bat, eye, star, or thorny circle—and press grooves into the shafts for aged detail.
Paint the dry keys black, bronze, or tarnished silver, then dab dark brown into the crevices. Thread them onto a large metal ring or display them in a shallow frame with handwritten labels.
7 Lunar Moth Spell Plaque
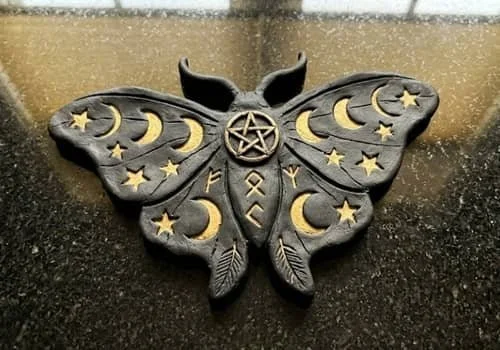
Cut an arched, oval, or tombstone-shaped plaque from clay and add two hanging holes. Sculpt a moth in the center with outstretched wings, then surround it with crescent moons, stars, dots, and delicate botanical lines.
A black base coat with ivory, gold, or dusty-lavender details makes the design easy to see. Thread velvet ribbon through the holes and hang the plaque above a Halloween vignette or among framed art
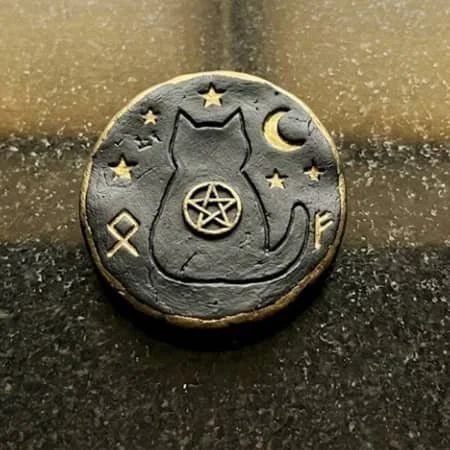
8 Black Cat Familiar Pocket Token
Form a small oval token that fits comfortably in your palm. Add a raised cat silhouette, cat face, or curled tail on the front and press tiny moons and stars around the edge.
Paint the cat deep black and use gold for the eyes and celestial accents. Make several as party favors, place-card gifts, or little keepsakes to tuck into a purse or Halloween treat bag.
9 Potion Ingredient Apothecary Tags
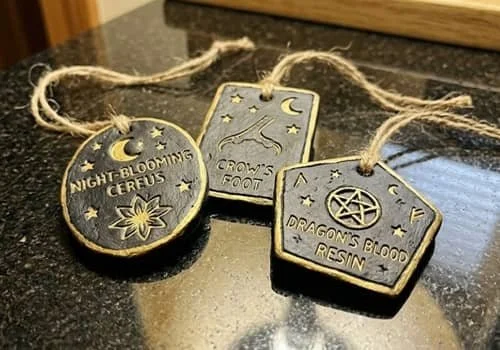
Cut small rectangular, oval, and shield-shaped tags from clay. Pierce each one near the top, then stamp or carve labels such as Moon Dust, Nightshade, Raven Feather, or Dragon Smoke.
Wash the dry tags with diluted brown or black paint so pigment settles into the letters. Tie them to recycled bottles and jars with twine, narrow ribbon, or fine chain for an instant witch’s apothecary display.
10 Mini Cauldron Trinket Bowl
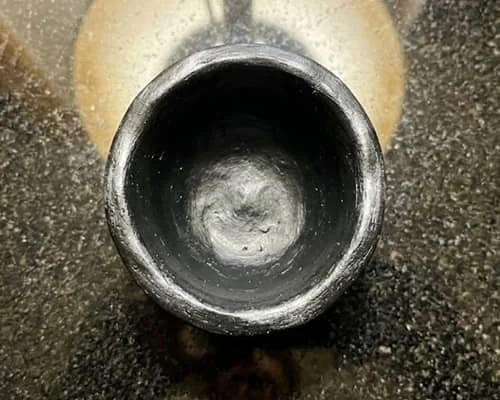
Pinch a thick ball of clay into a small bowl, keeping the base flat. Add three short feet, a rolled rim, and two tiny side handles, scoring and dampening every joint before pressing it together.
Paint the cauldron matte black and dry-brush grey over the texture for an iron-like finish. Use it to hold rings, wrapped candy, crystals, paper clips, or other dry trinkets.
11 Raven Moon Wall Talisman
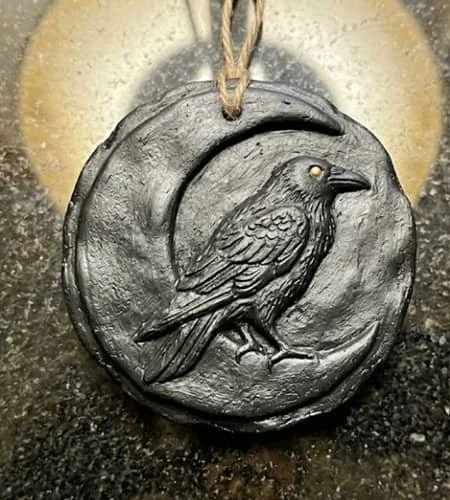
Cut a large crescent moon and add a raven silhouette perched along the inner curve. Press feathers, stars, and small symbols into the surface, leaving two sturdy holes for hanging.
Layer black, graphite, and antique silver paint to emphasize the carved texture. Hang it from black cord alone or add a tassel and a few wood beads for a longer wall decoration
12 Witch’s Moon Garden Marker Set
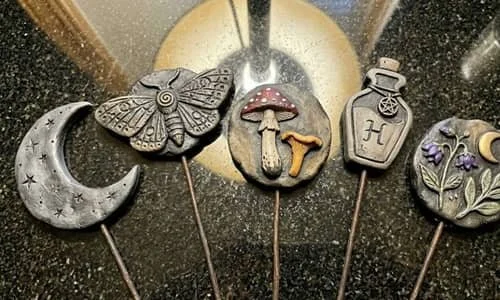
Cut marker tops shaped like crescent moons, moths, mushrooms, crystals, potion bottles, and black cats. Attach each shape to a sturdy clay stake, score both surfaces, and reinforce the seam with an extra strip of clay.
Carve veins, stars, spots, and bottle details before drying. Paint the finished set in black, charcoal, moss green, dusty purple, and antique gold, then cluster the markers in an indoor planter or seasonal centerpiece.
Witchy Clay Craft Shopping Checklist
| Supply | Best For |
|---|---|
| White or natural air-dry clay | Every project |
| Roller and sculpting tools | Even slabs and carved detail |
| Acrylic paint and fine brushes | Dark finishes and small symbols |
| Cord, ribbon, and chain | Hangers, charms, and tags |
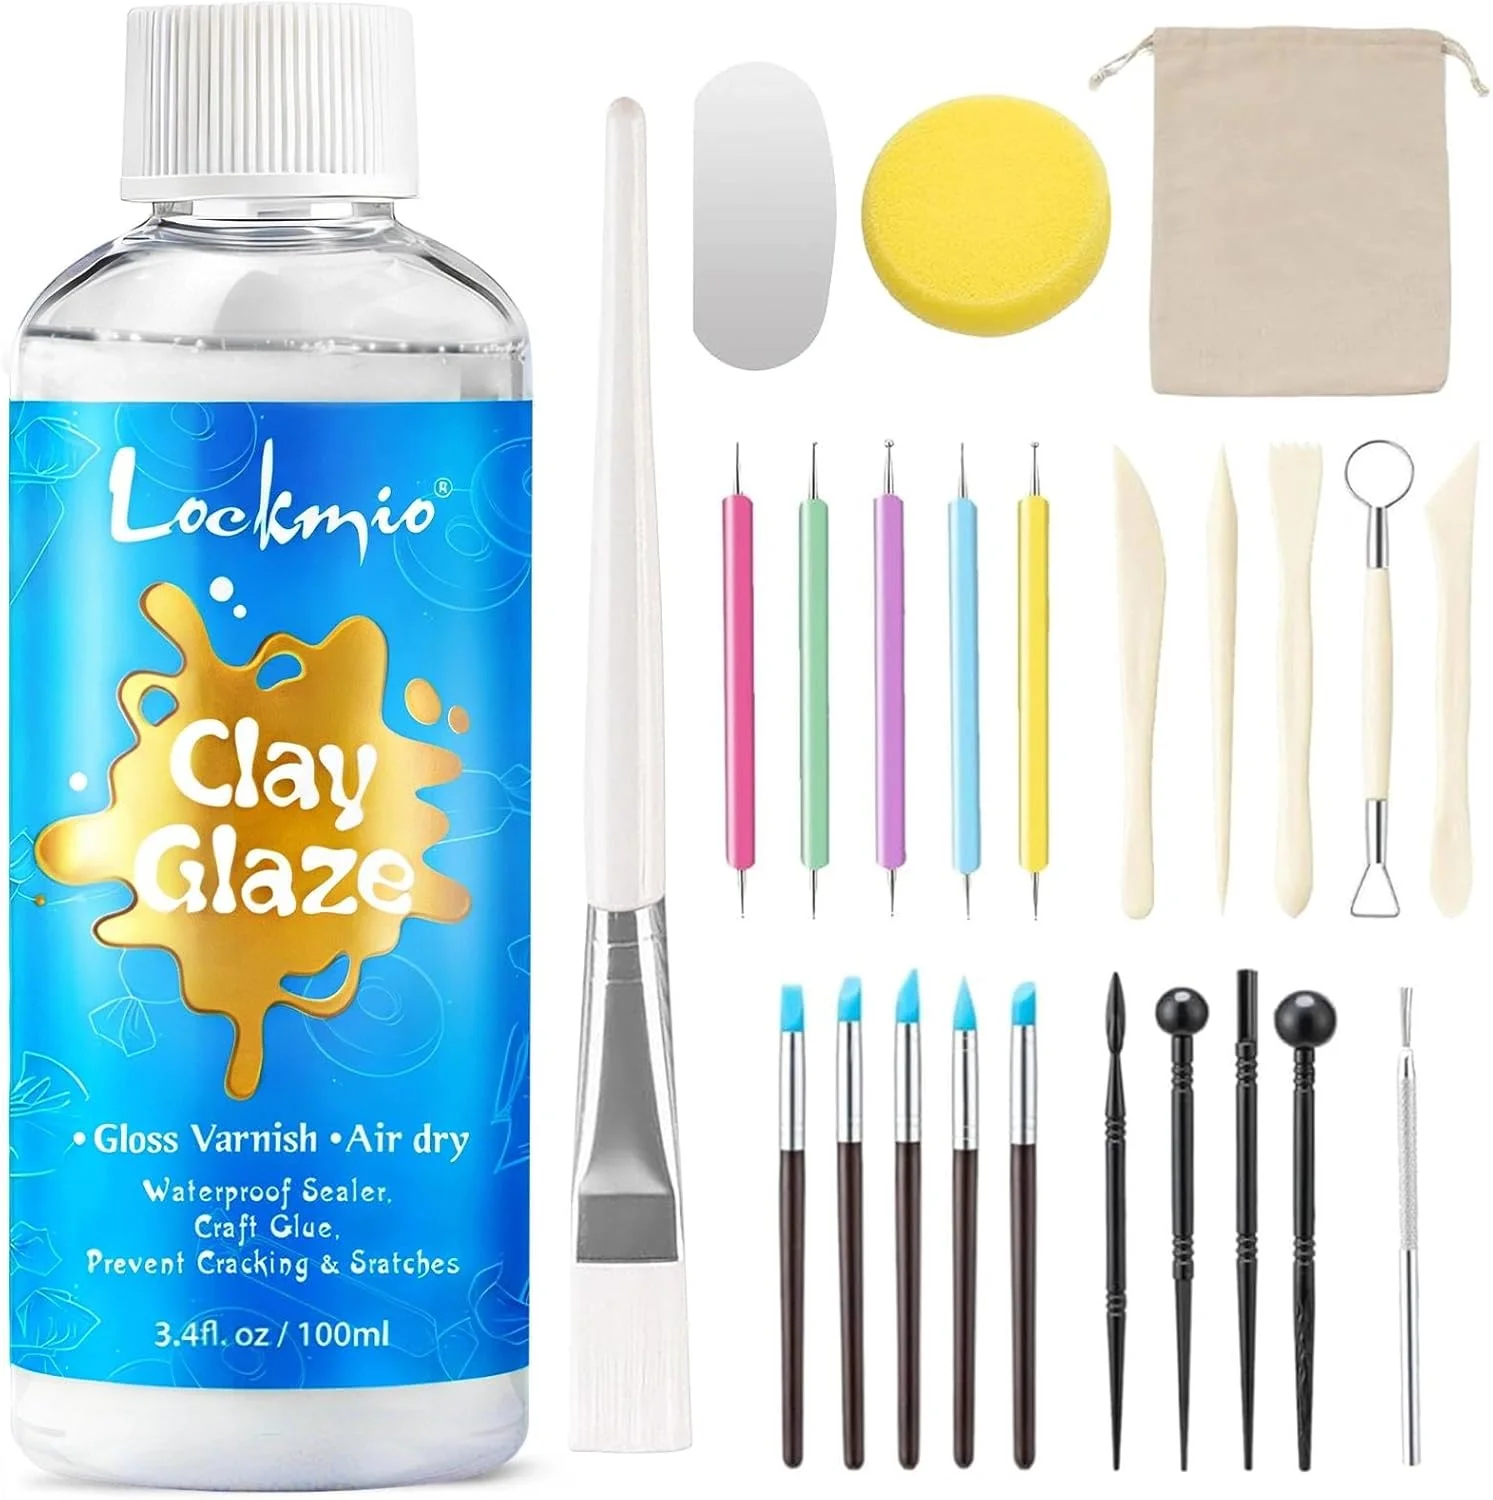
| Water-based clear sealer | Protecting painted surfaces |
How to Prevent Cracks and Warping
- Keep slabs an even thickness and avoid paper-thin edges.
- Score and dampen both surfaces before joining separate clay pieces.
- Dry projects slowly at room temperature, away from heaters and direct sun.
- Turn flat pieces occasionally once they are firm enough to move.
- Sand only after the clay is completely dry, then remove dust before painting.
FAQs
How long does air-dry clay take to dry?
Small pieces often need 24 to 48 hours, while thick bowls and sculpted projects may take several days. Follow the package instructions and wait until the center is fully dry before painting.
What paint works best on air-dry clay?
Acrylic craft paint is easy to use, dries quickly, and comes in both matte and metallic finishes. Thin coats preserve carved detail better than one heavy coat.
Do I need to seal witchy clay crafts?
Sealer is helpful for painted pieces and anything handled frequently. It improves durability, but it does not make most air-dry clay permanently waterproof.
Can these clay crafts hold food or water?
No. Use them for dry trinkets and decoration unless the clay manufacturer specifically states that its product and finish are food-safe and waterproof.
Are these projects beginner-friendly?
Yes. Start with spell stones, pocket tokens, or apothecary tags. They use simple flat shapes and still look appealing when the edges and carvings are slightly imperfect.
Final Thoughts
The charm of witchy air-dry clay crafts comes from their handmade character. A crooked crescent, rough edge, or uneven star can make a piece feel older and more magical rather than unfinished.
Choose two or three projects and repeat the same paint palette across them. Displayed together, the finished pieces will look like a collected set of enchanted objects made especially for your Halloween home.
Nothing much to say, too much to write! Love to write about Tech & Games.