
Easter is a time for fun, creativity, and colorful crafts! Whether you have preschoolers, toddlers, or older kids at home, crafting is a fantastic way to celebrate the holiday while keeping little hands busy.
From adorable bunny puppets to egg-themed decorations, Easter crafts are not only enjoyable, but also a great way to encourage imagination and hands-on learning. Most of these crafts use simple materials you likely already have, making them budget-friendly and easy to set up.
In this guide, we’ve gathered 20 fun and creative Easter craft ideas that kids of all ages will love.
Let’s get started on making memorable Easter decorations and gifts! 🎨🐰🌸
20 Fun & Easy Easter Crafts for Kids – Creative & Unique Ideas
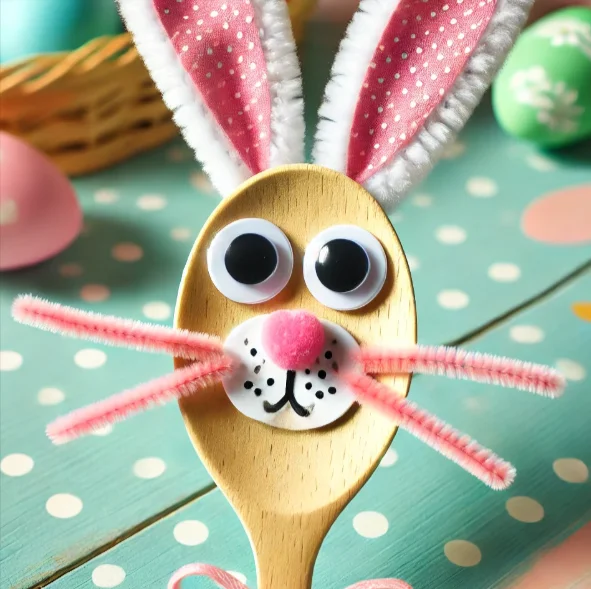
1. Bunny Spoon Puppets 🥄
What You Need:
- Wooden or plastic spoons
- Paint or markers
- Googly eyes
- Pipe cleaners
- Glue
How to Make It:
- Paint the spoon white or pastel colors.
- Glue on googly eyes and draw a bunny nose and whiskers.
- Attach pipe cleaners as ears.
Why Kids Love It: They can play with their bunny puppets after making them!
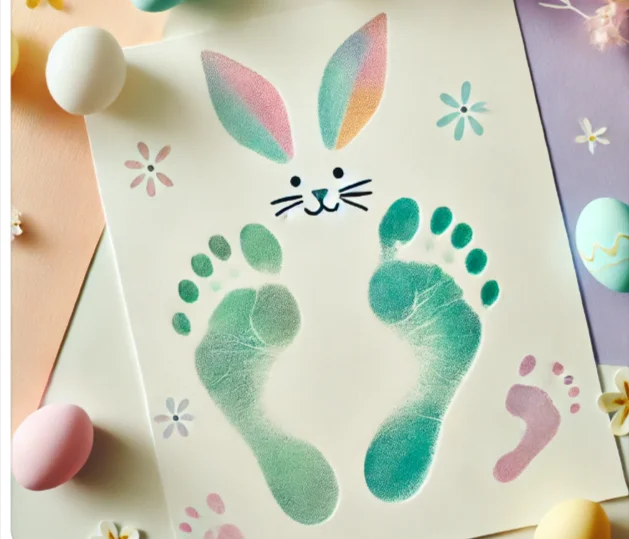
2. Easter Bunny Footprint Art 🐾
What You Need:
- White paper
- Washable paint (pastel colors)
- Paintbrush
How to Make It:
- Paint your child’s foot with pastel paint.
- Press it onto the paper to create a bunny shape.
- Add bunny ears, eyes, and a nose with a brush or markers.
Why Kids Love It: It’s messy and fun, plus a great keepsake for parents!
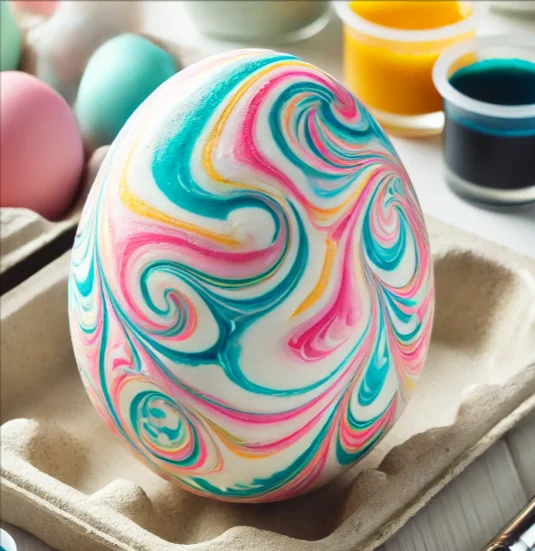
3. Shaving Cream Easter Eggs 🎨
What You Need:
- White paper
- Shaving cream
- Food coloring
- A tray or plate
- A toothpick or stick
How to Make It:
- Spread shaving cream on a tray.
- Drop food coloring on top and swirl it around.
- Press a paper egg cutout onto the shaving cream.
- Let it dry, then scrape off the excess for a marbled effect.
Why Kids Love It: The swirling colors create magical Easter eggs!
4. Easter Bunny Paper Bag Puppets 🎭
What You Need:
- Brown or white paper bags
- Construction paper
- Glue
- Markers or crayons
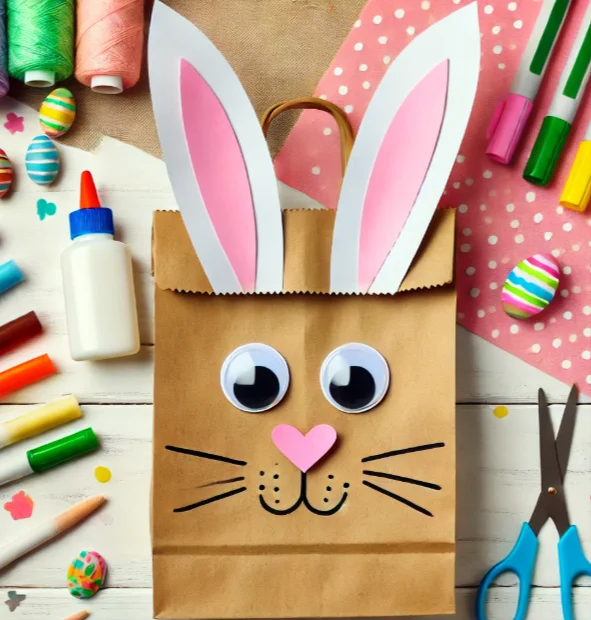
How to Make It:
- Draw a bunny face on the paper bag’s bottom flap.
- Cut out and glue bunny ears from construction paper.
- Decorate with whiskers and a nose.
Why Kids Love It: They can use these DIY puppets for an Easter play!
5. Easter Bunny Paper Cup Planter 🌱
What You Need:
- Paper or plastic cup
- Cotton balls
- Googly eyes
- Markers
- Soil and seeds
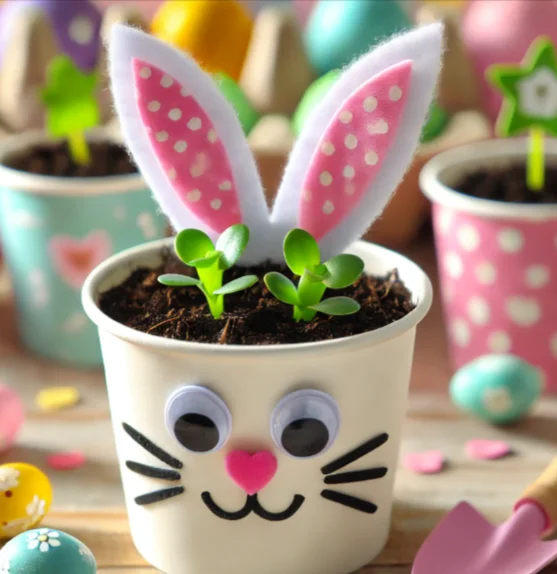
How to Make It:
- Decorate the cup like a bunny (googly eyes, nose, ears).
- Fill it with soil and plant small seeds.
- Water and watch your Easter plant grow!
Why Kids Love It: They can grow their own mini plants and check daily for sprouts!
6. Paper Plate Easter Bunny
What you need: Paper plates, cotton balls, markers or crayons, glue
How to make it:
- Draw a bunny face in the center of the plate.
- Glue cotton balls around the edge to form a fluffy bunny “fur.”
- Add bunny ears cut from construction paper.

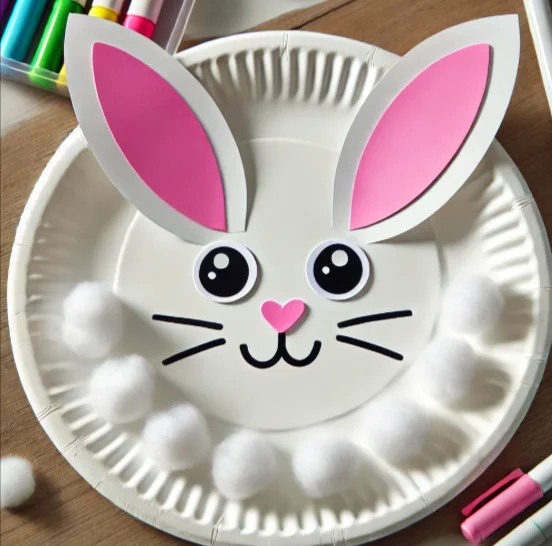
This craft is great for toddlers because they can have fun sticking cotton balls onto the plate.
SEE ALSO:
- 17 Aesthetic Easter Phone Wallpaper & Backgrounds (HD+)
- 174+ Inspirational Easter Quotes (for kids, Jesus, Religious)
- 166+ Easter Letterboard Quotes Ideas
7. Thumbprint Chick Cards
What you need: Yellow paint, paper, markers
How to make it:
- Dip your thumb in yellow paint.
- Press it onto the paper.
Use markers to draw beaks, feet, and eyes for each thumbprint to create chicks.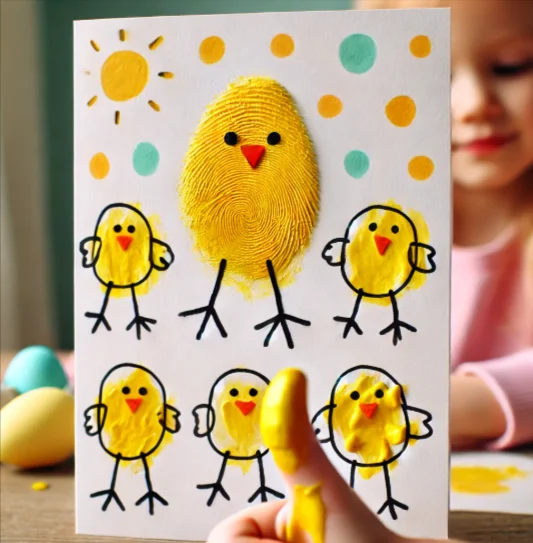
This is a cute idea to turn into Easter greeting cards. Kids love the messiness of painting with their fingers!
8. Easter Egg Salt Dough Ornaments
What you need: Salt dough (mix 1 cup of flour, 1 cup of salt, and about ½ cup of water), cookie cutters, paint
How to make it:
- Roll out the dough.
- Use egg-shaped cookie cutters to cut out ornaments.
- Poke a hole at the top for hanging.
- Let them dry, then paint and decorate.

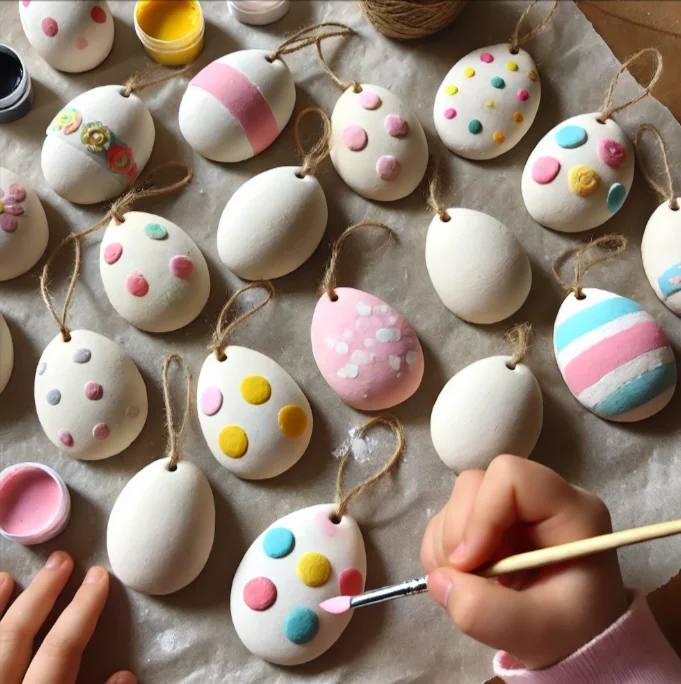
Adults can help mix and roll, while toddlers can have fun painting once the dough is dry.
9. Washi Tape Easter Eggs
What you need: Plastic or paper eggs, washi tape (colorful tape)
How to make it:
- Wrap strips of washi tape around the eggs.
- Mix and match patterns and colors.
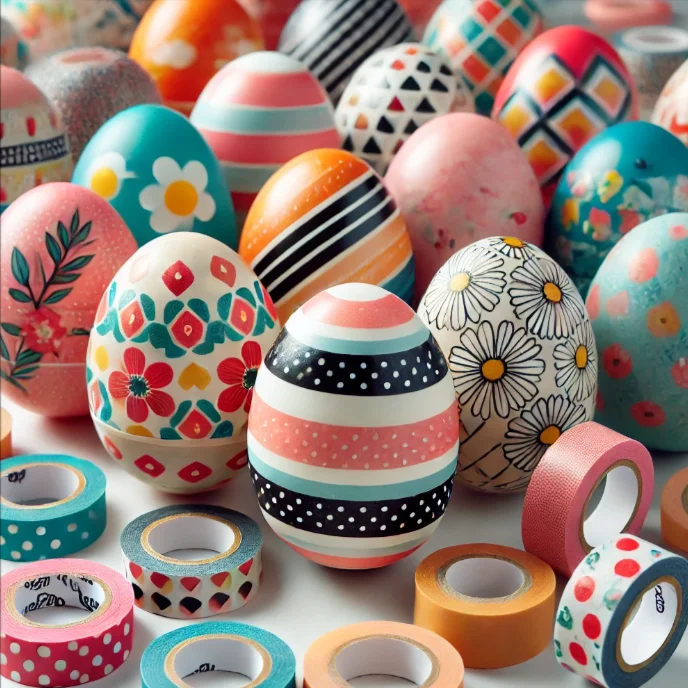
This project suits all ages—you can create fun patterns easily. Adults might enjoy arranging neat designs, while kids can go wild with colors.
10. Sock Bunny
What you need: A clean sock, rice or beans (for stuffing), ribbon, markers
How to make it:
- Fill the sock with rice/beans and tie it off.
- Use another ribbon to form the bunny’s head and body shapes.
- Cut the sock’s upper part into two ears.
- Draw on the face with markers.
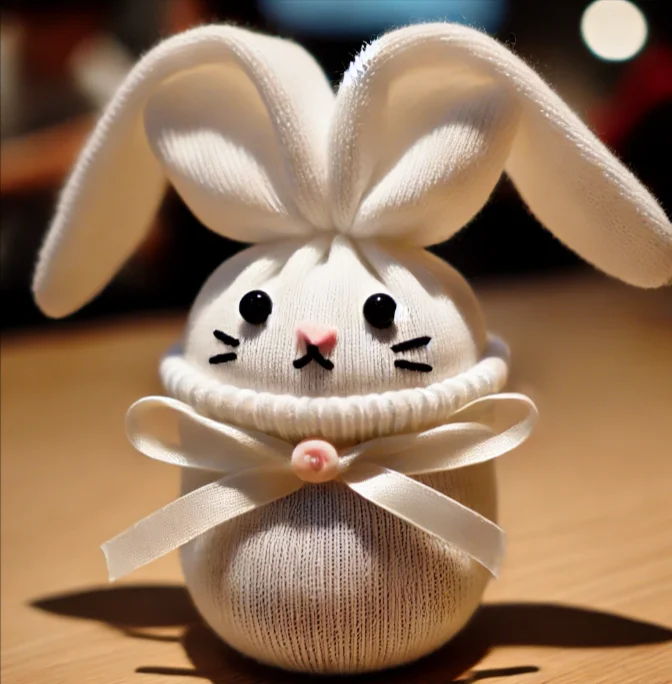
A quick, adorable craft for kids or adults who want a cute Easter-themed plush.
11. Potato Stamping Easter Eggs
What you need: Potatoes, paint, paper
How to make it:
- Cut a potato in half.
- Carve a simple egg shape or pattern.
- Dip in paint and stamp onto the paper.
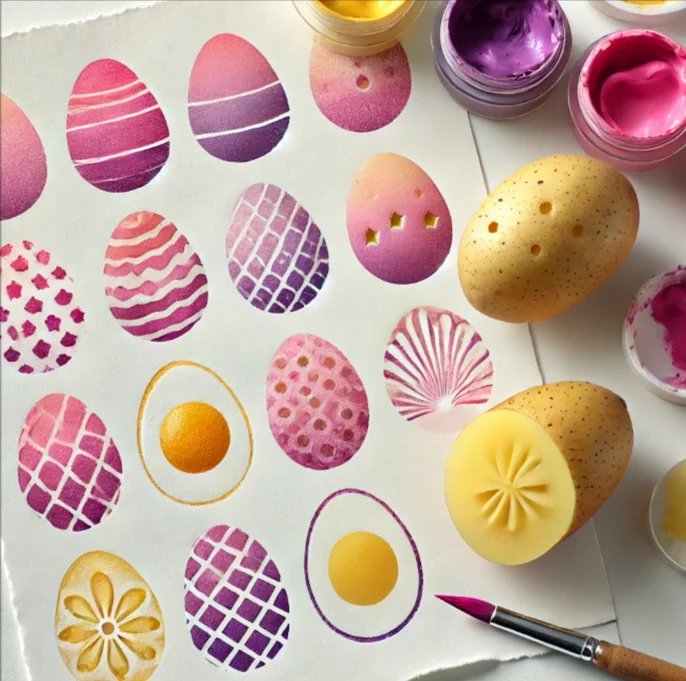
Toddlers and younger children find stamping fun and easy!
12. Bunny Ear Headbands
What you need: Construction paper, scissors, glue or tape, crayons
How to make it:
- Cut a long strip of paper to fit around the head.
- Cut two ear shapes and decorate them.
- Attach the ears to the strip.

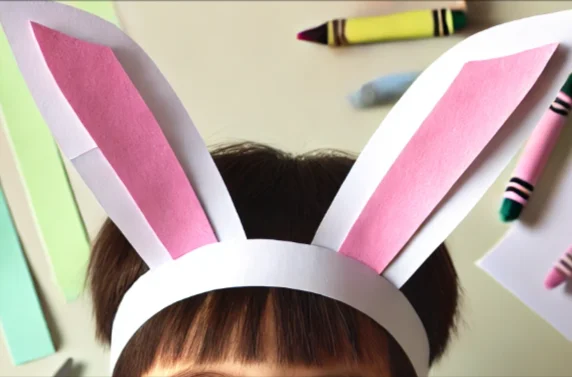
Kids love to dress up, and these headbands are super simple to make.
13. Paper Bunny Garland
What you need: Colored paper, scissors, string, markers
How to make it:
- Draw or trace bunny shapes on colored paper.
- Cut them out.
- Use markers to add faces or decorations.
- Glue or tape them onto a string to make a garland.
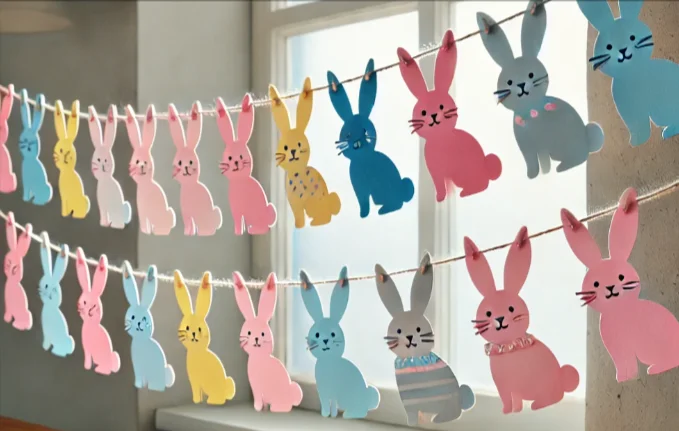
Hang this garland on a wall or across a window for instant Easter cheer.
14. Painted Rocks with Easter Messages
What you need: Smooth rocks, paint pens or acrylic paint
How to make it:
- Wash and dry your rocks.
- Decorate with Easter-themed words (“Hope,” “Joy,” “Egg Hunt!”) and cute designs.
- Let them dry.

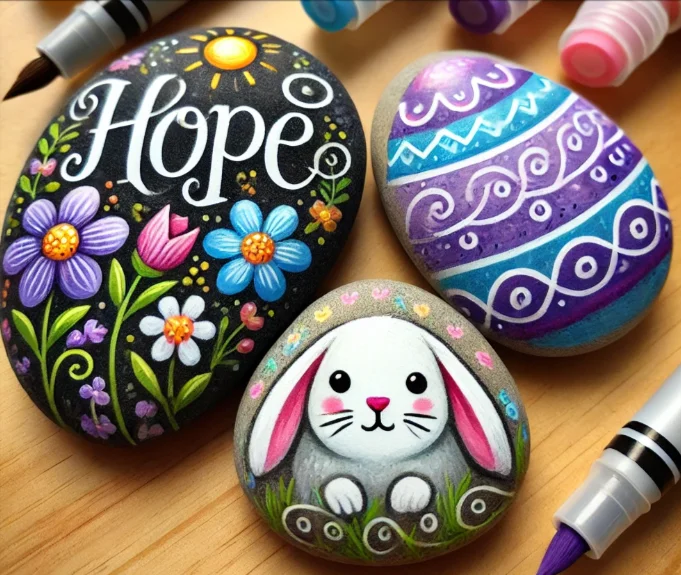
Perfect for adults and older kids who enjoy detailed painting. Place the rocks in your garden or around the house.
15. Easter Flower Pots
What you need: Small terracotta pots, acrylic paint, brushes
How to make it:
- Paint your pot in pastel Easter colors.
- Add simple designs like dots, stripes, or bunny faces.
- Let it dry, then add a plant or flowers.

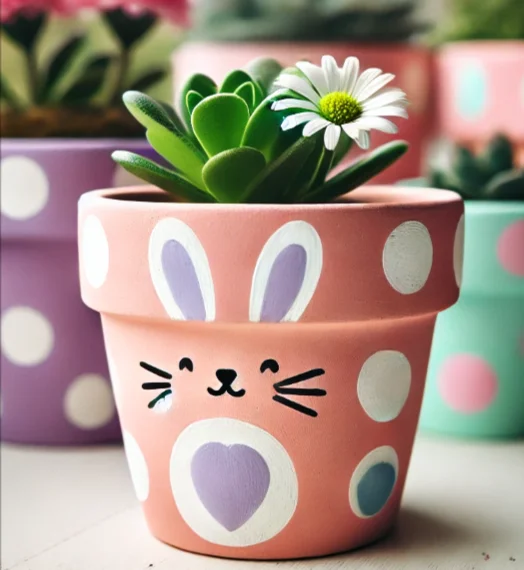
A fun decoration for your spring garden. Even toddlers can help splatter paint.
16. Yarn-Wrapped Eggs
What you need: Plastic eggs, yarn, glue
How to make it:
- Cover the egg with glue (a thin layer).
- Wrap colorful yarn around the egg carefully.
- Let it dry.
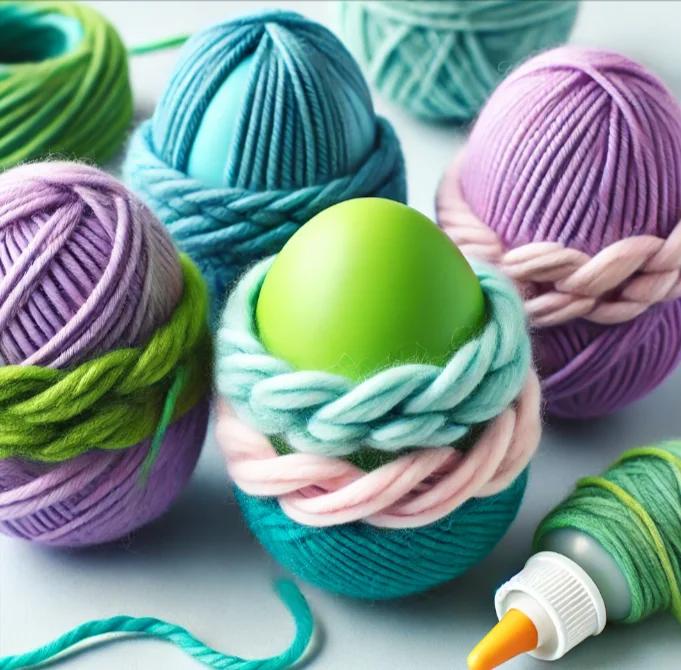
Kids can practice patience with the wrapping, and the result is very cozy-looking eggs.
17. Tissue Paper Chicks
What you need: Yellow tissue paper, glue, paper, markers
How to make it:
- Draw a simple chick outline on paper.
- Tear or cut small pieces of tissue paper.
- Crumple and glue them to fill in the chick’s shape.
- Add eyes and a beak with markers.
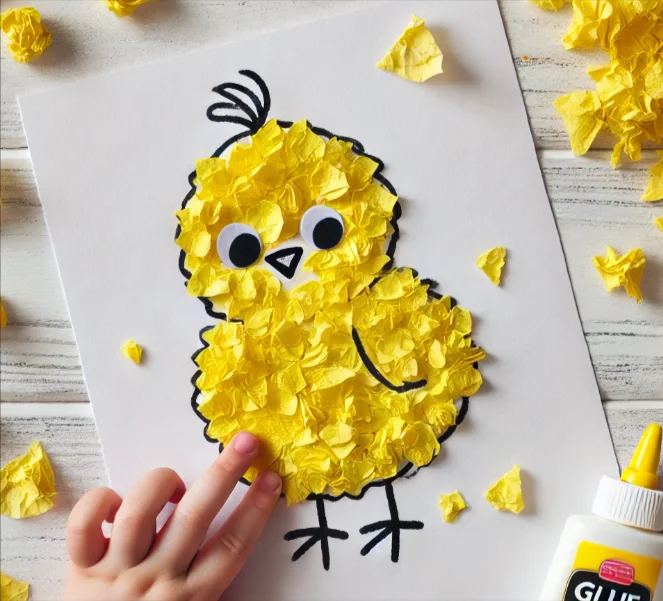
Toddlers love crumpling tissue paper, and the chicks come out fluffy and bright.
18. Easter Egg Suncatchers
What you need: Clear contact paper, colorful tissue paper, scissors
How to make it:
- Cut an egg shape from contact paper (twice, so you have a front and back).
- Place tissue paper bits on the sticky side.
- Seal with the second piece of contact paper.
- Hang on a window.
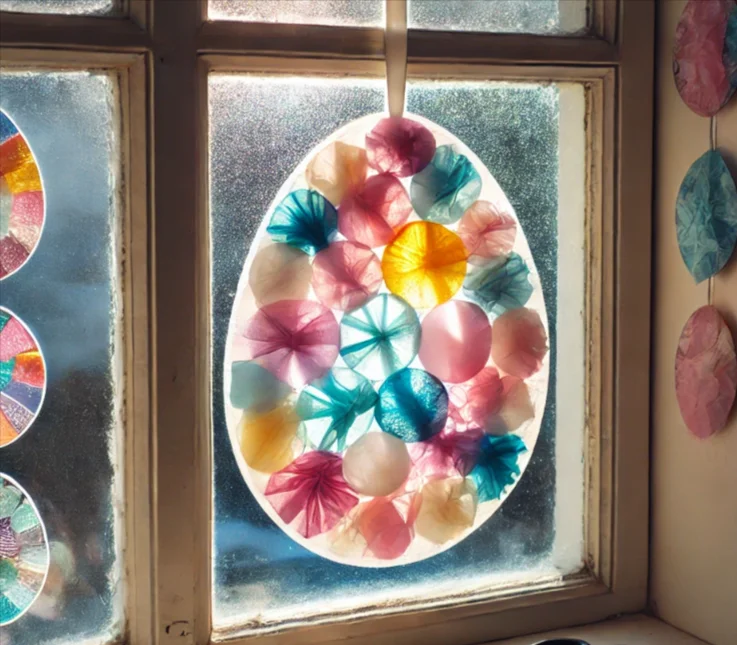
The light shines through the tissue, making a beautiful suncatcher.
19. Bunny Pom-Poms
What you need: Yarn, cardboard, scissors
How to make it:
- Wrap yarn around a cardboard template.
- Tie it in the middle, then trim to make a pom-pom.
- Make two small pom-poms (ears) and one large (body).
- Attach the pom-poms together to form a bunny.
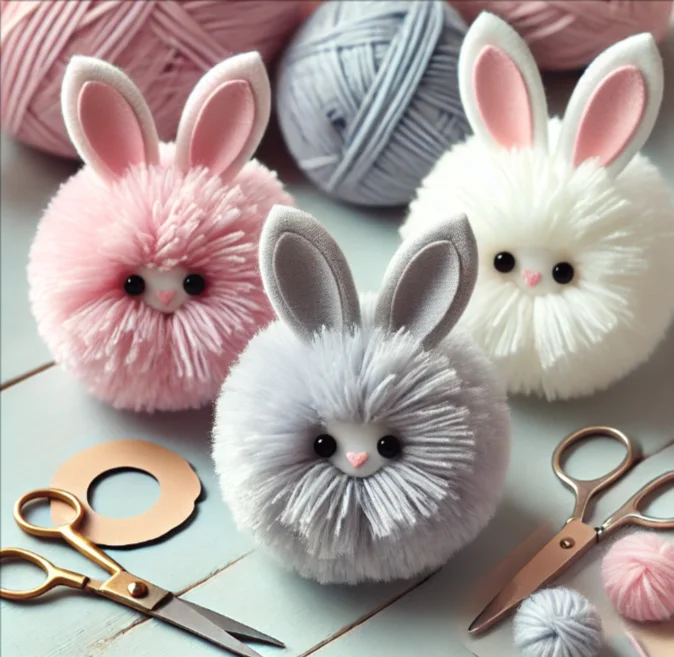
Great for adults who enjoy DIY projects. Kids can help by wrapping the yarn.
20. Easter Egg Collage
What you need: Old magazines, colored paper scraps, glue, pencil
How to make it:
- Draw a large egg on a piece of paper.
- Cut out small pieces of magazine or colored paper.
- Glue them inside the egg shape to form a collage.
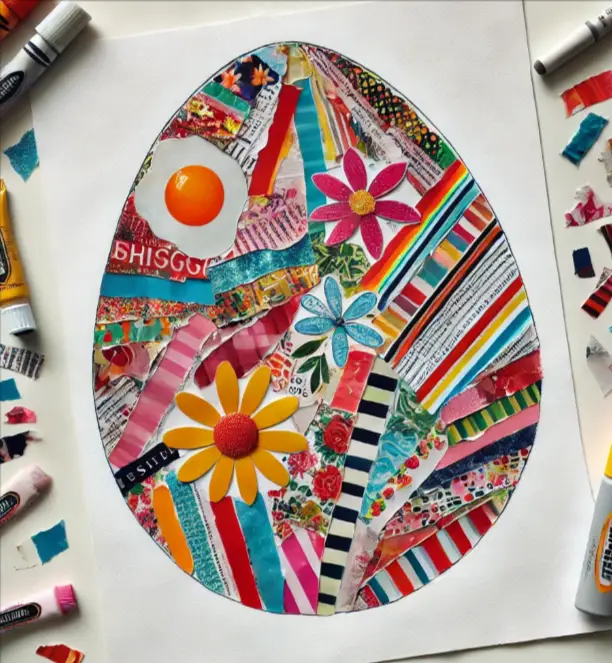
A simple, creative way for kids and adults to explore different colors and patterns.
Extra Tips:
- Always supervise toddlers with scissors and small craft items.
- Use washable paints or markers for easy cleanup.
- Personalize your crafts with glitter, stickers, or anything you love.
Easter crafting doesn’t need to be complicated. With these 15 ideas, you have plenty of inspiration to keep everyone—toddlers, kids, and adults—busy and cheerful. Happy crafting, and enjoy a colorful and creative Easter!


