

A Christmas village can turn an empty mantel, console, shelf, or tabletop into one of the most charming holiday displays in your home. Tiny houses are only the beginning. Adding different heights, snowy paths, trees, warm lights, and handmade details can make the whole scene feel like a miniature town instead of a simple row of decorations.
These creative Christmas village setup ideas include classic displays for collections you already own as well as DIY villages made from paper, wood, craft-store houses, and inexpensive ceramic pieces. Some take only a few minutes to arrange, while others can become a fun Christmas craft project for the family.
As an Amazon Associate, I earn from qualifying purchases. This article contains affiliate links, which may earn us a commission at no extra cost to you.
Quick Picks for Your Christmas Village
- For a mantel: create an elevated multi-level village.
- For a large collection: dedicate a table or console to the whole scene.
- For extra sparkle: add a reflective frozen pond.
- For a traditional room: build a cozy village around an unused fireplace hearth.
- For a cohesive look: choose one village theme and repeat it throughout.
- For a budget DIY: make simple paper house luminaries.
- For small spaces: create a tiny-house wreath.
- For rustic decor: make simple stenciled wooden houses.
Plan Your Christmas Village Before Setting It Up
Before you unpack every miniature house, decide where the display will go and how much space you actually have. Large collections usually look better when buildings are arranged at several depths and heights instead of being pushed into one long row.
It also helps to decide on your overall style before adding accessories. A snowy traditional village may use ceramic buildings, white batting, evergreen trees, and red details, while a modern village might use white houses, natural wood, and warm LED lighting.
| Display Area | Best Village Style | Useful Tip |
|---|---|---|
| Mantel | Tiered village | Use shallow risers so every house remains visible. |
| Console Table | Long village street | Leave some negative space between building groups. |
| Large Table | Full winter landscape | Build hills, roads, and a central focal point. |
| Shelf | Small village vignette | Choose fewer houses rather than overcrowding the shelf. |
| Small Apartment | Paper or miniature village | Use vertical surfaces such as shelves and wreaths. |
12 Creative Christmas Village Setup Ideas
1. Build a Tiered Christmas Village on the Mantel
Instead of placing every house in a straight line, create two or three levels across your mantel. Small sturdy risers hidden beneath faux snow can raise the buildings at the back while smaller houses, figurines, and trees sit closer to the front.
This makes the display feel deeper and prevents beautiful pieces from disappearing behind one another.
Place your largest or most detailed building near the middle or slightly off-center, then work outward with smaller houses.
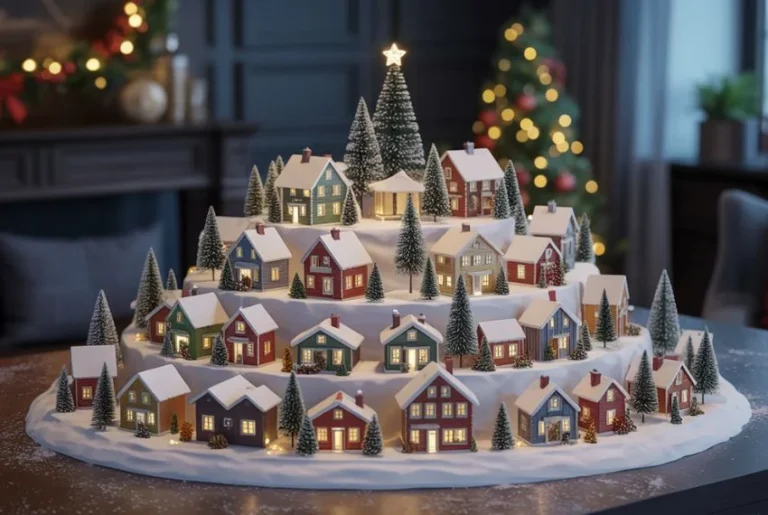
Add bottle-brush trees between buildings and leave small gaps that look like streets or pathways.
Setup tip: arrange everything without artificial snow first. Once you are happy with the positions, add the snowy base around the houses and hide the risers.
Amazon Find: Christmas Village Snow Blanket
A white snow blanket can hide risers, cords, and small gaps while giving the entire village one continuous winter base. Measure your display surface before ordering.

2. Create a Full Christmas Village Table
If you have a larger collection, dedicate an entire table or long console to your Christmas village rather than squeezing everything onto a narrow mantel.
Build the display like a miniature landscape. Put a town center near the middle, residential houses around one side, and perhaps a church, train station, market, or skating scene in another area.
Create gentle hills by placing sturdy risers beneath your snowy base. Roads can wind between the buildings using gray felt, craft paper, or miniature brick-style pathways.
The extra depth also gives you room to create tiny scenes with figurines rather than placing every accessory in the same row.
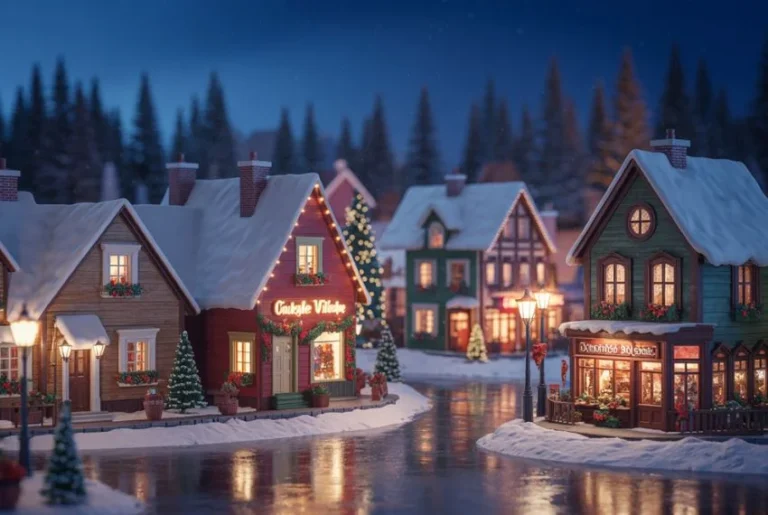
Planning tip: place the largest buildings first. Paths, trees, people, cars, and benches should fill the spaces between them rather than determining the entire layout.
For more village styling inspiration, explore these Christmas village display ideas.
3. Add a Mirror Frozen Pond
A small mirror can become a frozen pond or lake in the middle of your Christmas village.
Place the mirror flat on the display surface and arrange houses, snowy trees, and figurines around its edges. Small skating figures can make the scene even more convincing.
The reflective surface also catches the lights from nearby houses, making the village appear brighter in the evening.
Soften the mirror’s edges with faux snow so it feels integrated into the landscape instead of looking like a mirror placed on a table.
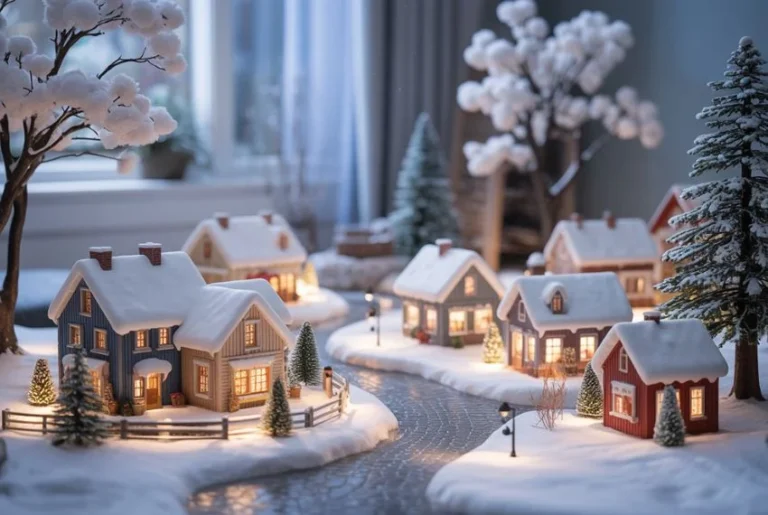
Creative detail: leave part of the reflective surface uncovered. Too much faux snow will hide the reflection that makes the pond interesting.
4. Create a Cozy Fireplace-Hearth Village
If a fireplace is decorative and will not be used, the hearth can become a surprisingly cozy location for a Christmas village.
The brick, stone, or tile behind the village naturally creates texture, while the lower position makes the display feel like a little town tucked into its own nook.
Place a protective base beneath your decorations, then create a low village with houses, trees, and warm LED lights.
You can also extend a little greenery along the sides to connect the village with the mantel above.
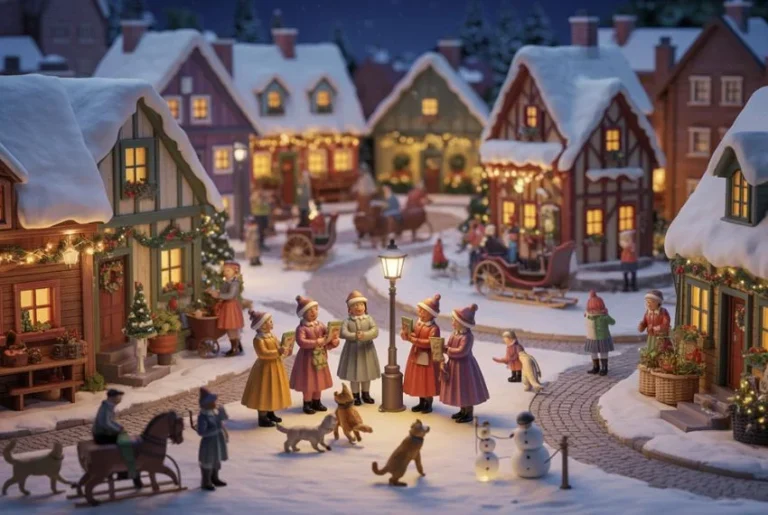
Important: never use this setup when the fireplace is operational or may become hot. Keep village materials, artificial snow, cords, and decorations away from heat and flame.
5. Give Your Village One Clear Theme
A Christmas village often looks more polished when the individual pieces feel like they belong to the same little world.
You might create a North Pole scene with colorful workshops, an alpine ski village with cabins and snowy trees, an old-fashioned town with Victorian-style buildings, or a simple neutral village made from white ceramic houses.
Once you choose a theme, repeat the same colors and materials across trees, figurines, roads, and lighting.
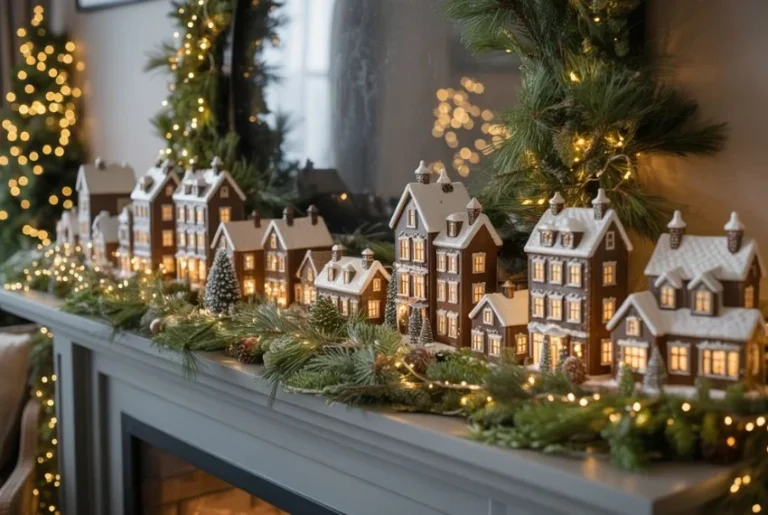
You do not need to use every village piece you own every year. Saving unrelated buildings for a different display can actually make the main village stronger.
Styling rule: choose one main style, two or three repeating colors, and one type of lighting. That alone can make mismatched pieces feel more intentional.
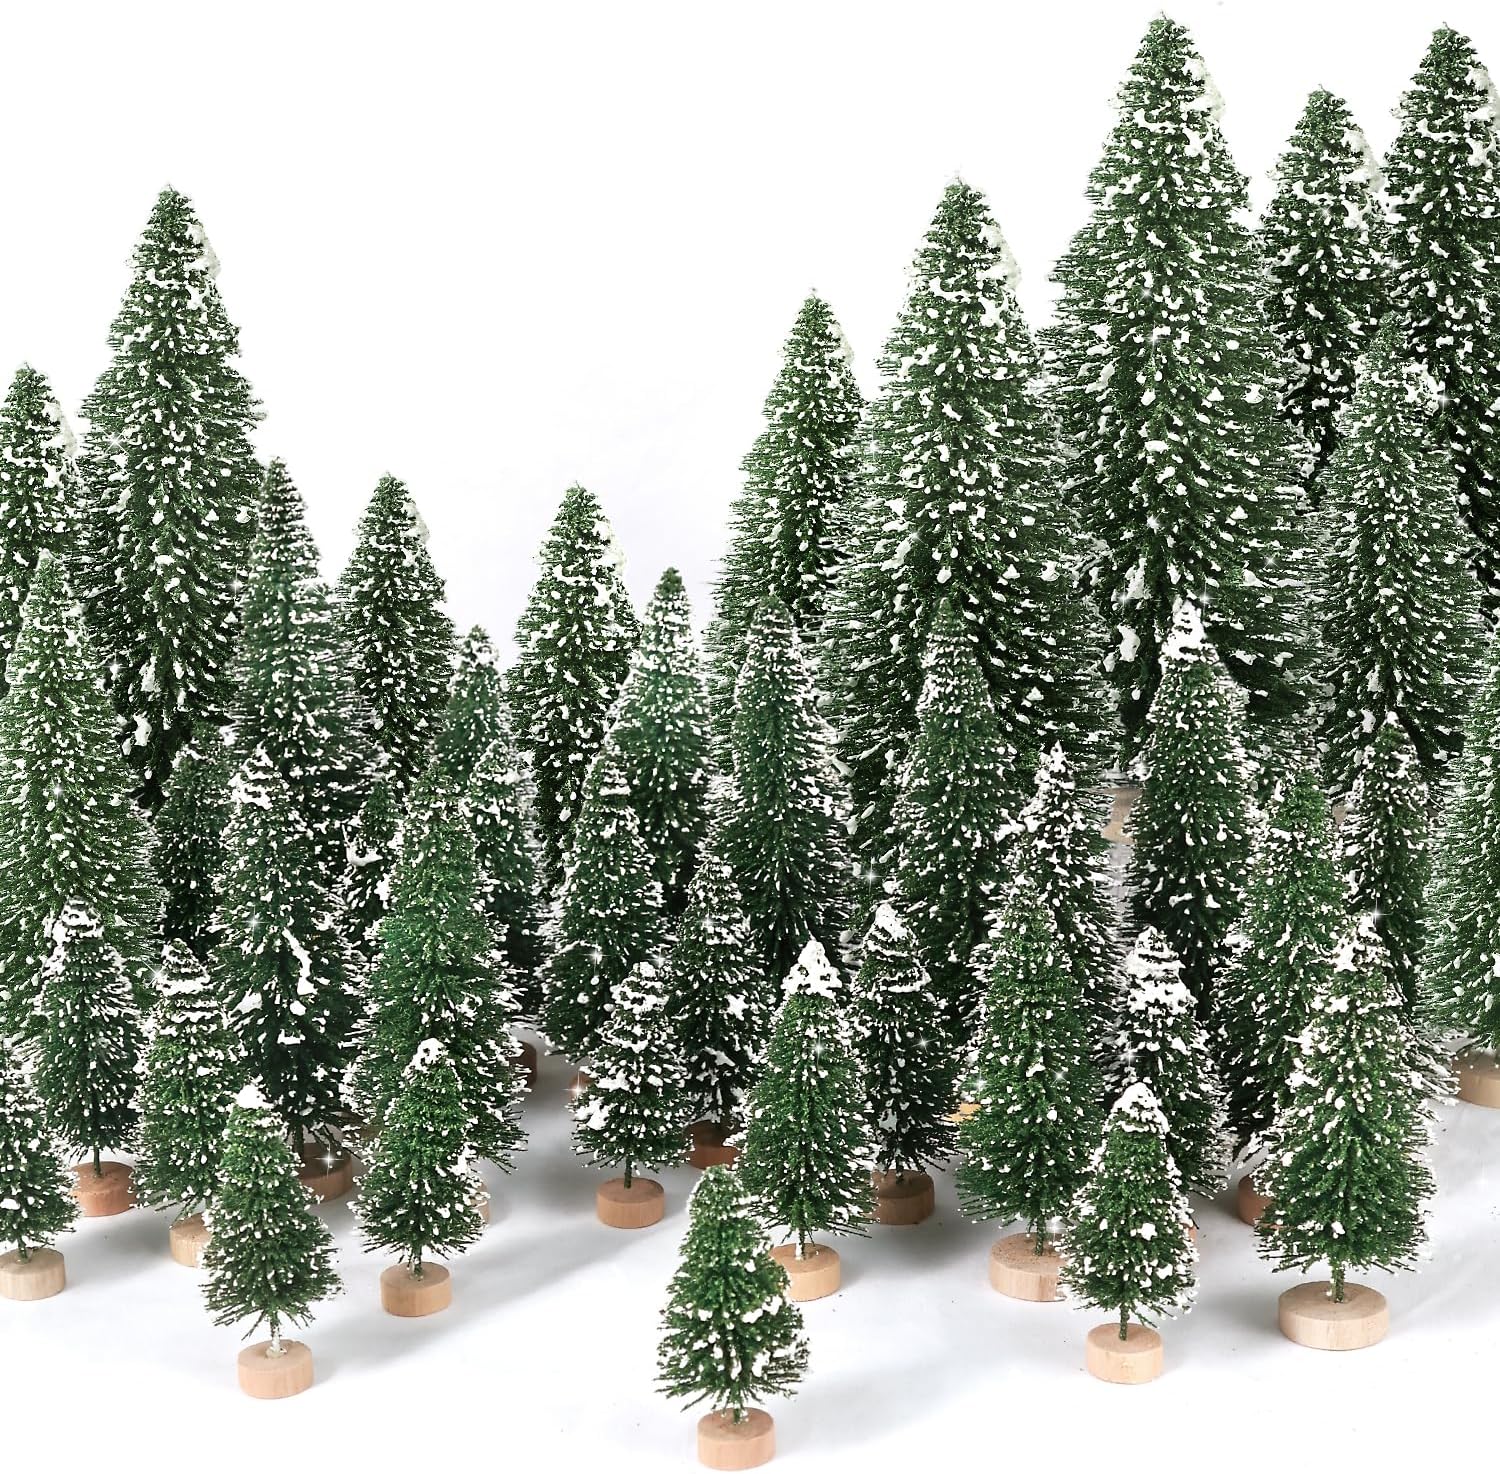
Amazon Find: Bottle Brush Christmas Trees
Mixed-height miniature trees can fill spaces between village buildings and make the display feel more like a complete landscape. Choose a color that matches your overall village style.
6. Make Paper House Luminaries
Paper houses are an affordable way to create an entire Christmas village without collecting ceramic buildings.
Use heavy white cardstock and cut out simple house shapes with doors and windows. Fold and assemble each structure, then place a battery-operated LED light inside so the windows glow.
Make several different rooflines and house heights so the village does not look too repetitive.
White houses look beautiful against evergreen garland, but kraft paper or pale pastel cardstock can create a completely different style.
DIY tip: use vellum behind selected windows before assembling the houses. It can diffuse the LED light and give the windows a softer appearance.
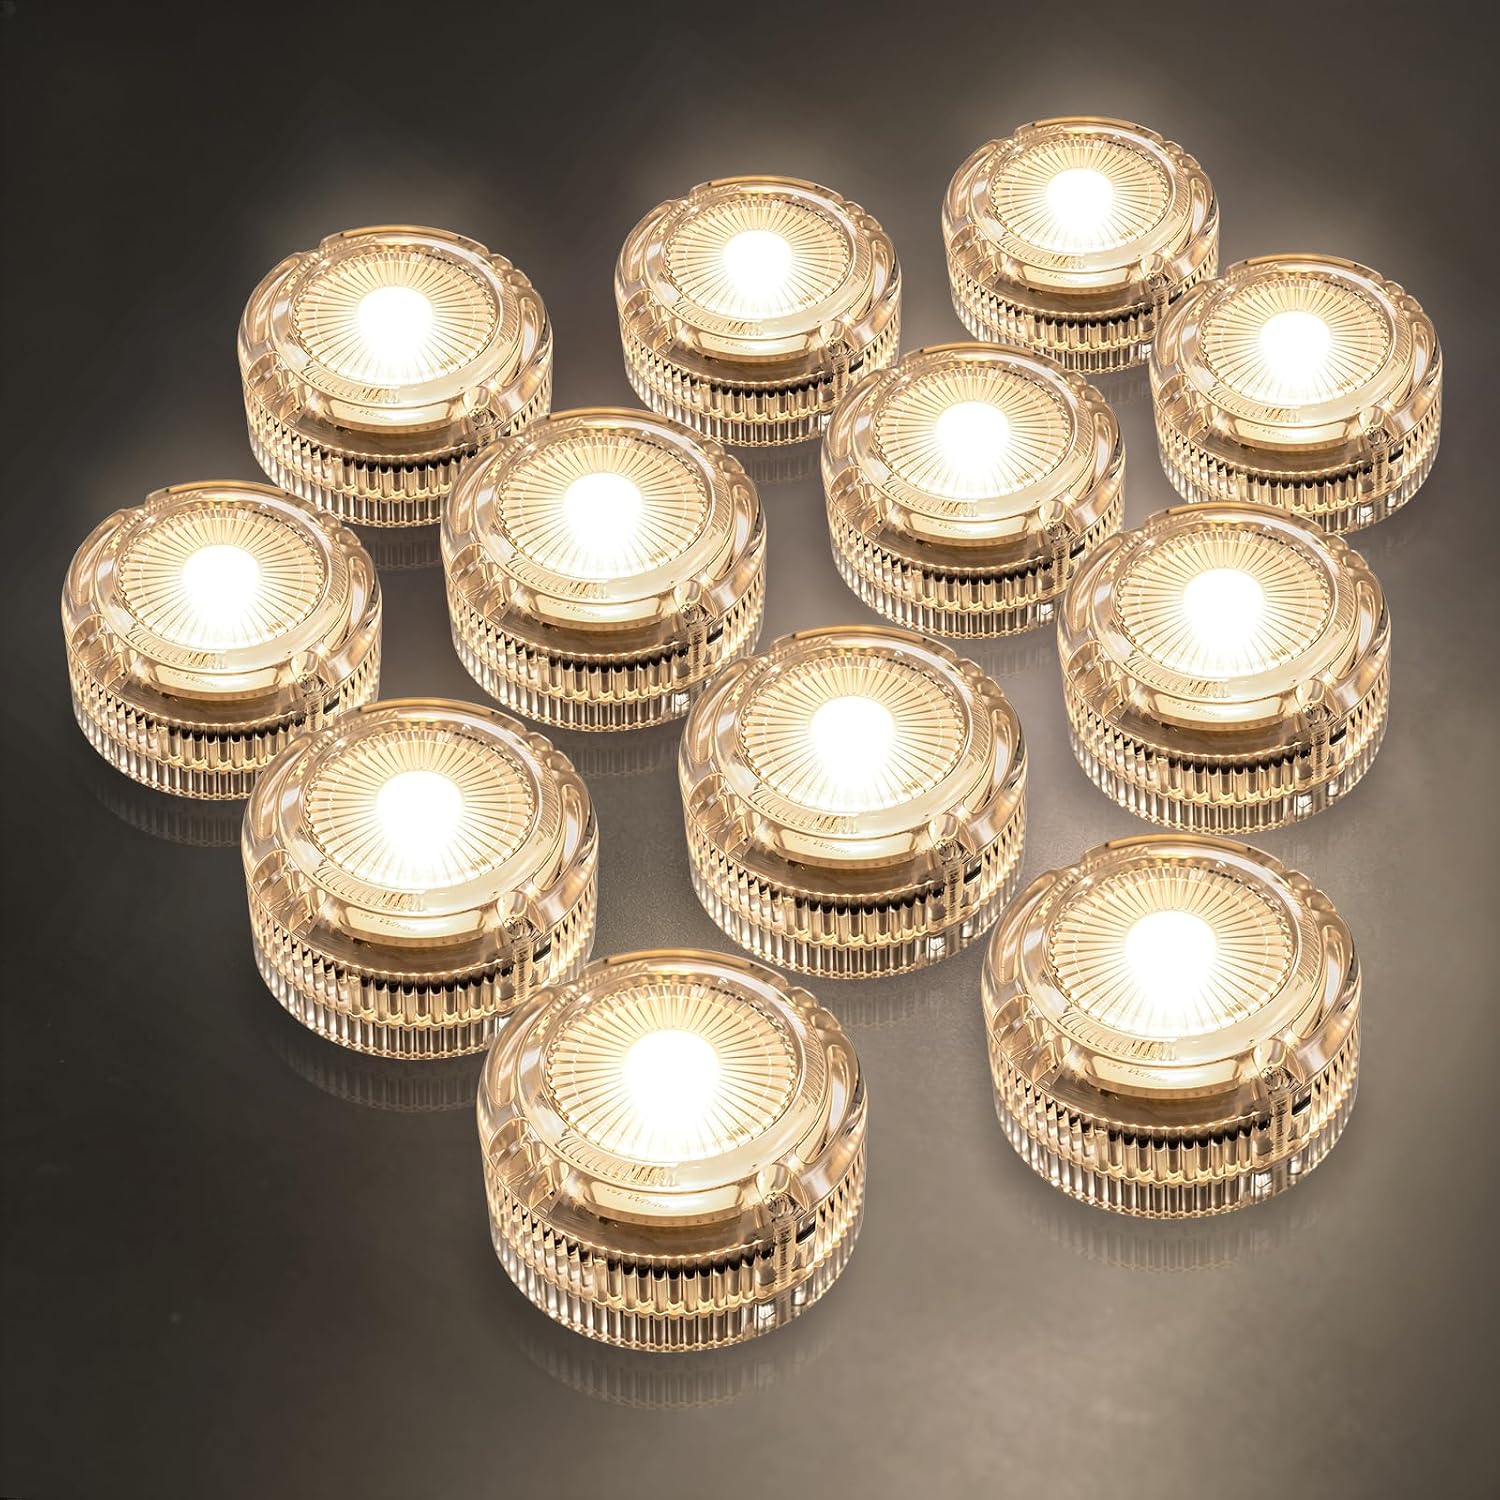
Amazon Find: Battery LED Tea Lights
Small flameless tea lights can illuminate paper houses without an open flame. Check the dimensions of your houses and lights before assembling the village.
7. Make a Gold-Foil Paper Village
Give simple paper houses a more glamorous Christmas look with metallic gold details.
Start with white, cream, or dark cardstock houses. Add gold foil or metallic paper to selected roofs, windows, doors, stars, or trim rather than covering every surface.
Arrange the finished houses on a mantel or console with warm fairy lights and a few small evergreen trees.
The mix of matte paper and reflective gold looks especially pretty at night when the lights catch the metallic details.
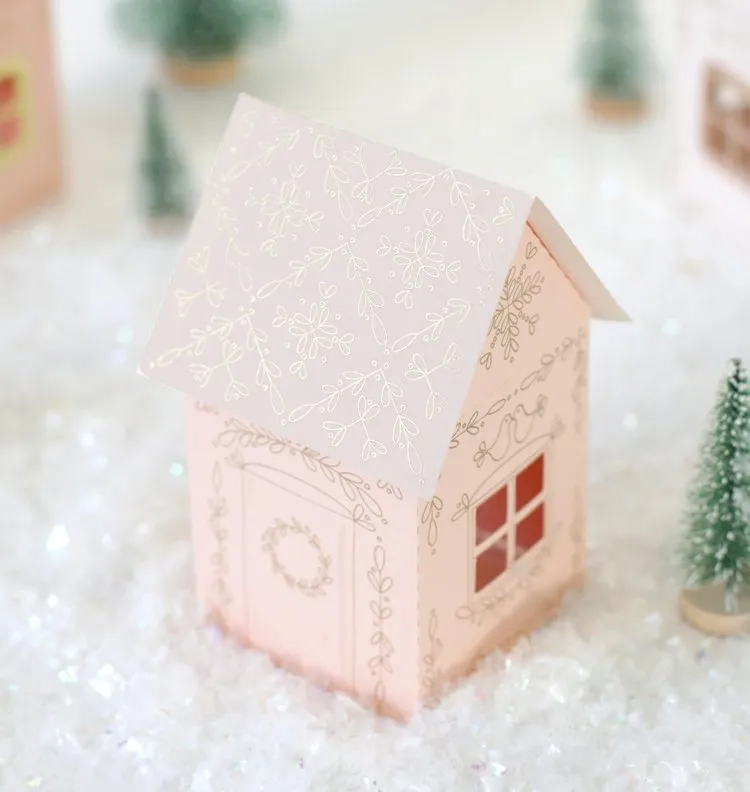
Styling tip: let gold remain the accent. Too many reflective elements can make the tiny architectural details harder to see.
8. Create a Simple Paper Winter Village
For a cleaner Scandinavian-inspired look, make a row of simple white paper houses with cutout windows.
Use a mix of narrow houses, small cottages, and one taller building so the village forms an interesting skyline.
A church-style building with translucent or colored paper behind the windows can become the main focal point.
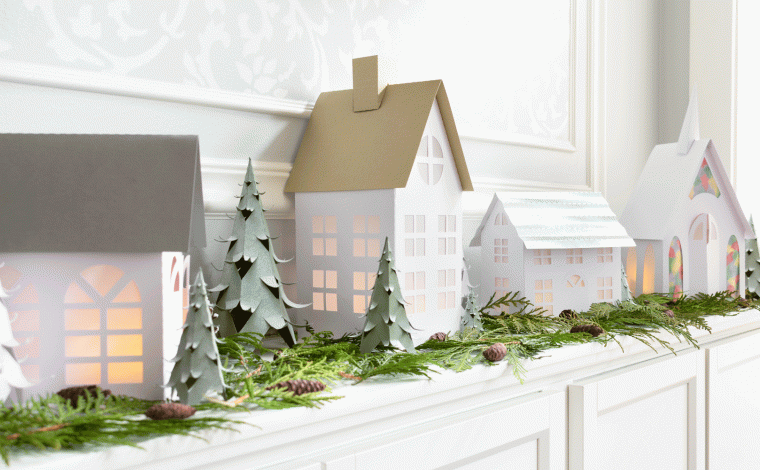
Place the village on a white shelf or mantel and add only a few miniature trees. Leaving open space around the houses keeps the design calm rather than overly busy.
Small-space idea: paper houses are particularly useful for narrow shelves because they can be made shallower than most ceramic village pieces.
9. Make a Tiny Christmas House Wreath
Your Christmas village does not have to sit on a table. Tiny paper or lightweight houses can become part of a wreath instead.
Start with a simple wreath base and attach several miniature houses around the lower half. Add bottle-brush trees, faux snow, greenery, and a few lightweight ornaments around them.
The houses should be small enough that the wreath remains balanced and can be hung securely.
This works especially well in apartments where you do not have enough tabletop space for a full village.

Design tip: concentrate most houses near the bottom of the wreath and let greenery fill the upper section. It gives the little buildings a natural ground line.
For more space-saving seasonal decorating, see these DIY Christmas decor ideas for a small apartment.
10. Build Simple Stenciled Wooden Houses
Turn basic blocks of wood into a rustic Christmas village by painting or stenciling doors and windows onto the front.
Cut or purchase wooden blocks in several heights and give each one a simple pitched-roof shape if desired. Paint them white, black, brown, green, or leave much of the natural wood visible.
Use a small stencil to keep the windows fairly consistent from house to house.
The finished buildings look particularly good with pine branches, natural wood trays, pinecones, and cream-colored bottle-brush trees.
Beginner tip: you do not need detailed architectural features. A door and two or three simple windows are often enough to make a wooden block read as a tiny house.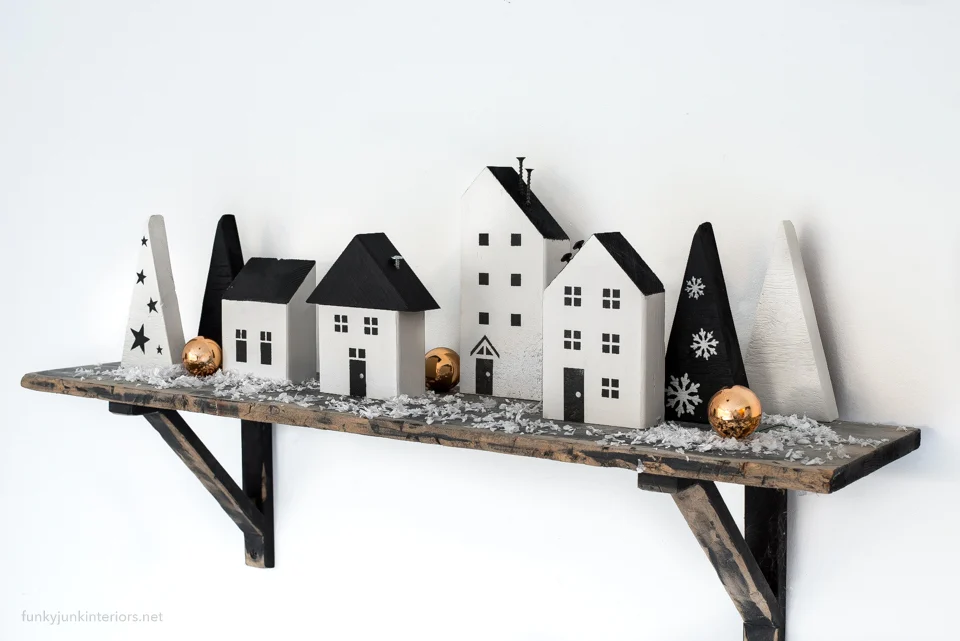
11. Turn Craft-Store Birdhouses Into a Colorful Village
Small unfinished wooden birdhouses can become surprisingly cute Christmas village buildings with paint and a little creativity.
Choose several different shapes and paint them in coordinating colors such as pink, aqua, red, mint, or traditional green.
Add white roof edges to imitate snow and paint simple doors, shutters, trim, or tiny Christmas wreaths on the fronts.
Because the houses already have roofs and dimensional details, this approach requires less construction than building wooden houses from scratch.
Creative idea: use three or four colors repeatedly across all the houses instead of giving every building a completely different palette. The village will remain playful but still feel connected.
12. Upcycle Inexpensive Ceramic Houses
Thrift stores, dollar stores, and old holiday boxes can be great sources for inexpensive ceramic village houses, even when the original paint does not suit your current Christmas decor.
Give mismatched houses a fresh coat of paint in one consistent color. Matte white creates a snowy modern village, black can make the silhouettes dramatic, and soft neutral shades work well in a modern organic room.
Once all the houses share the same finish, completely different shapes can suddenly look like part of one collection.
Add warm LED lighting, small trees, and a little faux snow around the bases to finish the setup.
Budget tip: look beyond Christmas-specific colors when thrift shopping. The shape of the building matters more than its original finish when you plan to repaint it.
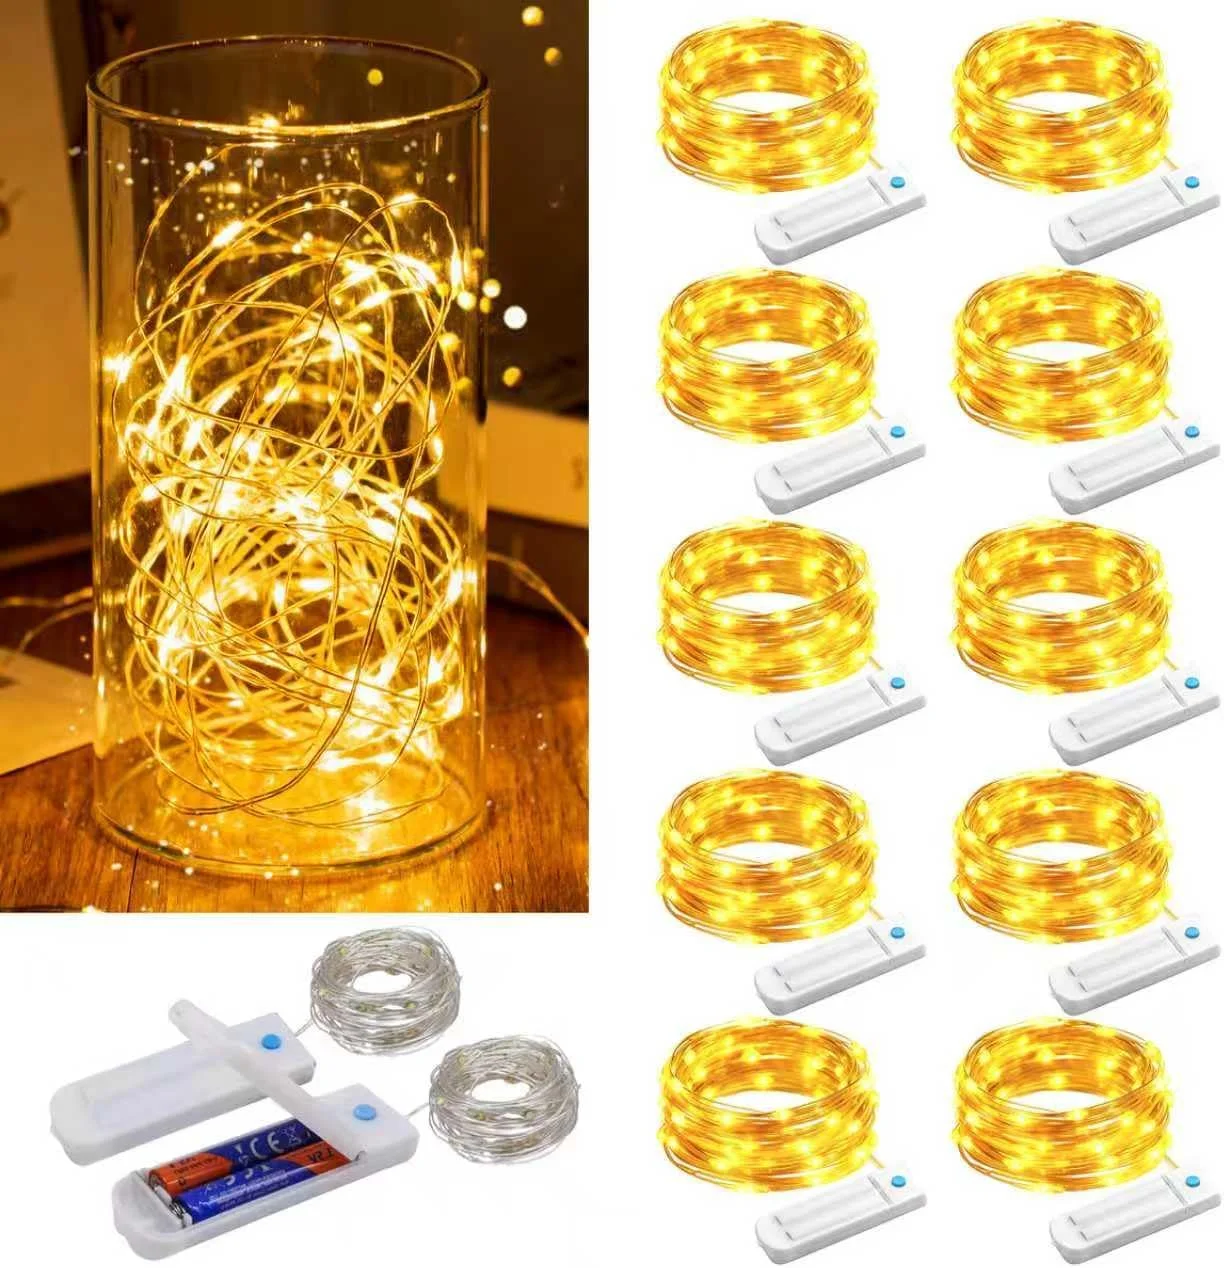
Amazon Find: Warm White Micro Fairy Lights
Fine battery-operated lights can weave behind houses and miniature trees without visually overpowering a small village. Hide the battery pack behind a larger building or greenery.
Small Details That Make a Christmas Village Look Better
The buildings are important, but the spaces between them often make a village feel convincing. Use small accessories to suggest that the town continues beyond each individual house.
- Create pathways: use felt, miniature brick sheets, fine gravel, or open snow paths.
- Add trees in groups: three trees together often look more natural than identical trees evenly spaced everywhere.
- Vary the heights: use hidden risers to create hills and different elevations.
- Add a town center: one large tree, church, market, or skating pond can become the focal point.
- Use warm lighting: similar light temperatures help separate buildings feel connected.
- Hide cables: route cords behind buildings before adding faux snow.
- Leave open snow: every empty spot does not need a figurine or tree.
- Create little stories: group people near shops, benches, trees, or the skating area rather than scattering them randomly.
Christmas Village Setup Checklist
- Measure the surface: check width, depth, and any height restrictions.
- Choose your focal building: decide what visitors should notice first.
- Plan the power: determine where cords and battery packs will go before adding snow.
- Place larger buildings: arrange the main structures before adding accessories.
- Create levels: use stable risers where you need extra height.
- Add the base: lay down faux snow, white fabric, paper, or another landscape material.
- Create roads and paths: connect the main areas rather than leaving houses isolated.
- Add trees: vary their sizes and group some together.
- Add figurines: use them to create small scenes.
- Add lighting: test every light before completing the display.
- Step back: view the village from the normal seating or walking position.
- Edit the display: remove pieces if the village starts looking crowded.
Common Christmas Village Mistakes to Avoid
- Putting every building in one straight row: different depths and elevations usually create a more convincing village.
- Using too many accessories: leave some open snow between buildings so the display has breathing room.
- Mixing very different scales: an oversized person beside a tiny house can quickly break the illusion.
- Adding snow before planning cords: arrange the lighting and power connections first.
- Using unstable risers: ceramic buildings need a flat, secure base.
- Blocking functional surfaces: keep doors, vents, electronics, and frequently used areas accessible.
- Using open flames: keep candles and other flames away from paper houses, artificial snow, greenery, and village decorations.
- Forgetting small pieces around children and pets: miniature trees, figurines, batteries, and accessories should stay out of reach where necessary.
Frequently Asked Questions
How do you make a Christmas village look realistic?
Create different levels, leave roads or pathways between buildings, group trees naturally, and position figurines where people might actually gather. Warm lighting and a consistent scale also help the display feel more like a miniature town.
What can I use underneath a Christmas village?
White felt, batting, a Christmas village snow blanket, fabric, or sturdy white paper can all create a snowy base. If you need hills, place stable risers beneath the covering rather than balancing buildings directly on soft material.
Where is the best place to put a Christmas village?
Mantels, console tables, shelves, sideboards, and dedicated tables are all useful locations. Choose a surface deep enough for your buildings and somewhere the display can remain in place without interfering with everyday activities.
How can I display a Christmas village in a small house?
Use a single shelf, windowsill, narrow console, tiered tray, or tiny-house wreath. A few well-chosen buildings can look more intentional than trying to fit a large collection into a small area.
How do you hide cords in a Christmas village?
Plan the wiring before placing your final snow layer. Run cables behind larger buildings or beneath appropriate display materials, and use greenery or landscape pieces to disguise visible sections without covering plugs or creating unsafe connections.
Can I mix different Christmas village sets?
Yes. They usually look more cohesive when the buildings have reasonably similar scales and you repeat the same trees, snow base, lighting, and color palette throughout the combined display.
Recommended Finds for Your Christmas Village
You do not need to purchase every accessory at once. Start with the village pieces you already own, then add landscape materials or lighting where they improve the scene most.
- Christmas village snow blanket — useful for creating a continuous snowy landscape and concealing small risers.
- Mini bottle-brush trees — useful for filling gaps and creating miniature forests.
- Battery LED tea lights — useful inside suitable paper houses and luminaries.
- Warm micro fairy lights — for adding a soft glow behind buildings and trees.
- Miniature village figurines — useful for creating small scenes and making pathways feel active.
- Miniature street lamps — useful beside roads, town squares, and larger buildings.
- Village display risers — for creating multiple elevations while keeping buildings stable.
Final Thoughts
The most creative Christmas village setup ideas are often less about buying more houses and more about how you arrange the pieces you already have. Adding elevations, pathways, trees, lighting, and one clear focal point can completely change the look of a familiar collection.
You can create a large snowy village across a dedicated table, keep things traditional on the mantel, or make your own miniature town from paper, wooden blocks, painted birdhouses, or thrifted ceramic houses.
Start with the buildings, create a simple landscape around them, and leave enough open space for every tiny part of your Christmas village to tell its own story.

Ankit is an engineer by profession and blogger by passion. He is passionate to do all the stuff such as designing the website, doing the SEO, researching for the content, writing tech blog posts and more.